Fluent Big Inventory Web App
Author:
Fluent Commerce
Changed on:
2 Jan 2025
Overview
The Fluent Big Inventory Web App simplifies inventory management with key features like the Feeds Dashboard, Products, and Inventory sections. Gain real-time insights into feeds, efficiently manage products, and ensure robust inventory control. Whether tracking sources, managing stores, or accessing comprehensive insights, this app delivers a seamless user experience for optimal business value.Fluent Big Inventory Web App Overview
Author:
Fluent Commerce
Changed on:
29 Aug 2025
Overview
The Fluent Big Inventory Web App is a powerful tool for managing products, inventory, feeds, and sources. Key features include:- Feeds: View inventory feed details.
- Sources: Track inventory update integrations.
- Products: Manage catalogs and product data.
- Unifies View of Inventory: Gain real-time inventory insights across locations and channels for optimal stock management.
- Inventory: Monitor allocation, Stock On-Hand (SOH), real-time updates, and buffers.
- Stores: Oversee individual and network locations.
- Insights: Track system events.
- Admin: Configure user access and settings.
Key points
- The Fluent Big Inventory Web App offers a comprehensive suite of functionality.
- With dedicated interfaces for Sources, Products, Inventory, Stores, Insights, and Admin, the web-based interface provides users with a holistic toolset, allowing them to observe and track integrated sources, manage product catalogues, exercise precise control over inventory, oversee individual and networked store locations, monitor system events comprehensively, and efficiently administer the entire inventory availability system for a seamless and valuable user experience.
Product and Inventory Management with Fluent Big Inventory Web App
The Fluent Big Inventory Web App is a web-based interface designed to streamline the management of products, inventory, feeds, and sources. Key functionalities encompass:- Feeds. The Feeds interface includes the Feeds Dashboard, which provides general information about inventory feeds for an account.
- Sources. The Sources interface allows users to track and manage inventory data sources effectively. It includes:
- Sources Dashboard – Displays integrated inventory update sources and their status.
- BPP Metrics Dashboard – Provides in-depth visibility into Batch Pre-Processing (BPP) metrics, enabling users to monitor batch data ingestion, track efficiency, and optimize inventory submission strategies.
- Products. The Products interface allows a user to manage product catalogs and products.
- Unified View of Inventory (UVOI). This interface provides a consolidated view of inventory across locations and sales channels, offering real-time data to optimize stock levels, improve inventory allocation, and enhance fulfillment efficiency.
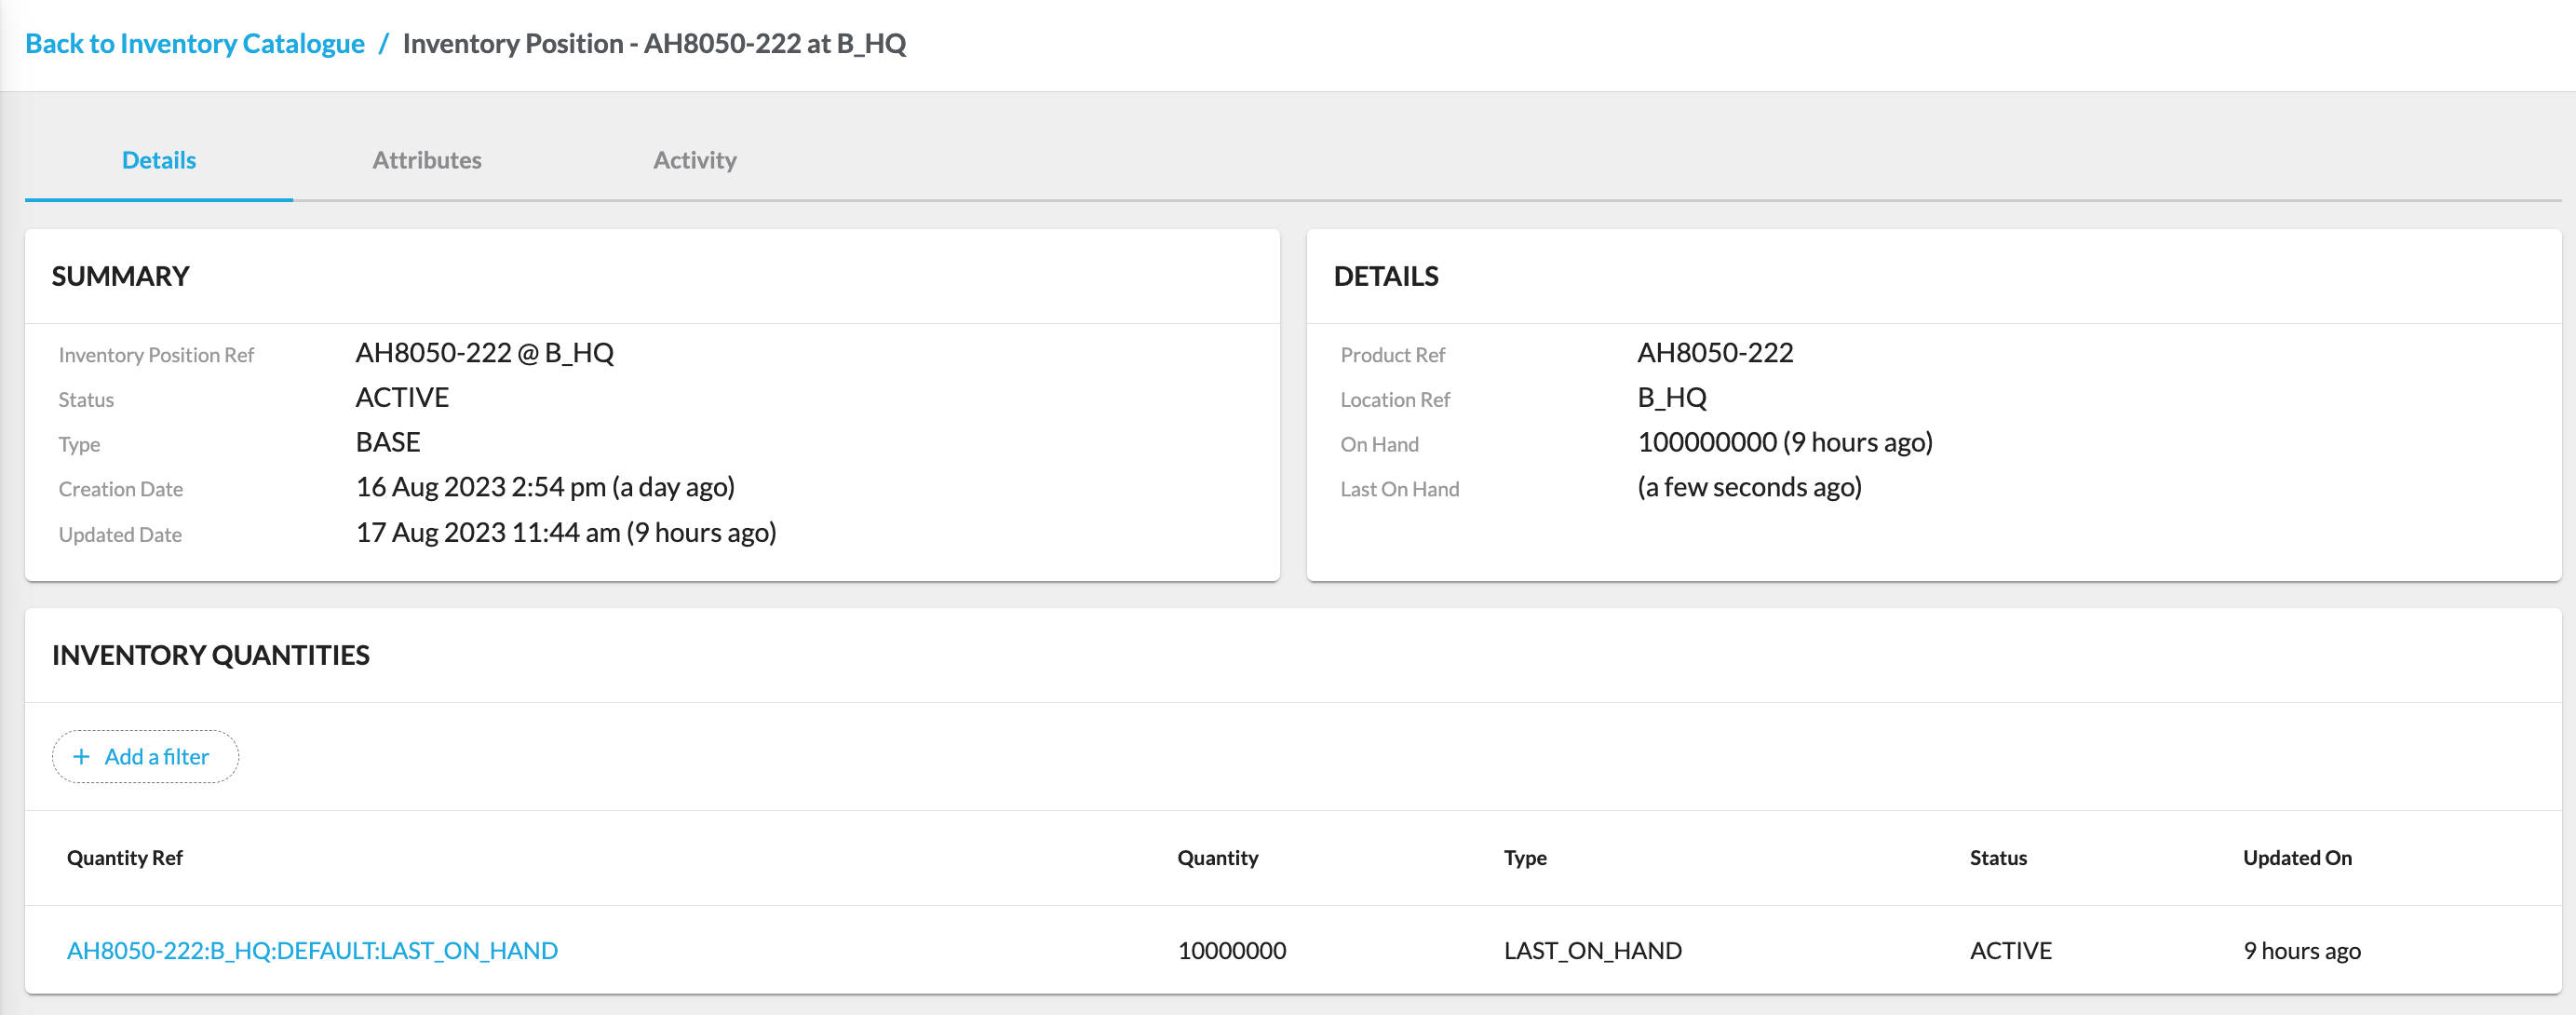
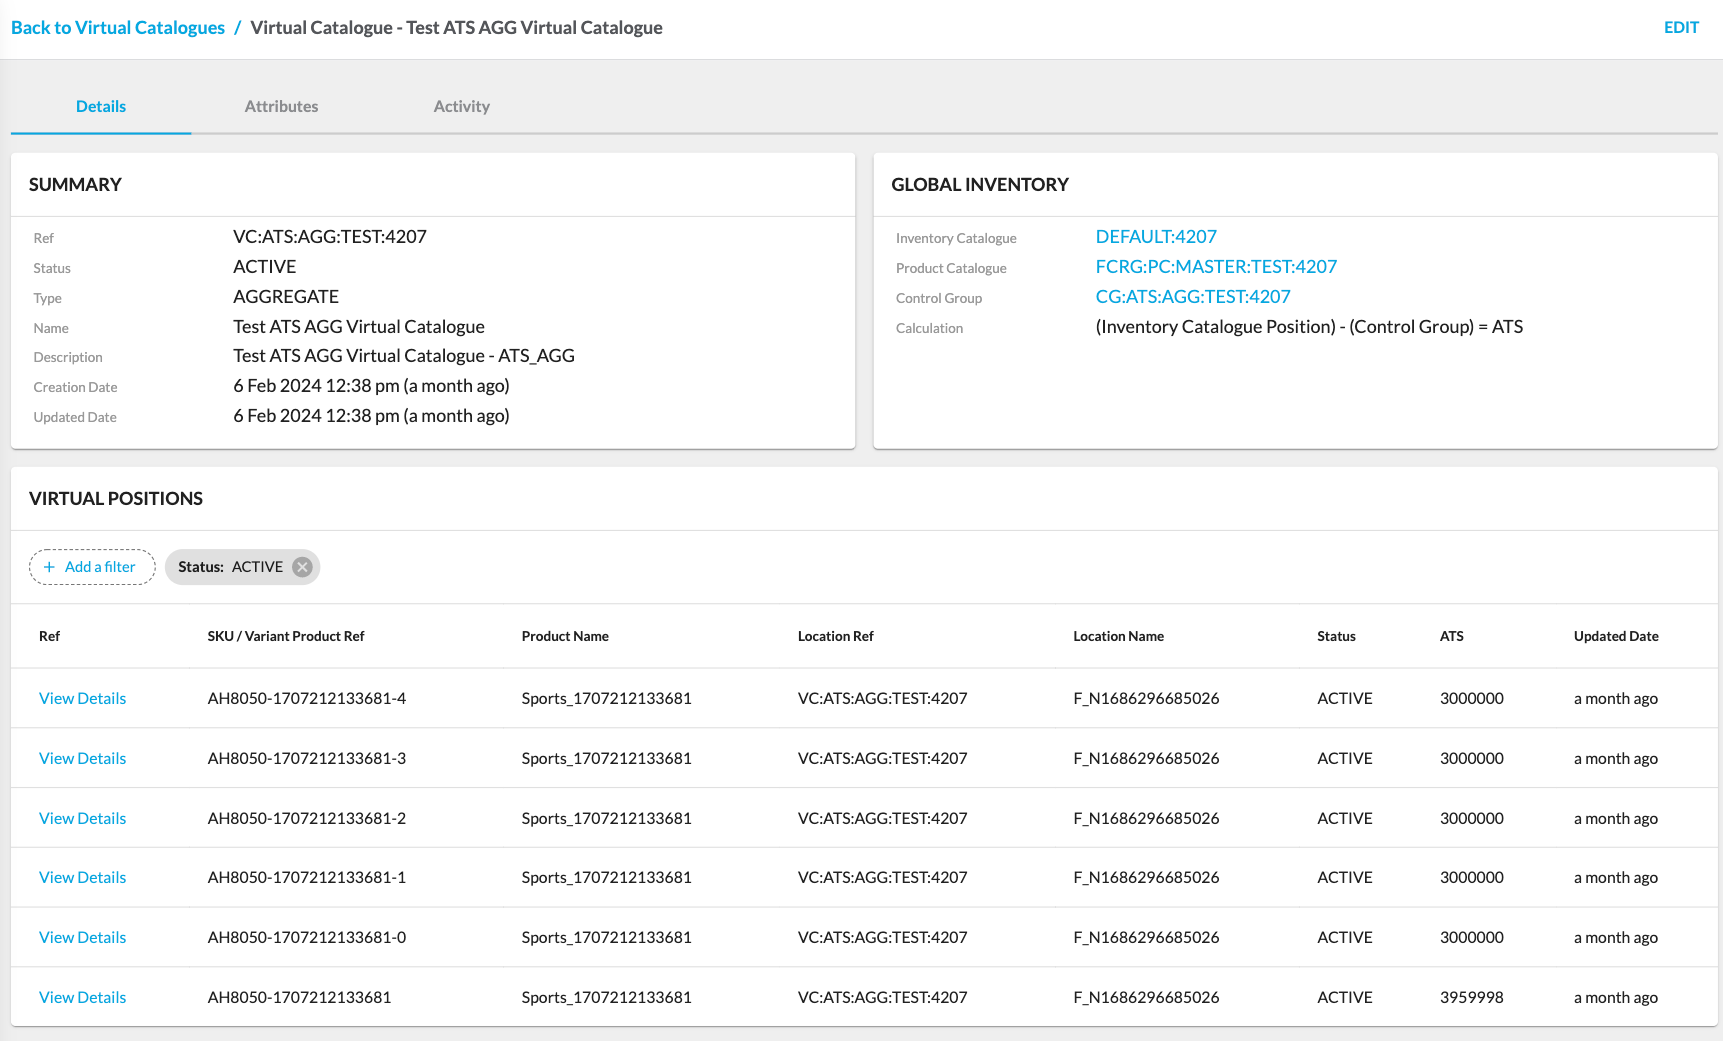
- Inventory. The Inventory interface provides robust inventory management, including visibility of allocation, stock on hand (SOH) for specific items, real-time inventory status, available-to-promise levels, and inventory buffers to prevent overselling.
- Stores. The Stores interface allows you to manage individual locations and networks of locations.
- Insights. The Insights interface provides comprehensive details on monitoring all the system events that have occurred.
- Admin. The Admin interface provides administrative capabilities to manage the system and users.
Value Proposition
Implementing the Fluent Big Inventory Web App has the following benefits:- View statistics and metrics about inventory feeds and inventory updates
- View product and inventory details and change buffer or safety stock values
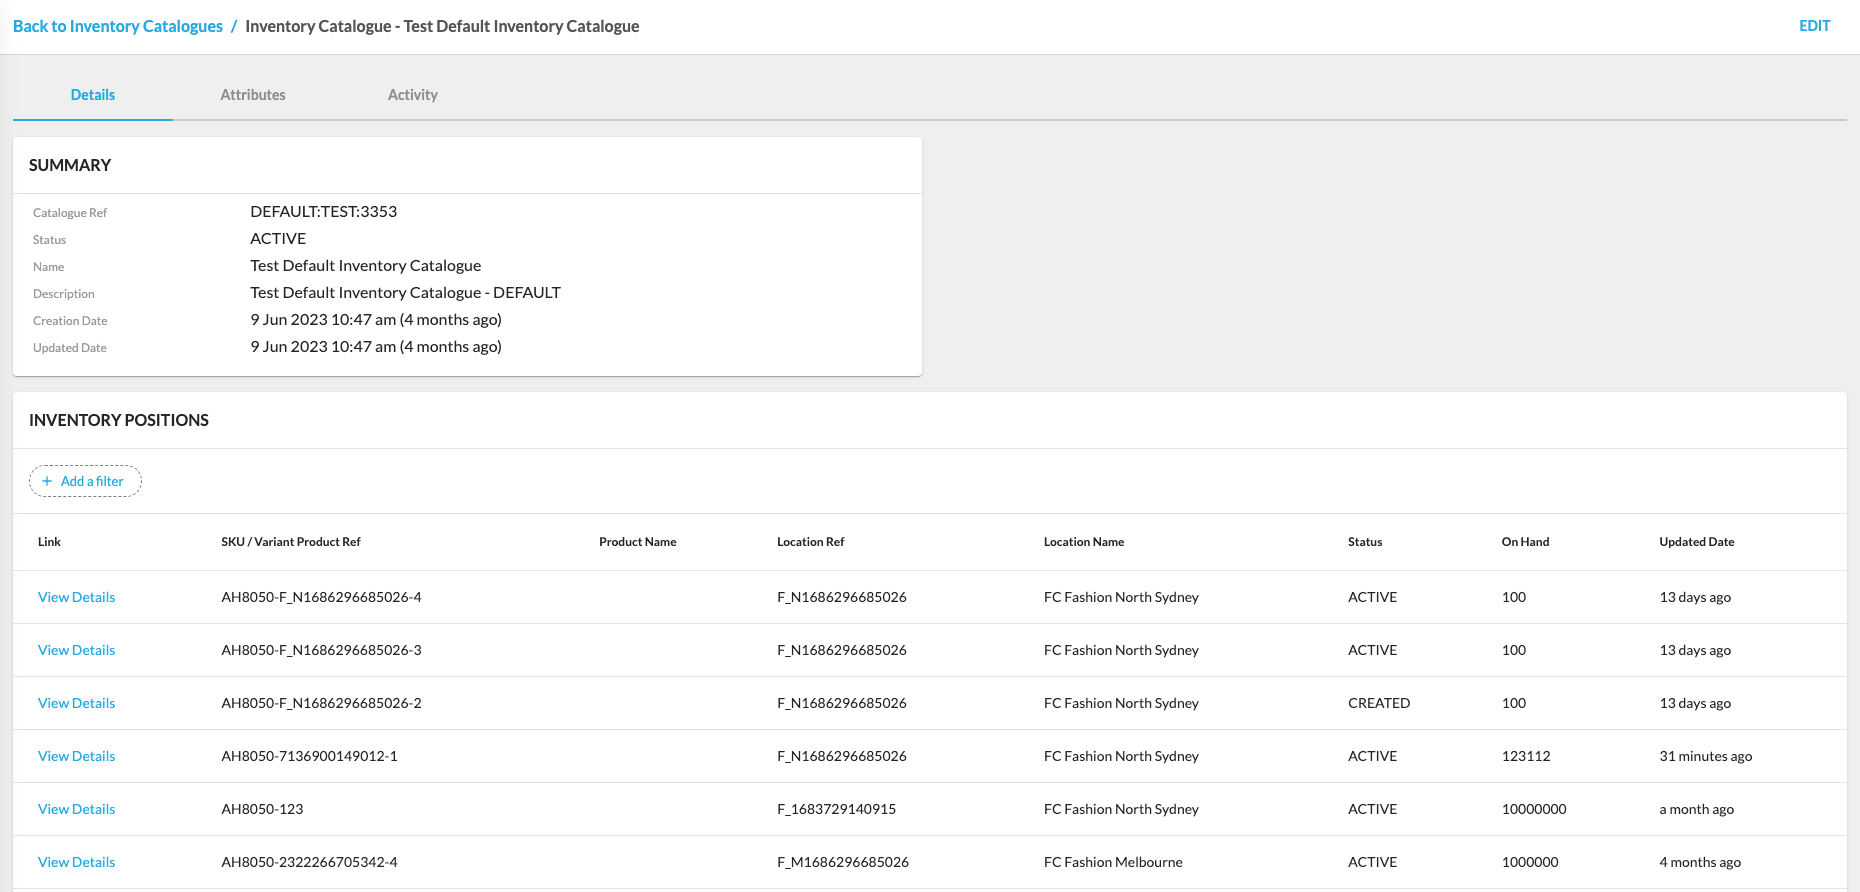
- Manage and edit Product Catalogues, Inventory Catalogues, Virtual Catalogues, and Control Groups
- Manage users and settings
Features
Inventory Update Overview
The Inventory Update Overview provides a detailed dashboard view of the inventory management system, offering insights into data flow and processing efficiency. It consists of the Sources and the BPP Metrics dashboards.The Sources Dashboard includes the following key metrics:- The number of updates that encountered failures from each source system.
- Time elapsed since the last update was received from each source system.
- The total number of inventory updates received from each source system over the past 24 hours.
- Estimated processing time for newly submitted inventory updates.
Feeds Insights
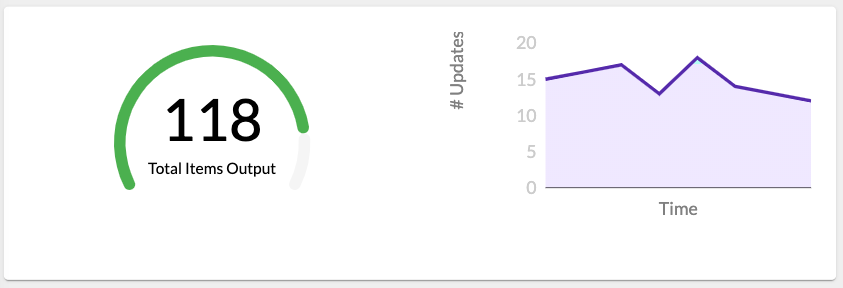
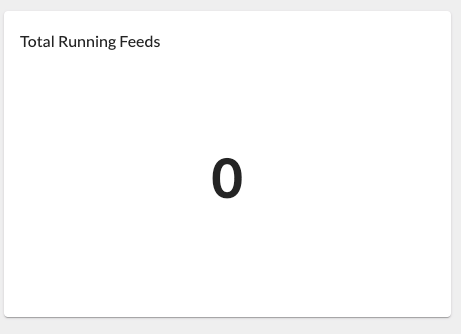
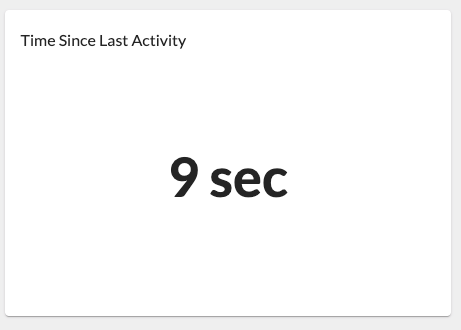
Feeds Insights provides users with a comprehensive dashboard view of their inventory feeds over the past 24 hours.Product Management
Product Management is where users can manage everything related to their product SKUs. It encompasses the management of Product Catalogues, Products, and Categories.Unified View of Inventory
The Unified View of Inventory (UVOI) centralizes inventory data from all locations and sources into a single, real-time view. This feature empowers inventory managers, store associates, and eCommerce teams to monitor stock levels, reduce inefficiencies, and address operational challenges quickly. The UVOI supports smarter decision-making and seamless inventory operations by providing a holistic view and actionable data.Inventory Management
Inventory management provides a comprehensive range of capabilities. Users can oversee inventory visibility, allocation, stock quantity (Stock on Hand—SOH), and status, gain insights into available-to-promise inventory levels, and strategically employ inventory buffers to prevent product overselling. Read more about Inventory management capabilities.Admin Management
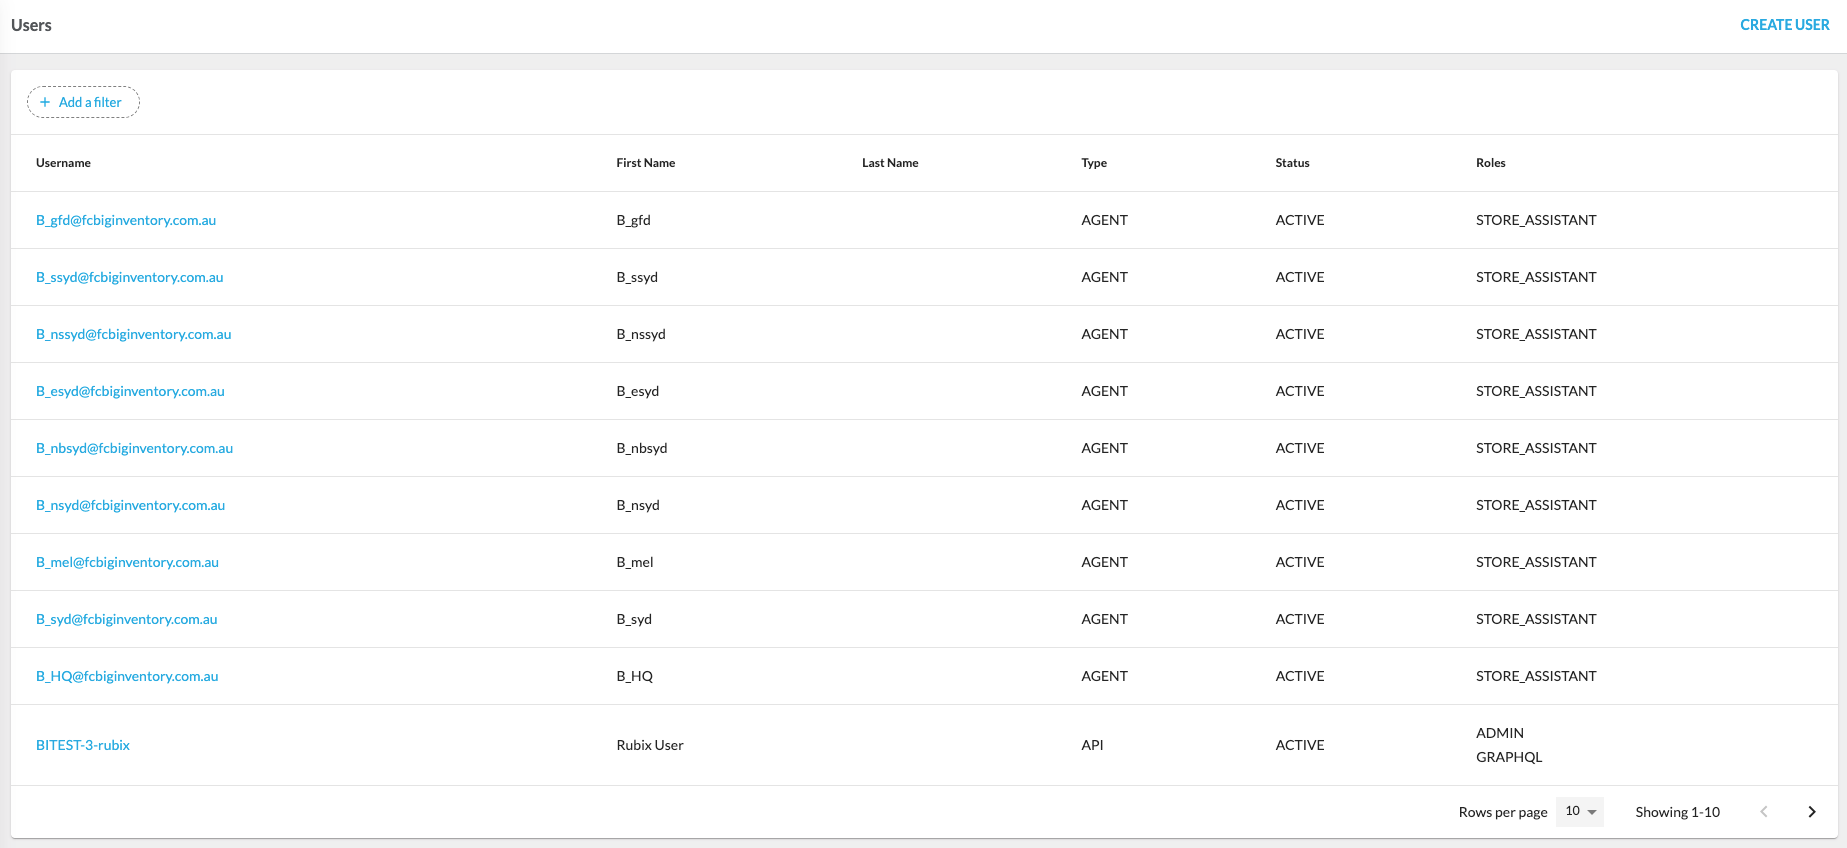
The Admin user interface in the Fluent Big Inventory Web App offers a suite of administrative features to manage the system efficiently:- Manage the users with access to your Fluent Big Inventory Accounts;
- Manage the roles and permissions to precisely control how many of your Accounts each user can access;
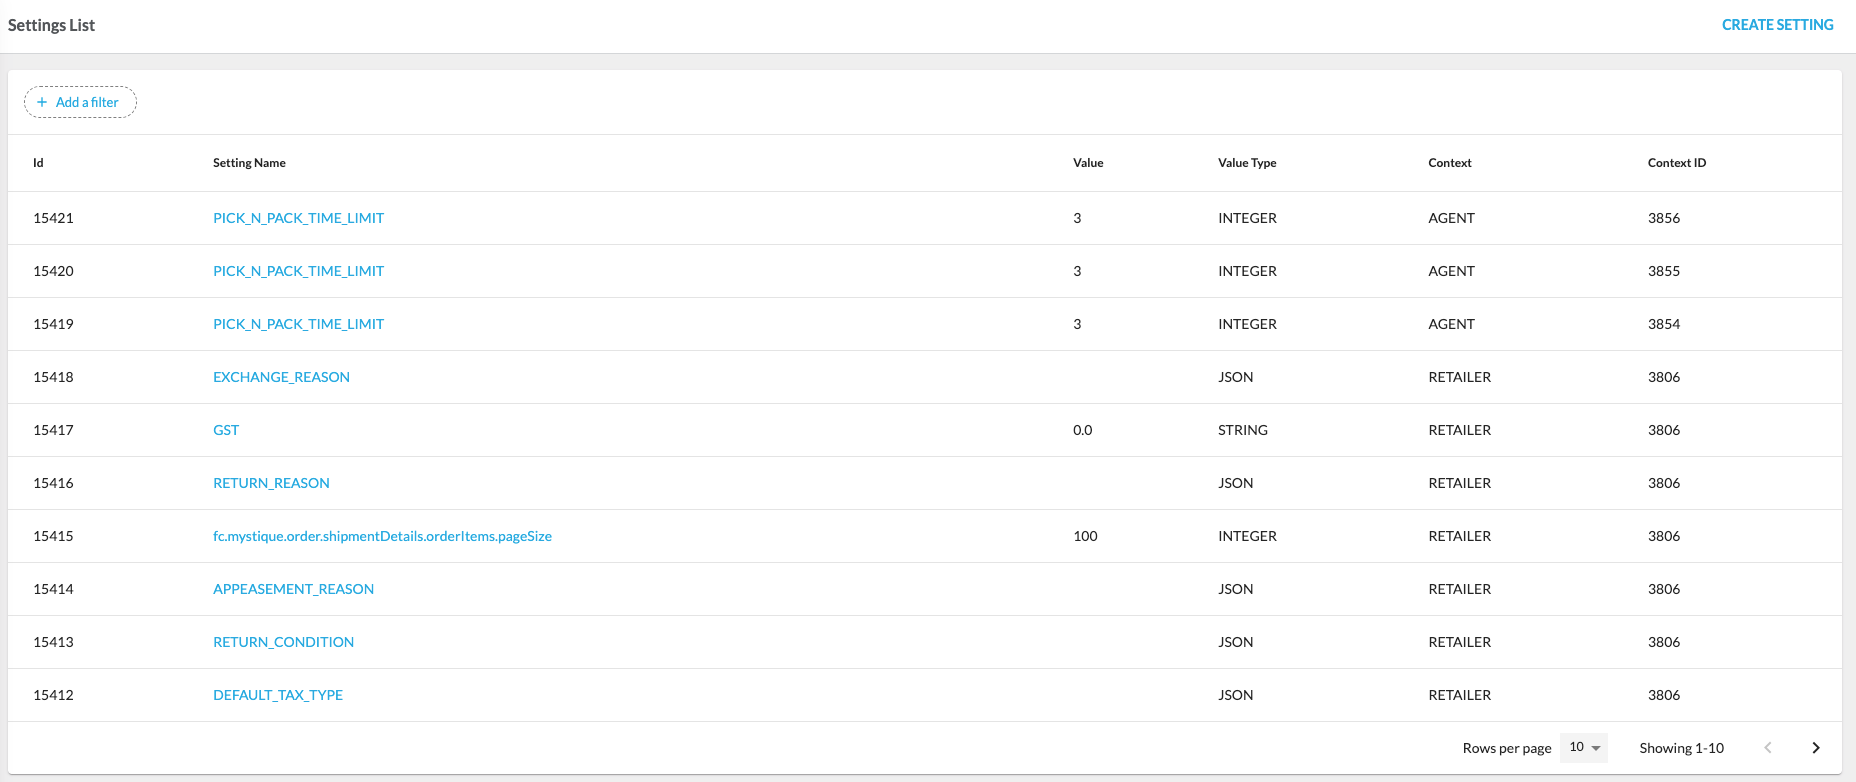
- Customize application settings to control the operation of your Fluent Account to align with your business needs.
Further Reading
- Learn how to get started configuring the Fluent Big Inventory Web App
- Learn how to extend the Fluent Big Inventory Web App
Related content
Sources Interface
Author:
Fluent Commerce
Changed on:
30 July 2025
Overview
The Sources interface provides inventory and batch-processing metrics visibility, enabling data ingestion and processing efficiency tracking. It includes:- Sources Dashboard – Monitors inventory updates, failure rates, and processing times.
- BPP Metrics Dashboard – Tracks batch-processing efficiency, showing processed, changed, and unchanged records with a date range filter of up to 31 days.
Key points
- Sources Dashboard provides real-time tracking of failed updates, update frequency, total received updates, and estimated processing times.
- BPP Metrics Dashboard enhances visibility into batch data ingestion by tracking record modifications.
Sources Dashboard
Overview
The Sources Dashboard allows inventory ingestion status and processing flow to be monitored. It provides real-time data visualization, helping identify failures, track update frequencies, and assess inventory submission performance.The dashboard presents inventory-related metrics for up to the last 24 hours. Configurable time periods allow detailed analysis based on ingestion trends.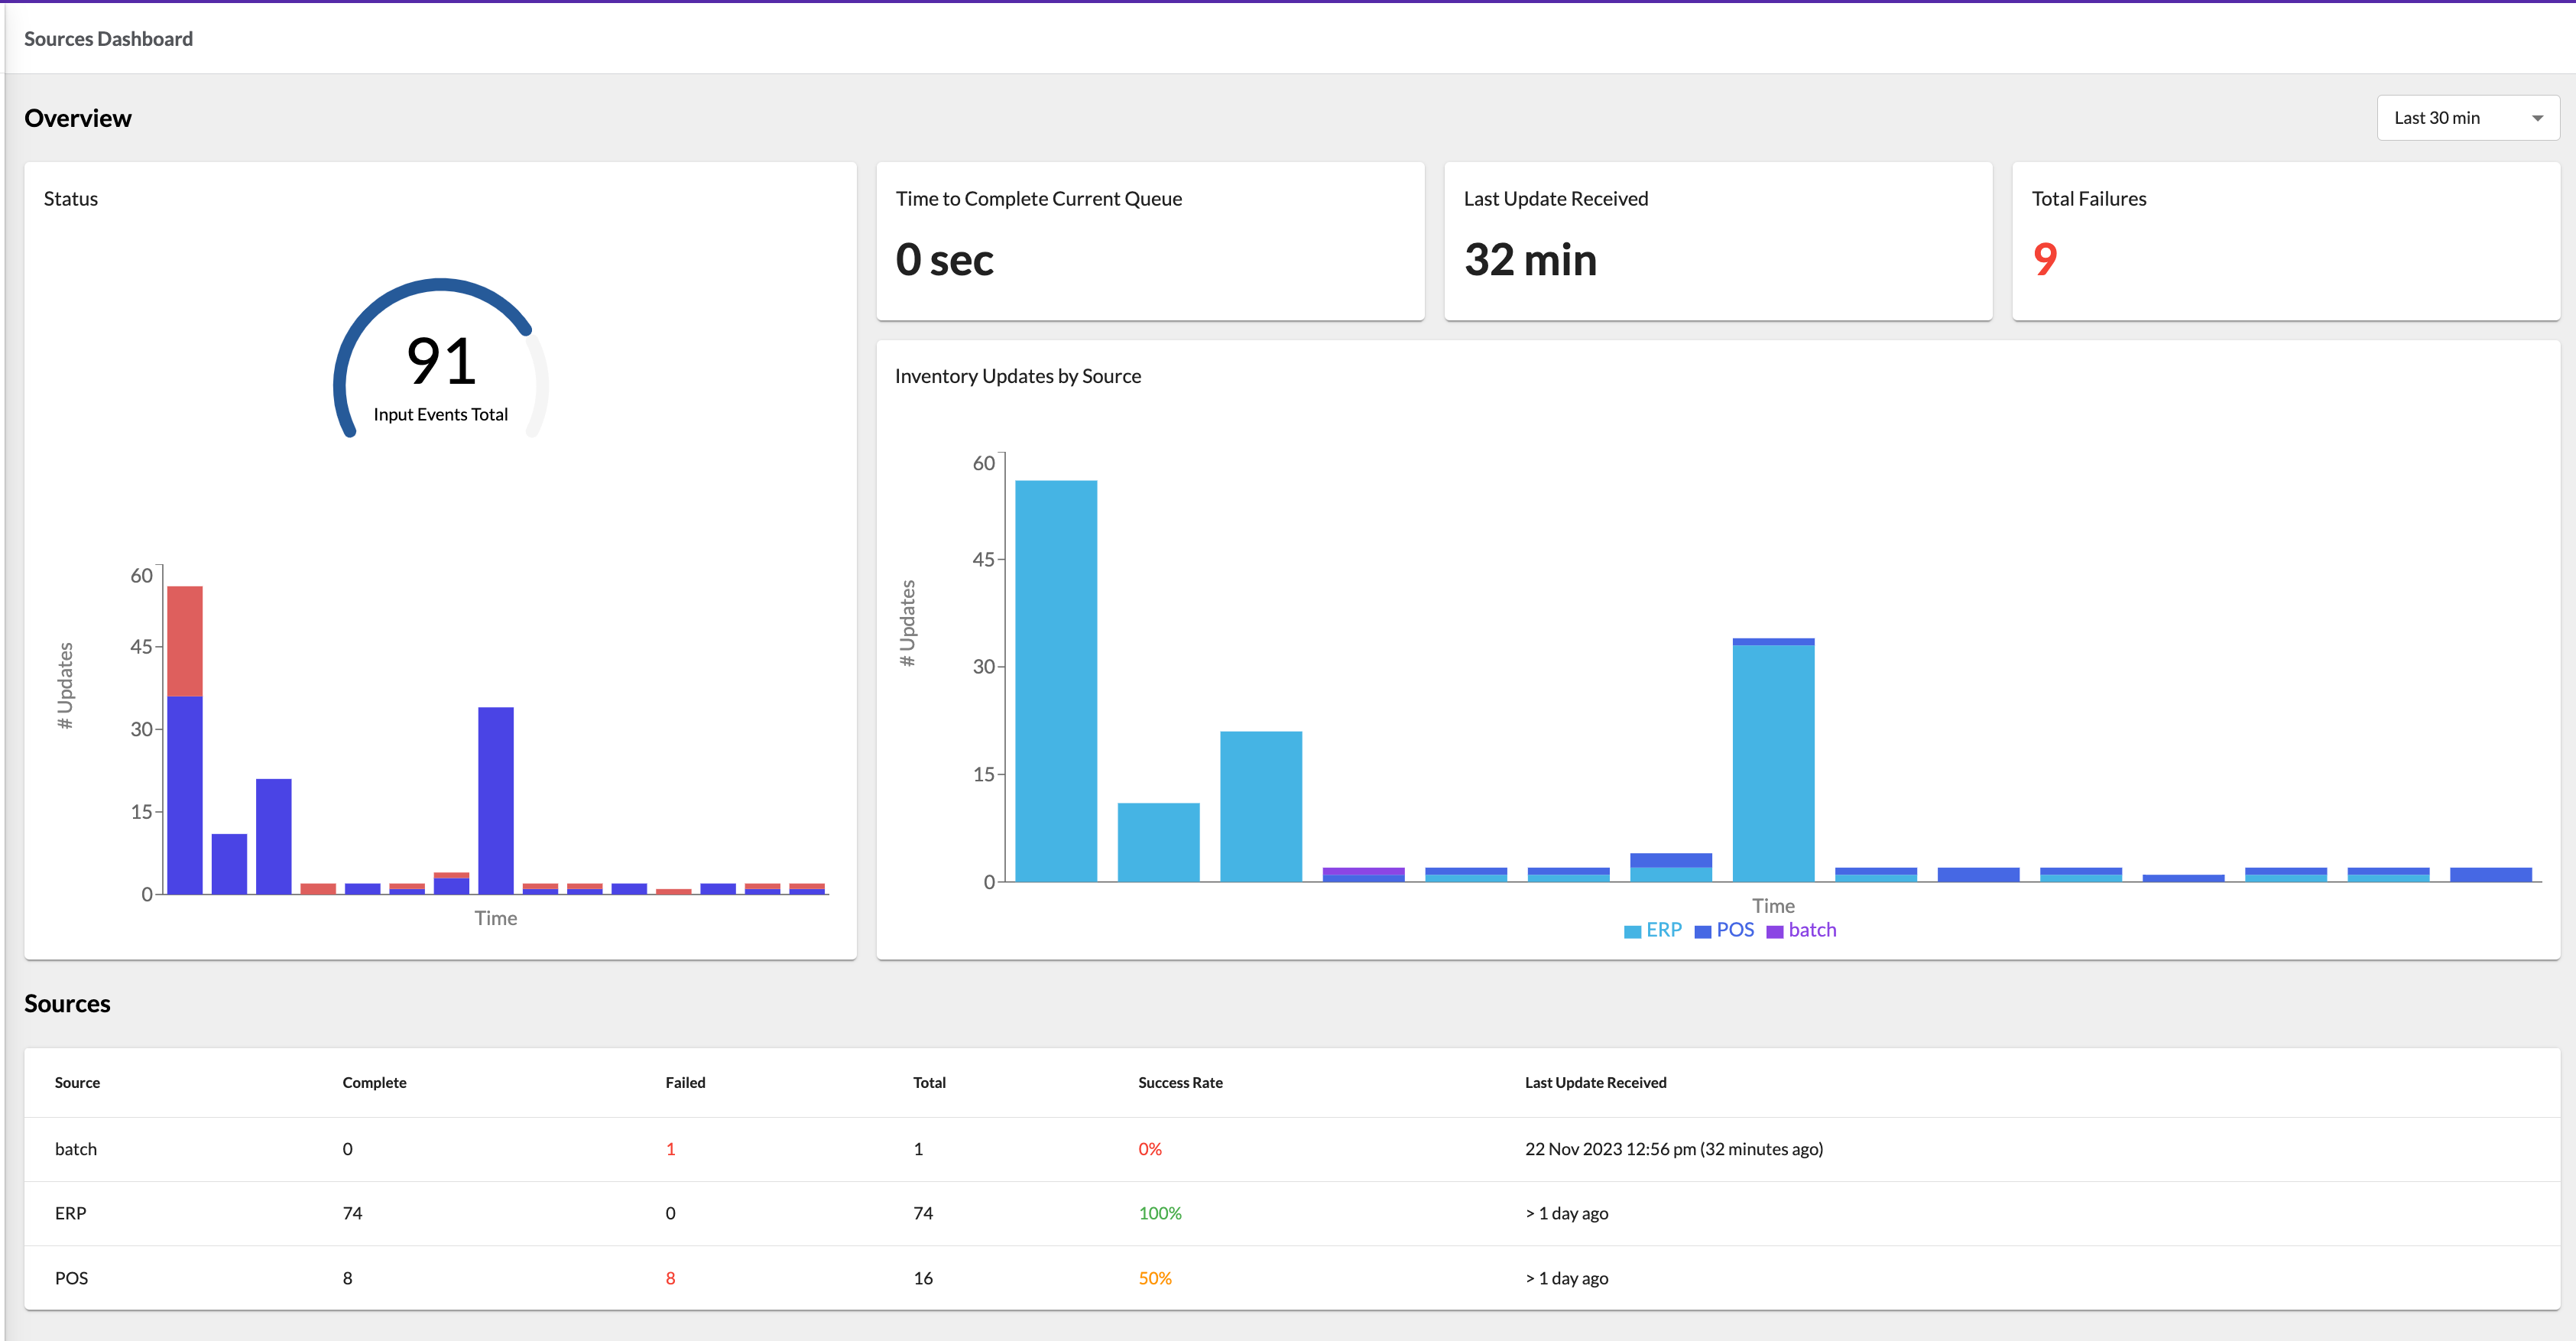
Overview Section
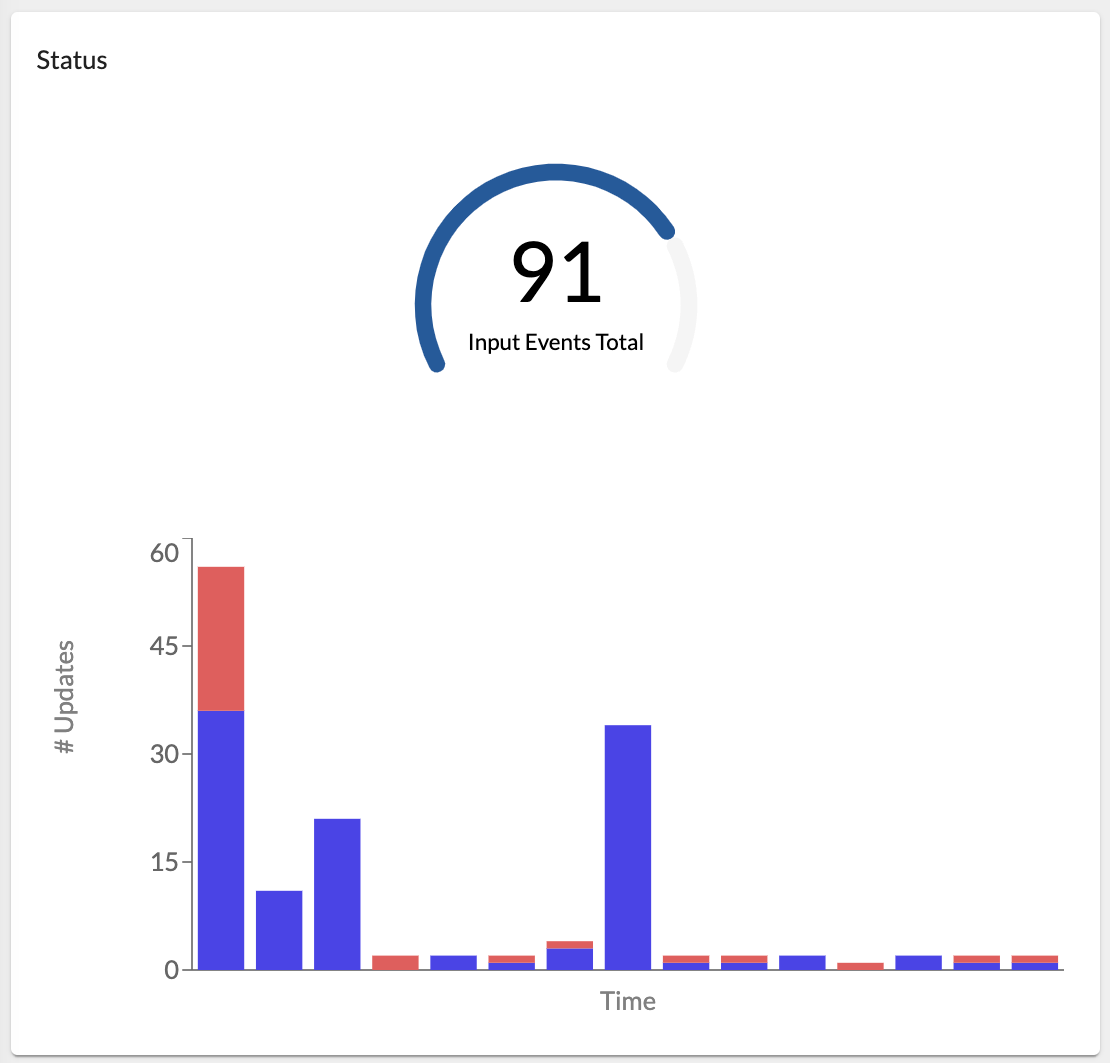
The dashboard contains five key cards:- Status – Displays inventory event data with a gauge chart (total events) and a bar chart (event breakdown by time; includes failures, represented with split colors for clarity). The gauge chart supports colored thresholds configured via a setting.
- Time to Complete Current Queue – Estimates the time required to complete the current update queue.

- Last Update Received – Indicates the time since the most recent inventory update.

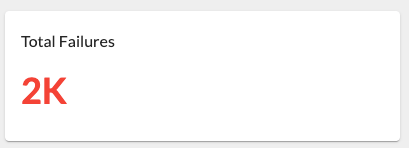
- Total Failures - Displays an aggregated number of Inventory problems or anomalies based on the Metrics data for a selected period. The Total Failures value is clickable, redirecting users to the Events page pre-filtered to enable them to identify the specific Inventory Events that have failed.
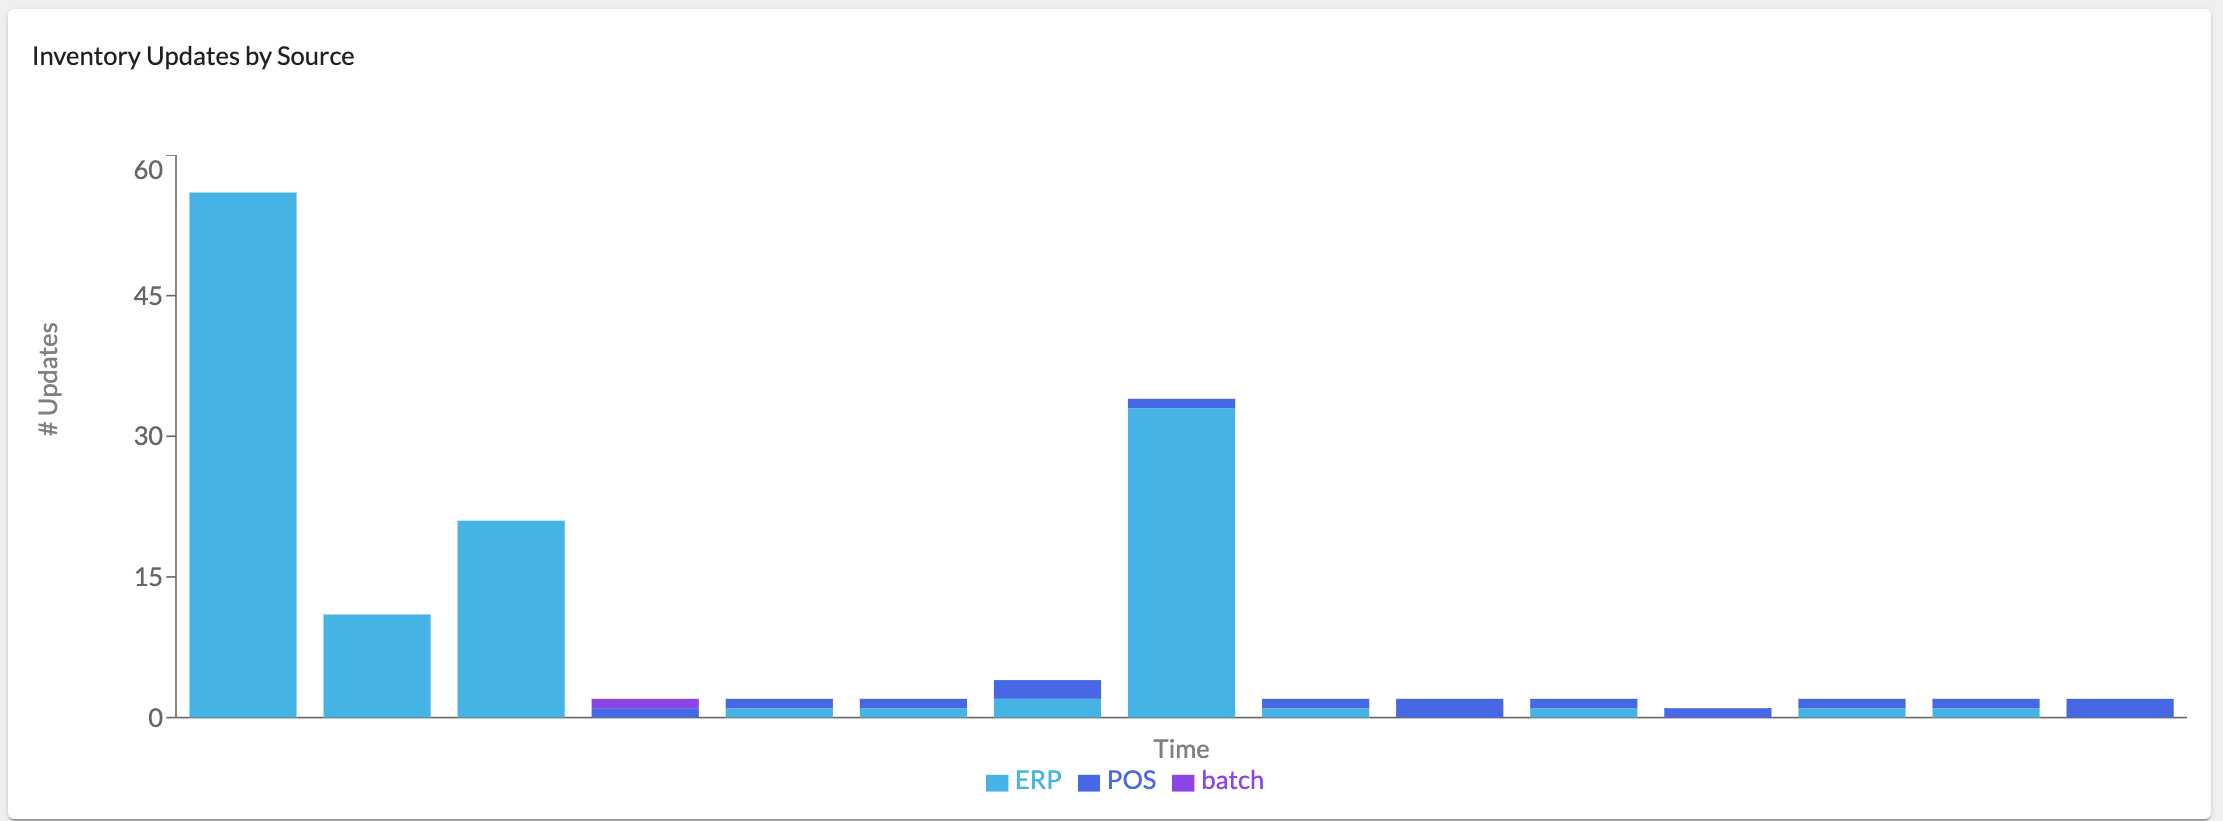
- Inventory Update by Source – Displays inventory event data segmented by source.
Sources Section
This section lists inventory update sources and their performance metrics, including:- Source – Source - The source system that submitted an inventory update event;
- Complete – The number of successfully completed inventory updates (all statuses except
`FAILED`and`NO_MATCH`); - Failed – The number of inventory updates with
`FAILED`and`NO_MATCH`statuses; - Total – The total number of Inventory updates of a particular source;
- Success Rate – A rate calculated by formula: (complete inventory updates / total inventory updates) * 100% ;
- Last Update Received—The timestamp of the most recent update. If the last update was too long ago (more than 24 hours) or not returned,"> 1 day ago" is displayed in the column.

Batch Pre-Processing (BPP) Metrics Dashboard
Overview
The BPP Metrics Dashboard provides insights into batch pre-processing of inventory data. It tracks processing efficiency, identifies data modifications, and optimizes submission strategies. For detailed guidance on how to use it, refer to How to Interpret the Batch Pre-Processing (BPP) Dashboard.The dashboard supports a rolling date range filter of up to 31 days for time-based analysis. It prevents selections from exceeding this range and applies default values when necessary. While users can select any date range within this limit, historical data is available only for the last five months. Users can navigate via the menu or a direct URL, and date parameters are automatically validated.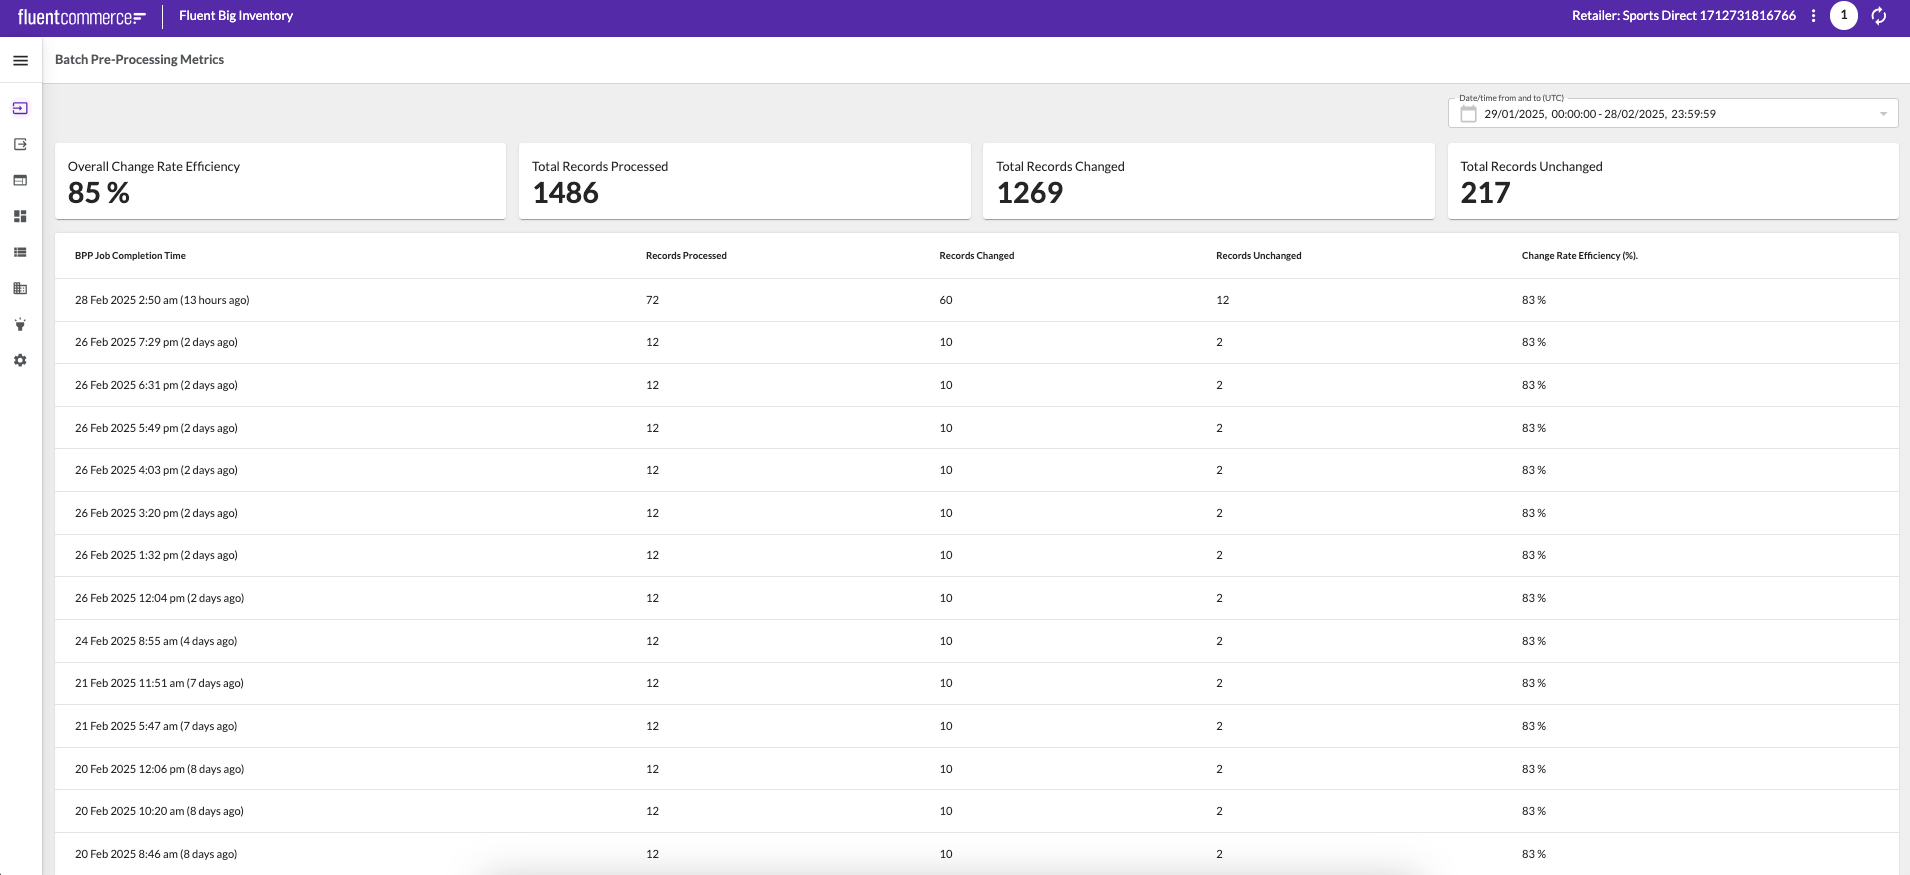
Metrics Section
The dashboard includes four key metrics:- Overall Change Rate Efficiency – Measures the proportion of modified records using the formula:
`(Total Changed Items / Total Processed Items) × 100%`for the selected date range.

- Total Records Processed – Displays the sum of all batch items processed across all jobs within the selected date range.

- Total Records Changed – Represents the total number of records identified as modified across all batch jobs within the selected date range.

- Total Records Unchanged – Indicates the total count of records that remained unchanged and were filtered out across all jobs in the selected date range.

Data Table
A structured table presents batch job performance data with the following columns:- BPP Job Completion Time – Displays when the job ended. Note: This timestamp reflects the job's completion before Rubix-level processing is complete;
- Records Processed – Total items processed per job;
- Records Changed – Items identified as changed;
- Records Unchanged – Items remaining unchanged;
- Change Rate Efficiency (%) – Efficiency metric calculated as
`(Changed Items / Processed Items) × 100%`per job run. Read

Related content
Feeds Interface
Author:
Fluent Commerce
Changed on:
30 July 2025
Overview
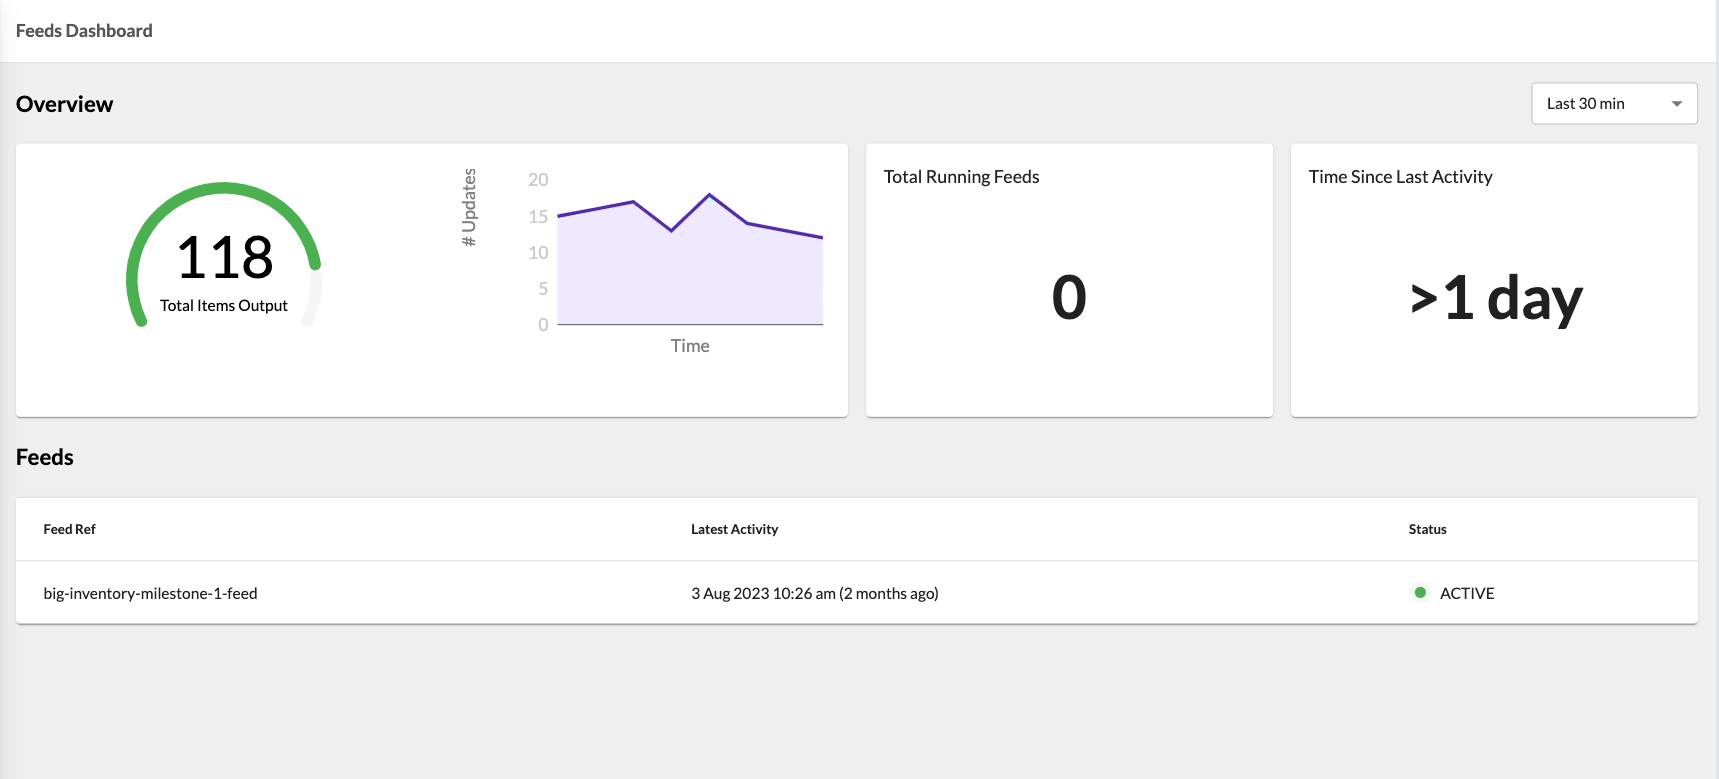
The Feeds interface provides visibility into inventory feeds for an account, enabling monitoring and analysis of feed activity over selected time periods.It includes:- Feeds Dashboard—This dashboard displays general information about inventory feeds within the selected time frame (default: last 30 minutes, 1 hour, 8 hours, 24 hours). Learn how to configure custom periods in this guide. The dashboard consists of:
- Overview: Summarizes overall feed status and key metrics.
- Feeds: Lists individual feed details for deeper insight.
Key points
- You should know about Inventory Feeds.
- The Feeds Dashboard offers a comprehensive overview of inventory feeds. It presents general information for selected periods and provides users with insights into their account's feed activities.
Related content
Products Interface
Author:
Fluent Commerce
Changed on:
30 July 2025
Overview
The Products interface is a collection of products and any attributes and details associated with each product in the category.The Products interface of the Fluent Web App provides comprehensive capabilities:- Product Catalog management
- Standard and Variant Product management
- Category management
- Categories
- Product Catalogues
Key points
- The Products interface is a centralized hub for managing a collection of products, encompassing all associated attributes and details, offering a holistic approach to product management.
- It focuses on Product Catalog management, Standard Product management, and Category management. It empowers users to efficiently organize and oversee their product-related information, providing a seamless and comprehensive solution.
- The interface offers specific configurations for managing Categories and Product Catalogs, ensuring a tailored and effective product categorization and cataloging approach.
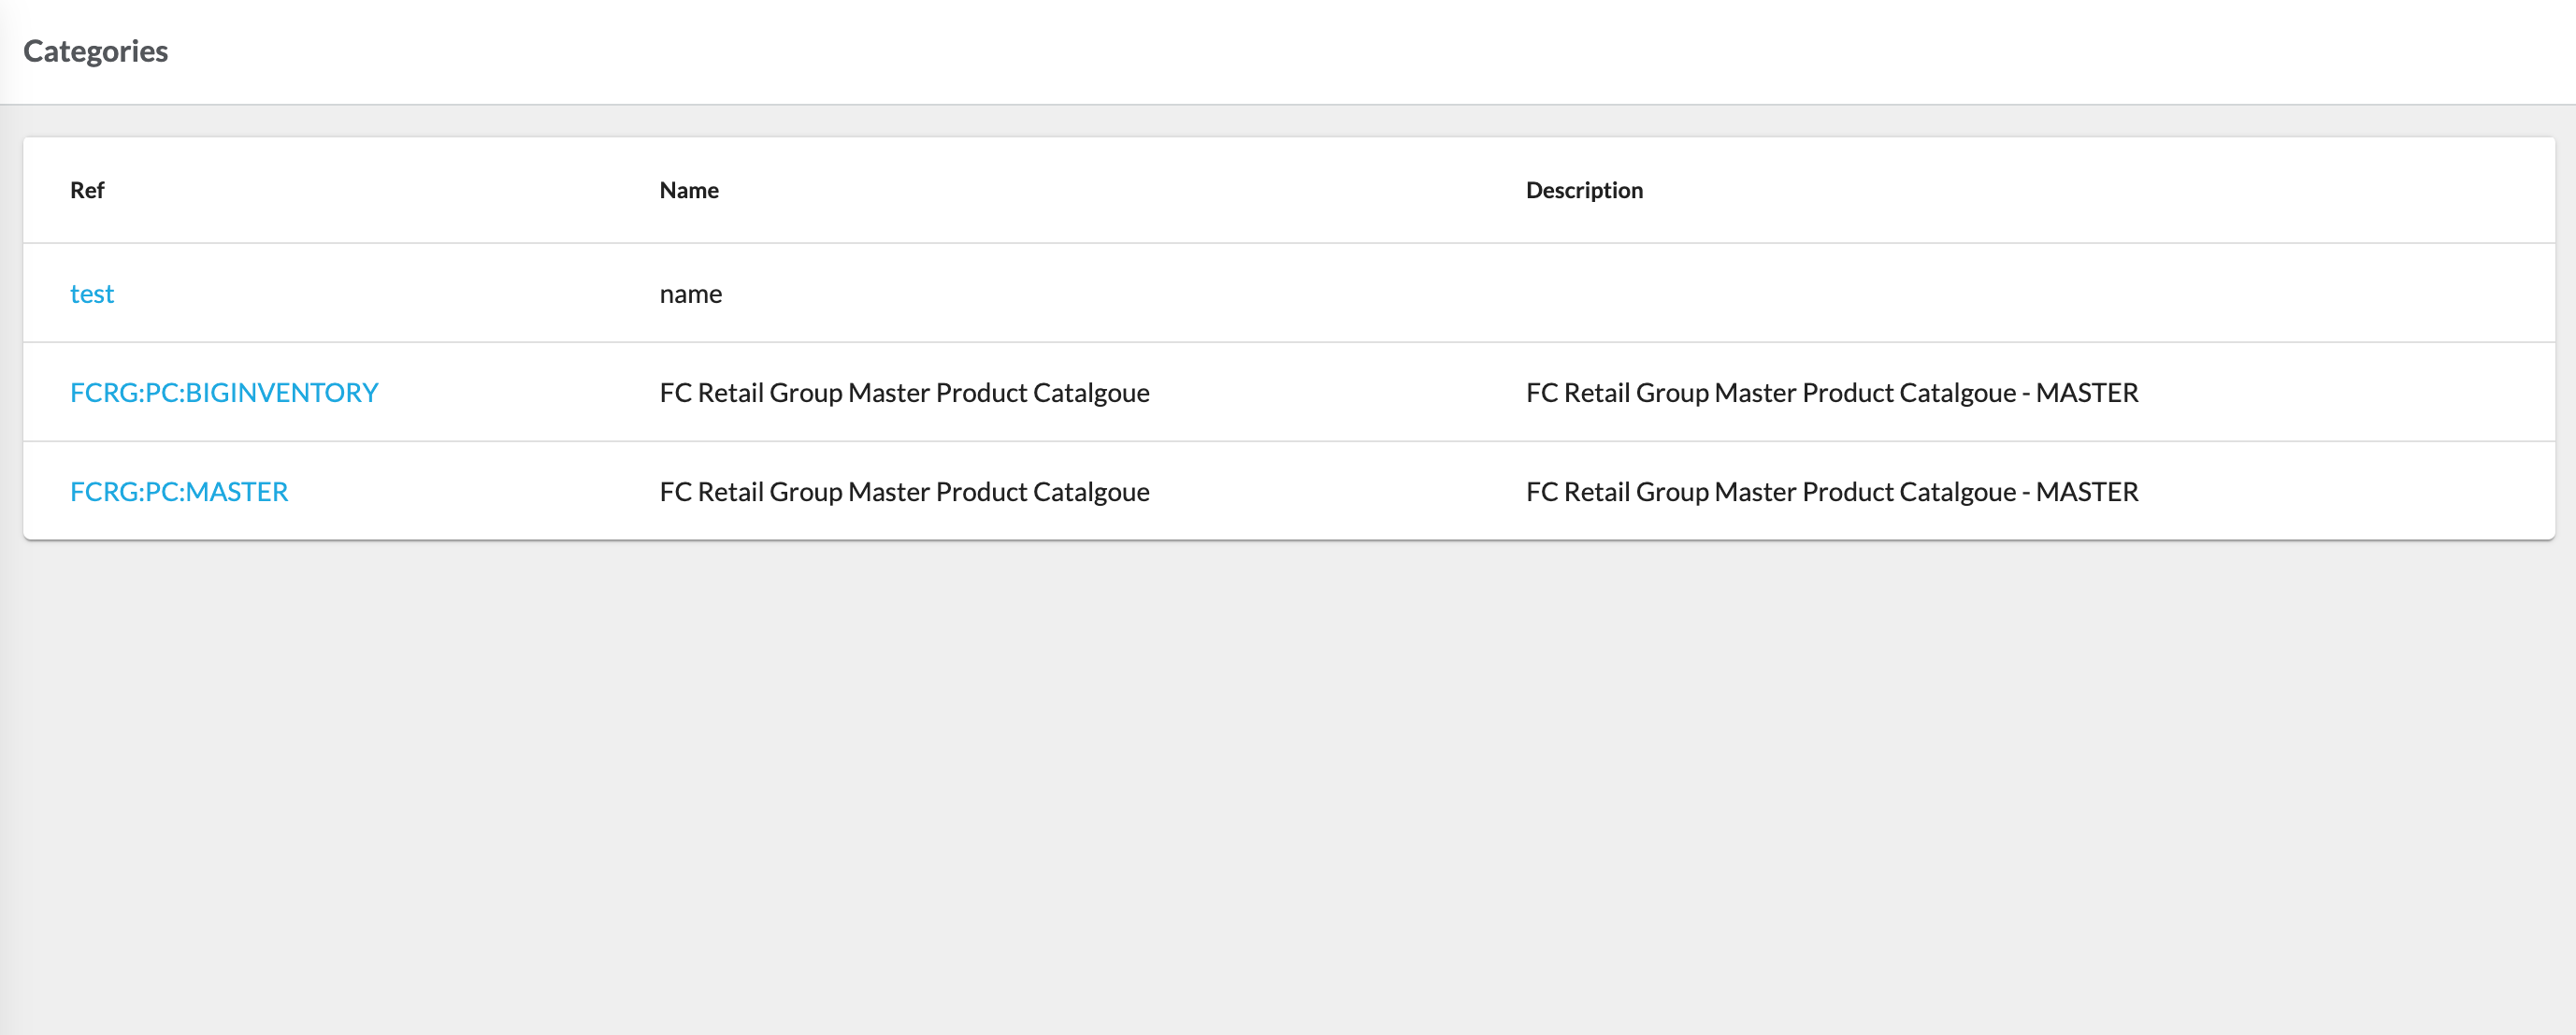
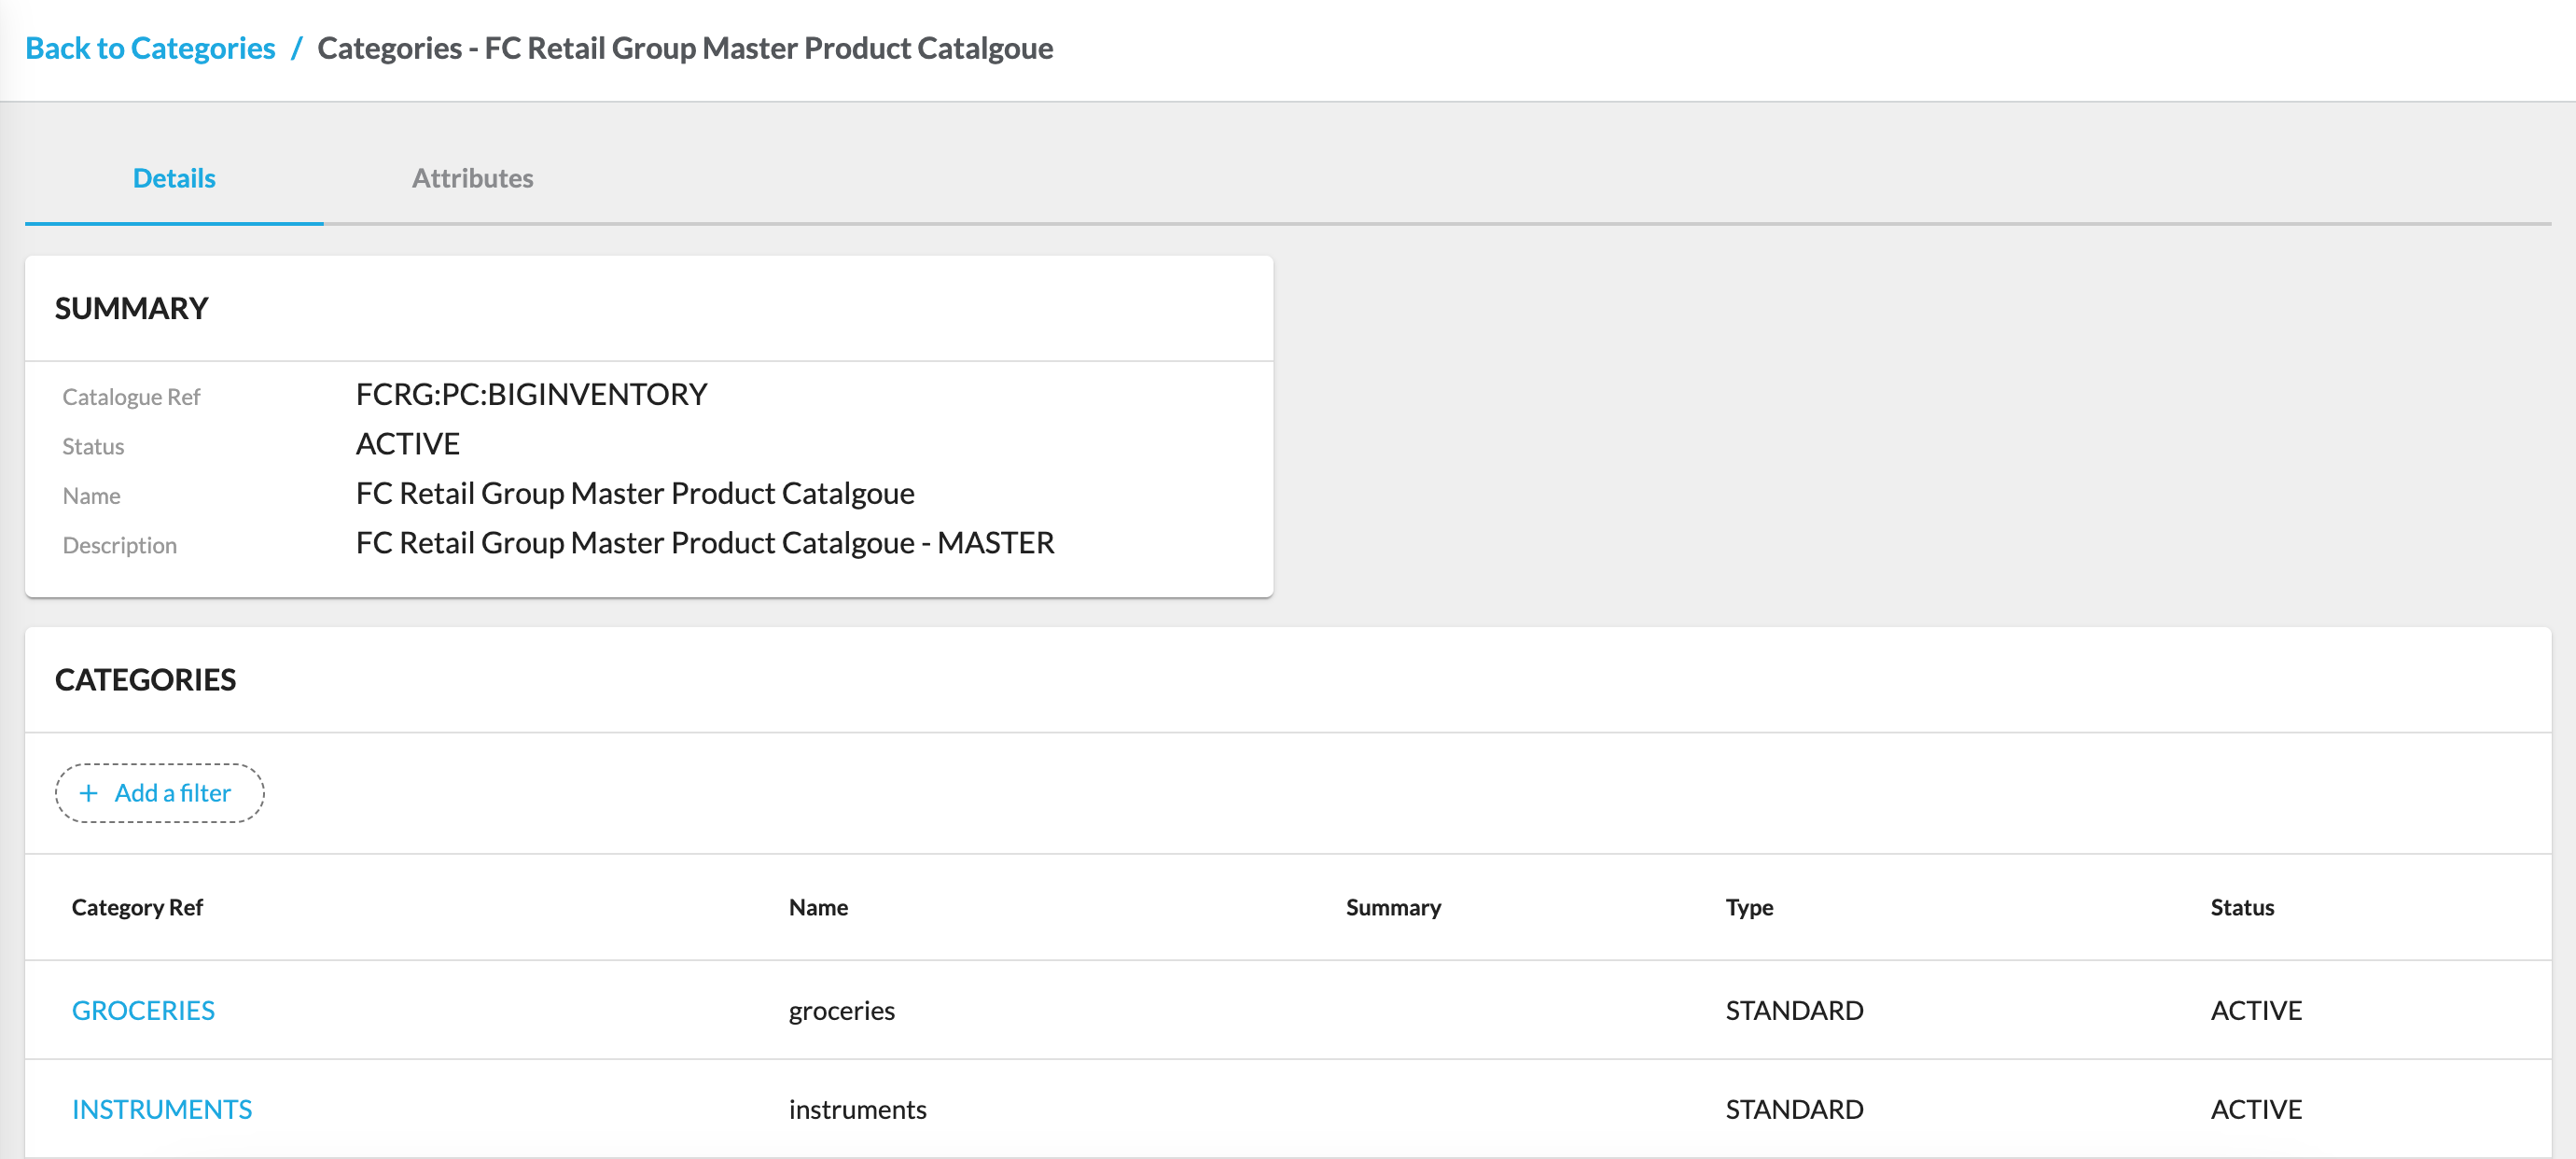
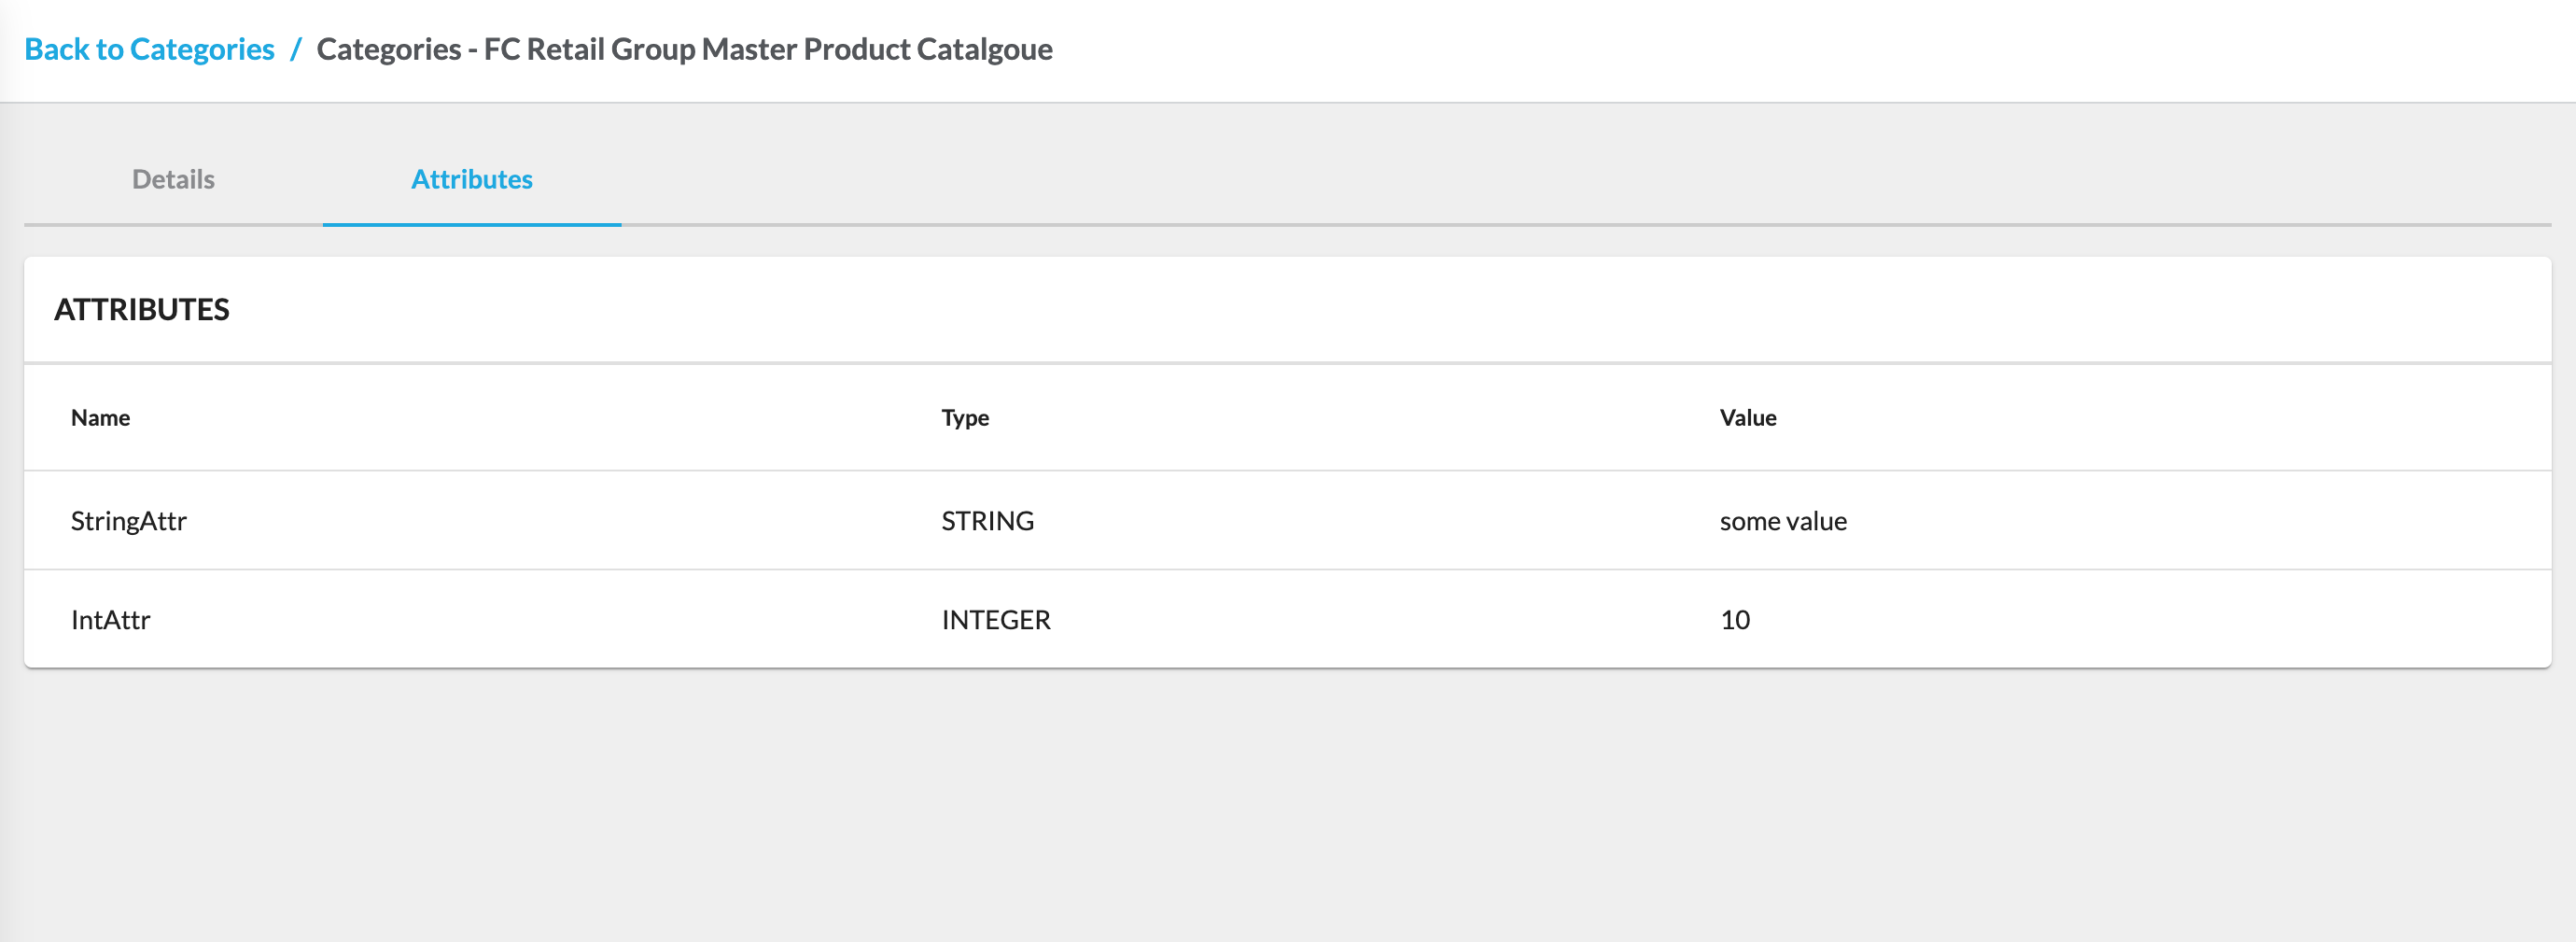
`Ref` opens the Product Catalogue Categories details page, which provides detailed information about the categories of a particular product catalogue. The detail view consists of the following tabs:- Details
- Attributes
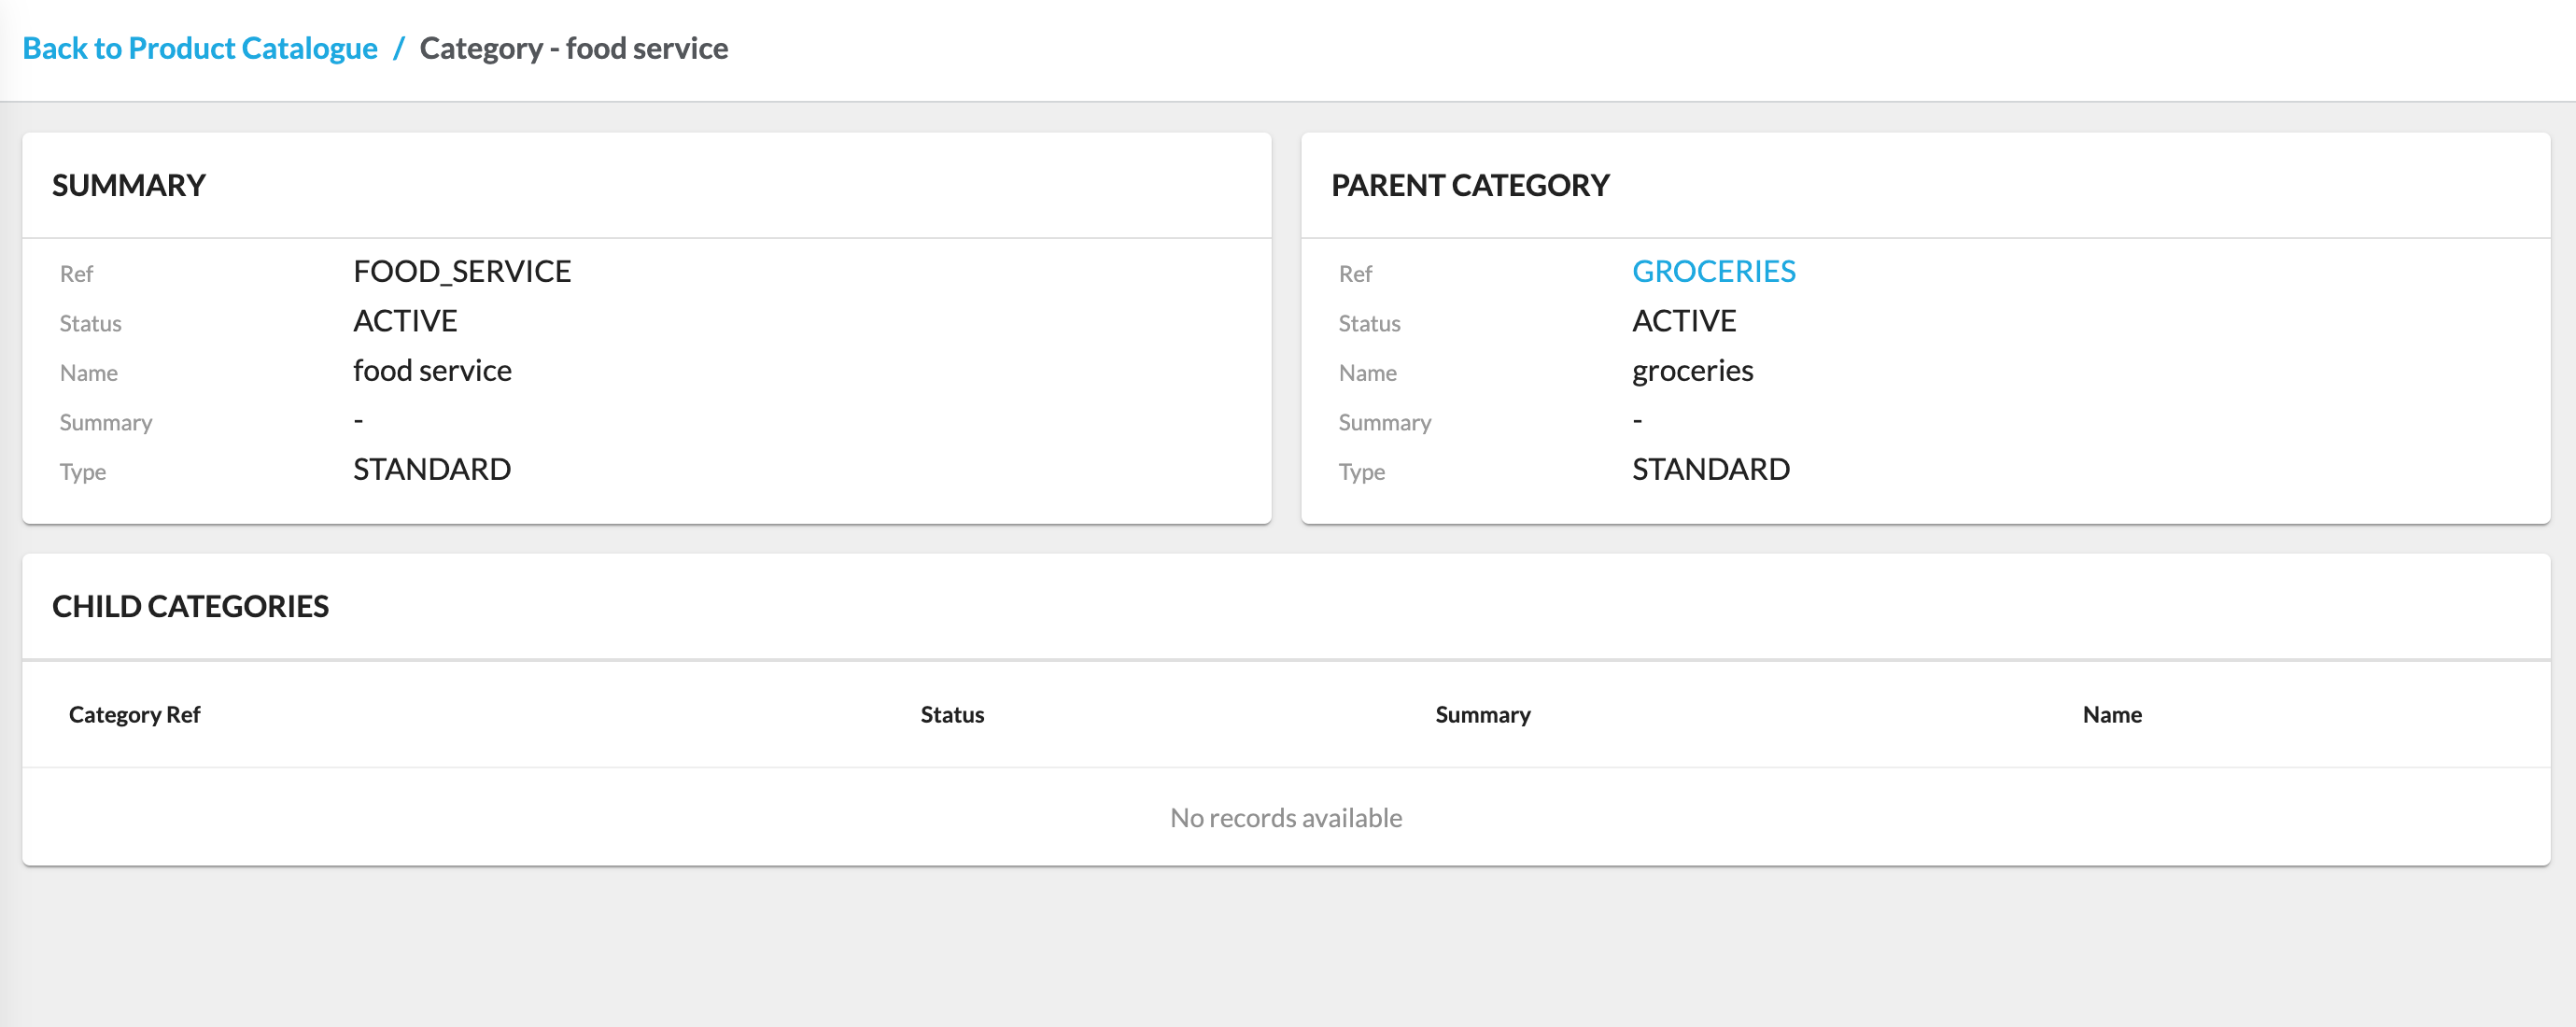
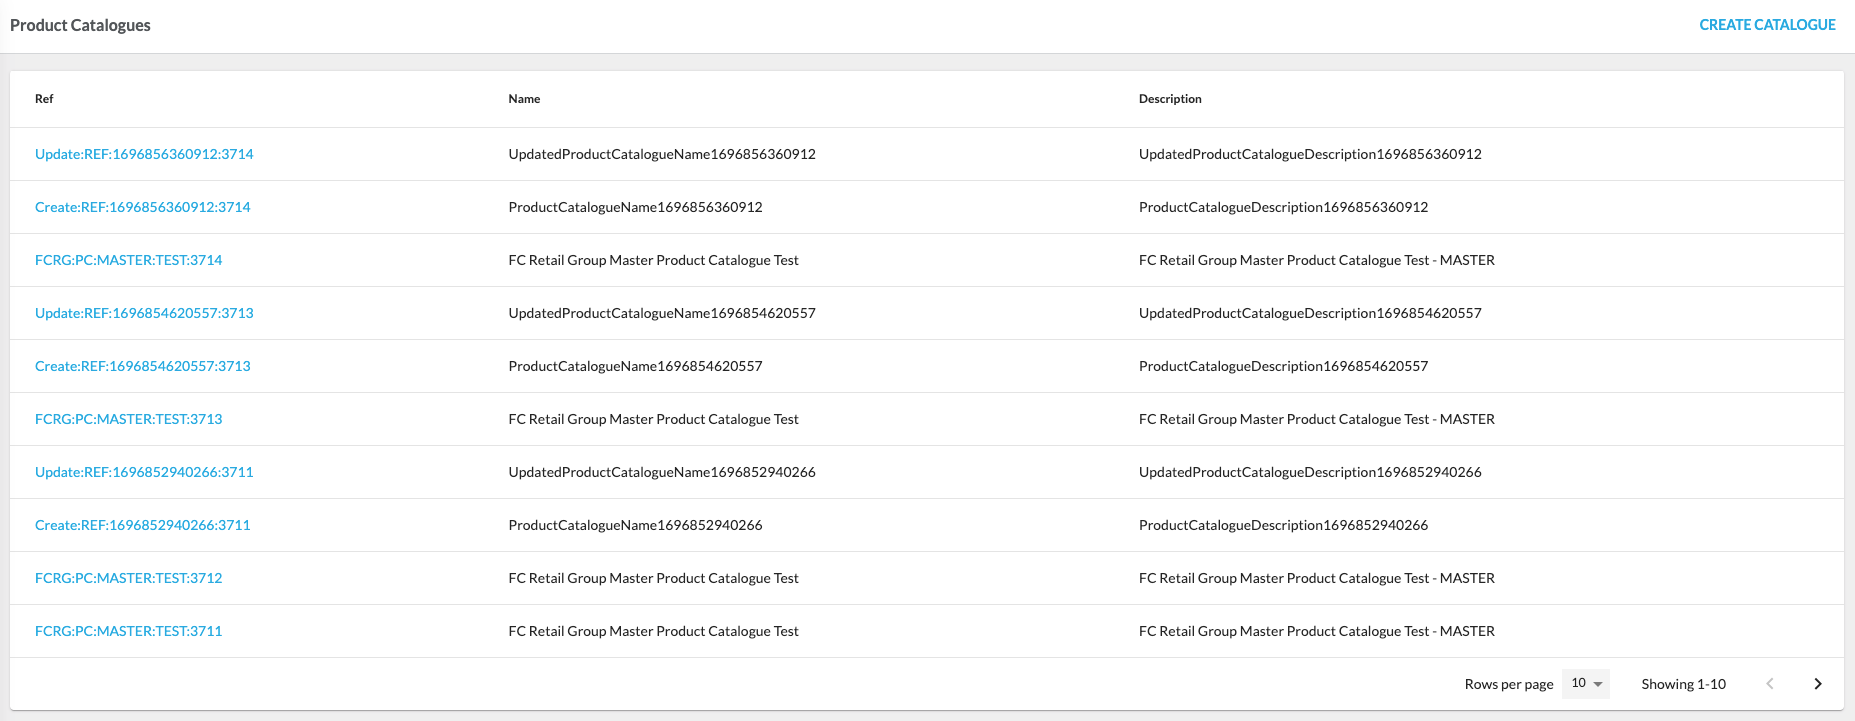
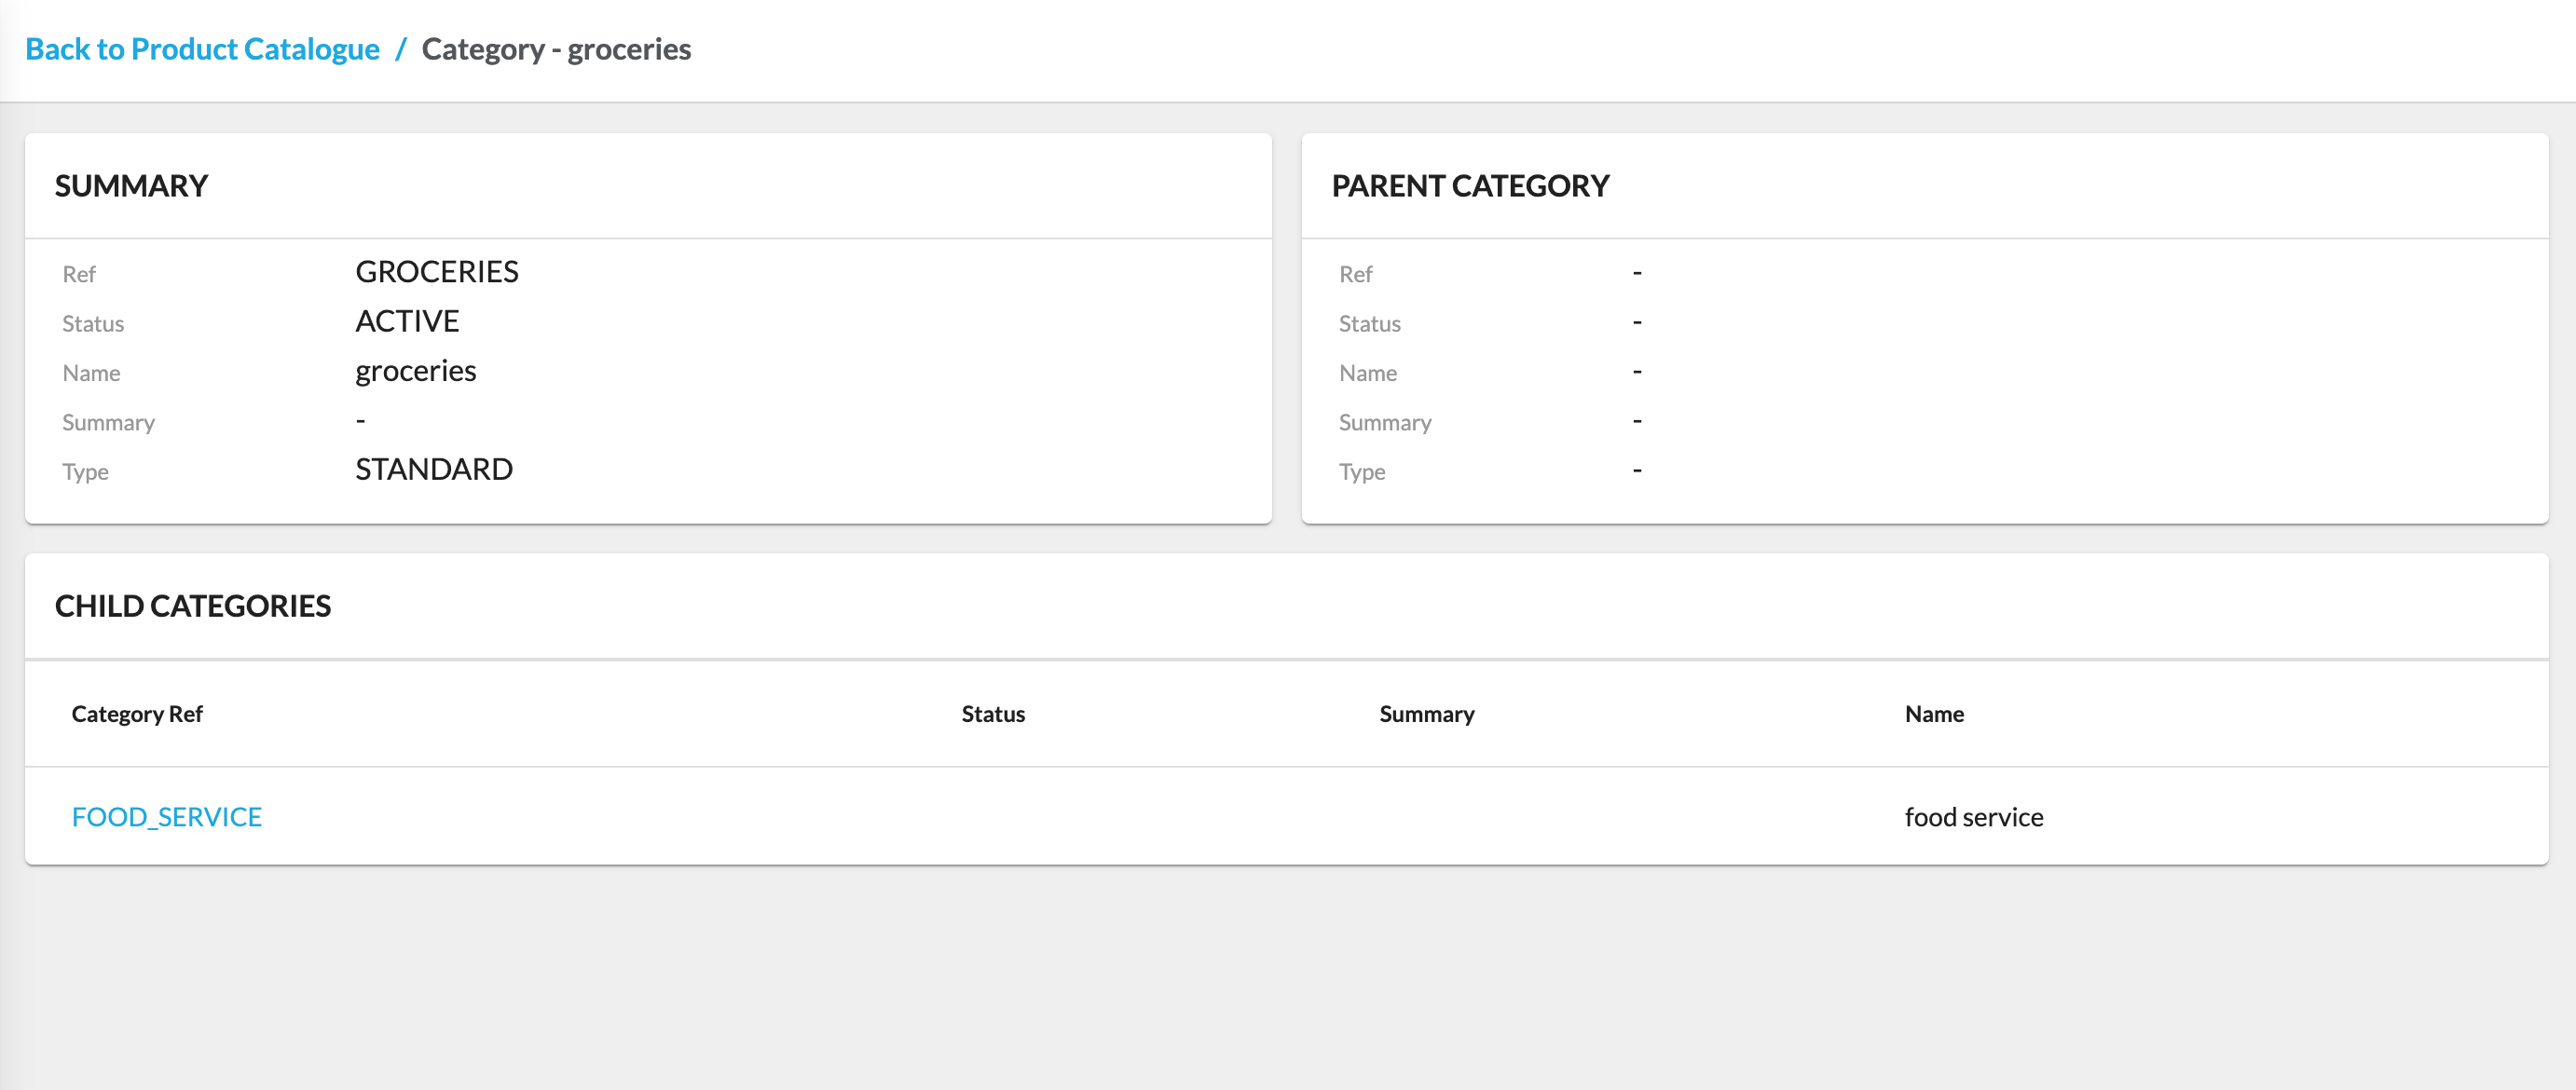 Product CataloguesA Product Catalog stores all the Products a retailer wants to sell and contains information that helps identify each product (e.g., name, color, description, product code).A retailer can have one or more Product Catalogs containing all its products. Each product catalog type has a corresponding workflow, referred to as a 'Product catalogue workflow,' which orchestrates products in the catalog. The retailer can configure workflows to add their specific business logic.Product Catalog Entities
- Standard Product
- A standard product entity. It includes:
- a sellable, non-variant product
- a non-sellable base for a variant product
- a sellable or non-sellable component of a group product
- A standard product entity. It includes:
- Variant Product
- An entity that holds additional attributes for variation of a base product, such as size, color, volume, etc. The base product is non-sellable and stored as a Standard Product.
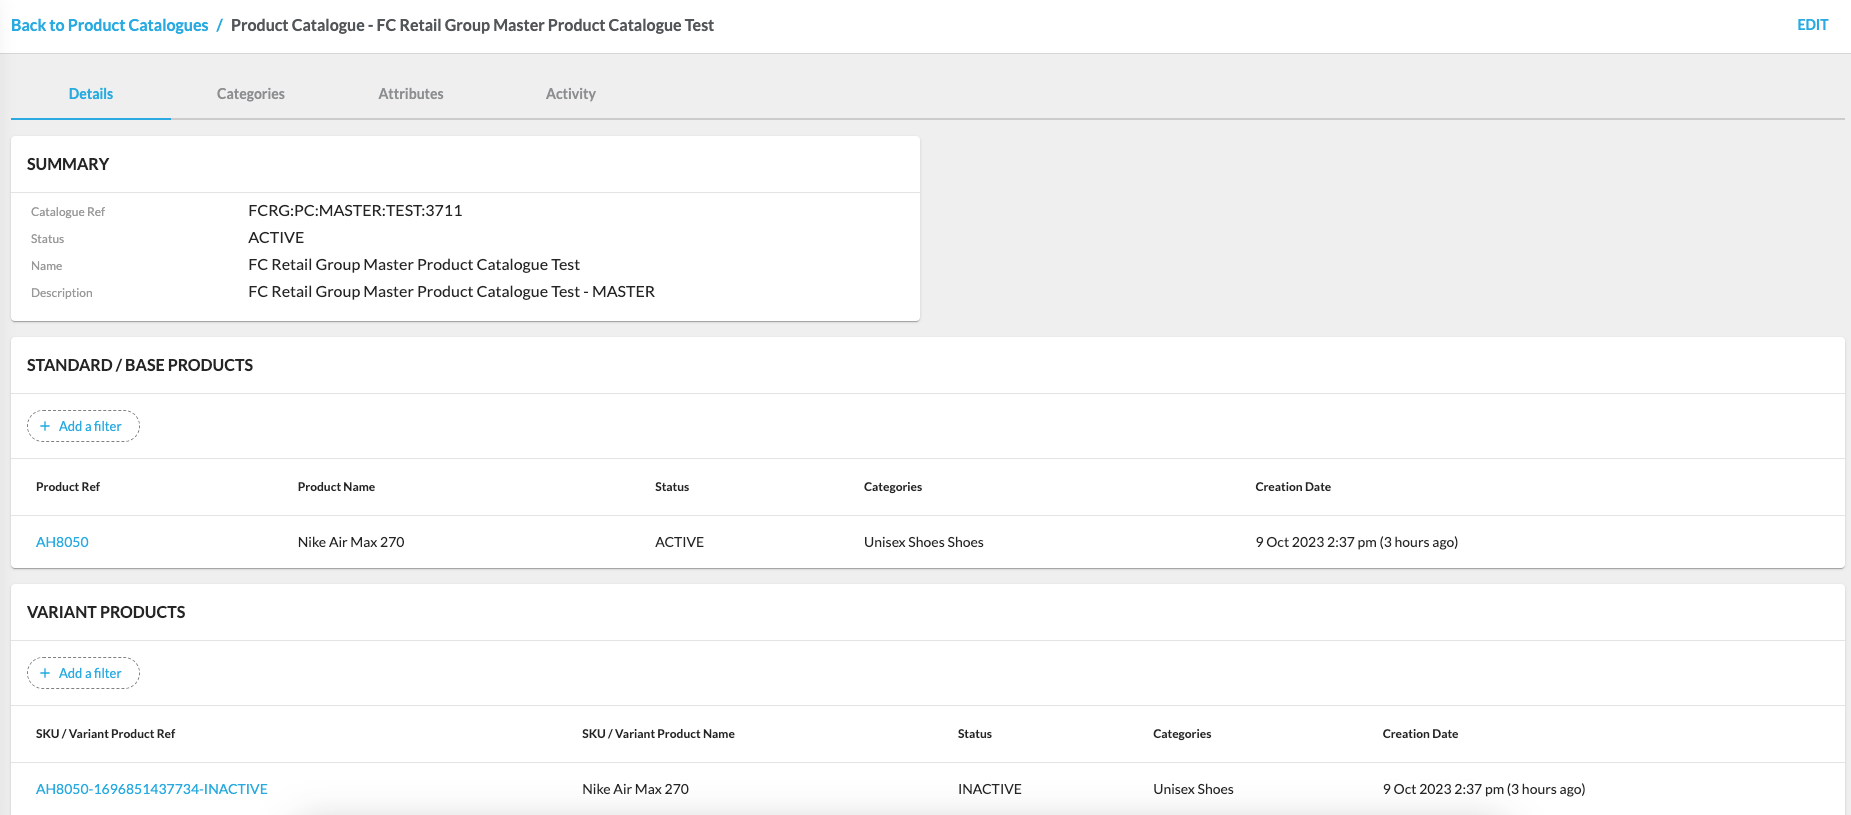
`Ref` opens the Product Catalogue details page, providing detailed information about the product catalogue.The detail view consists of the following tabs:- Details
- Categories
- Attributes
- Activity


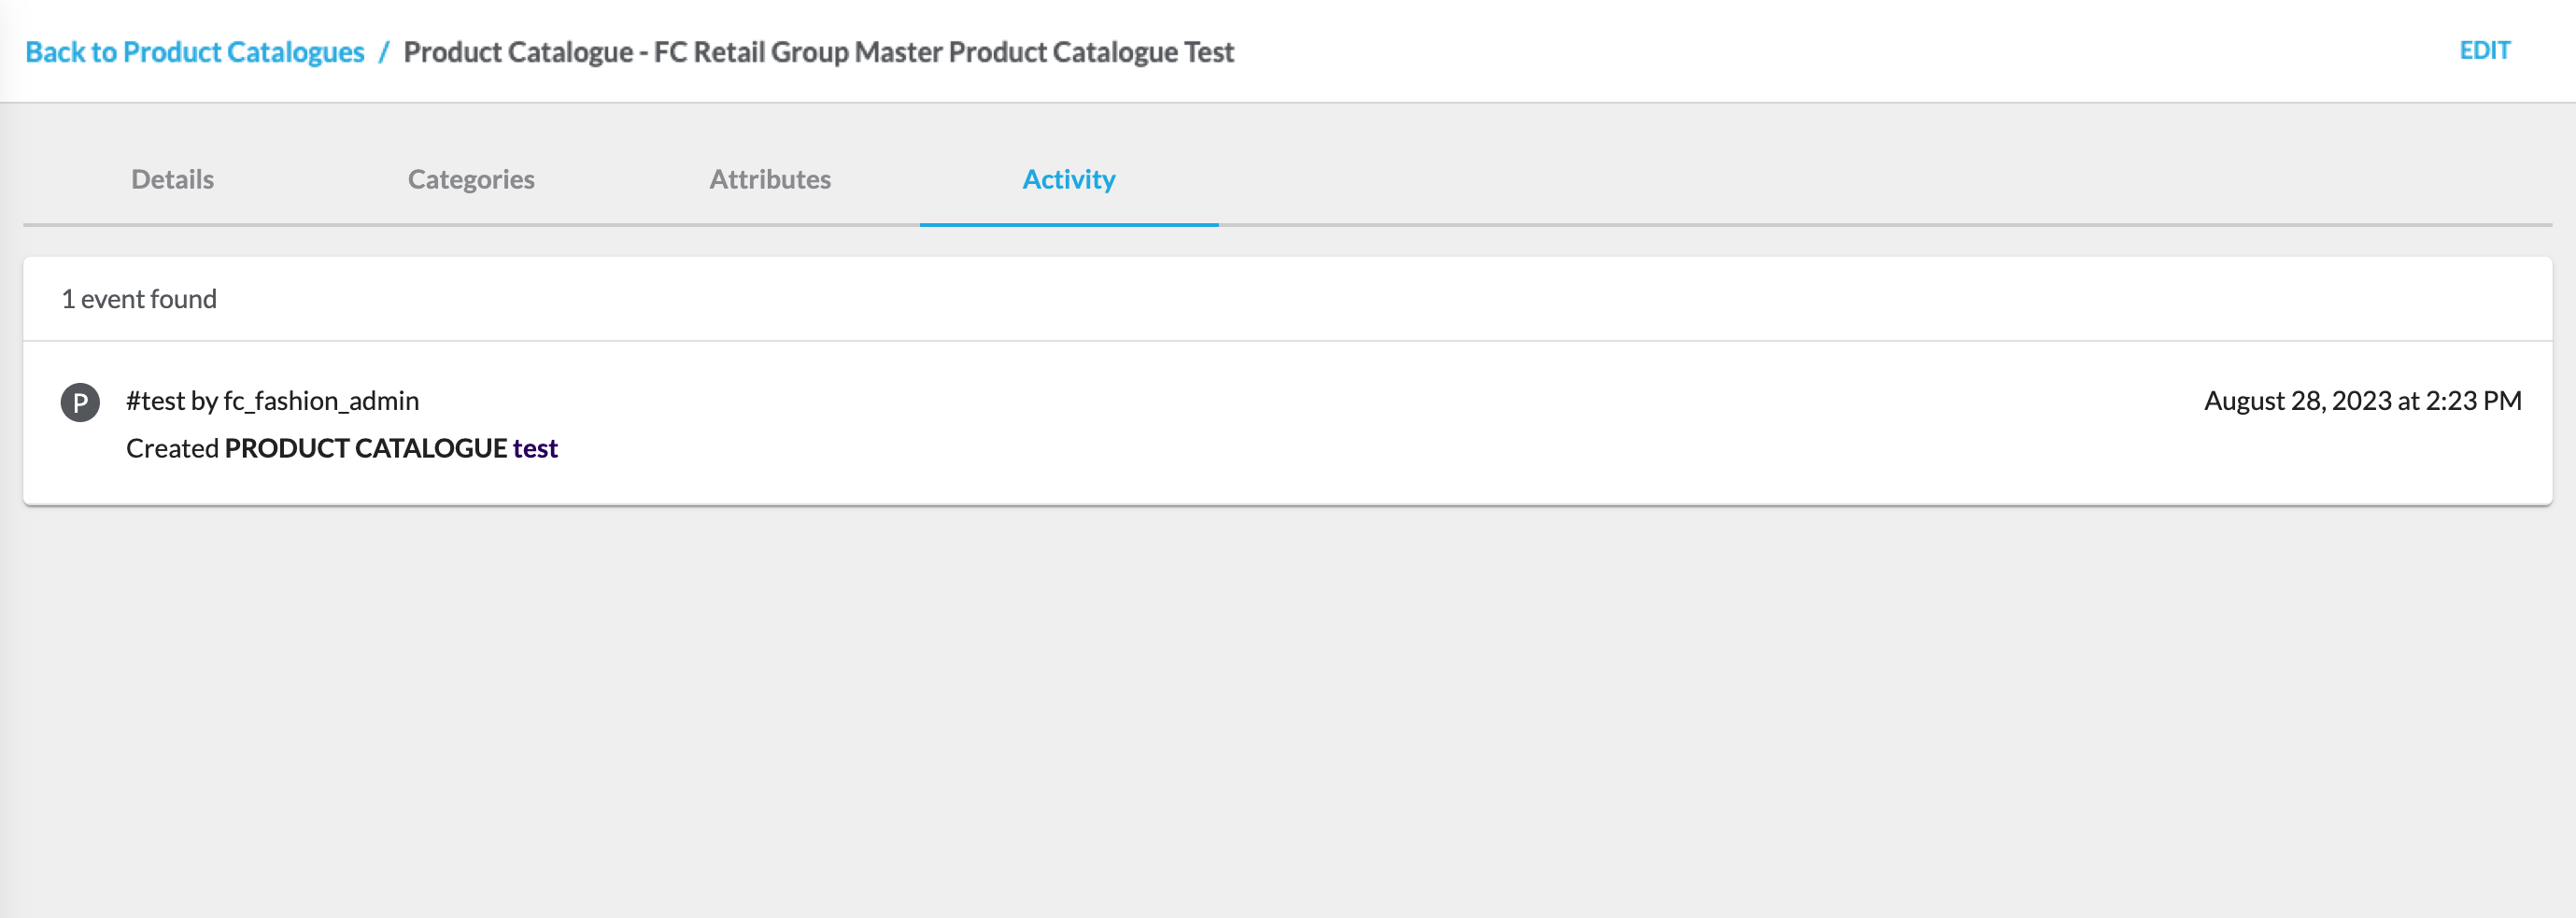
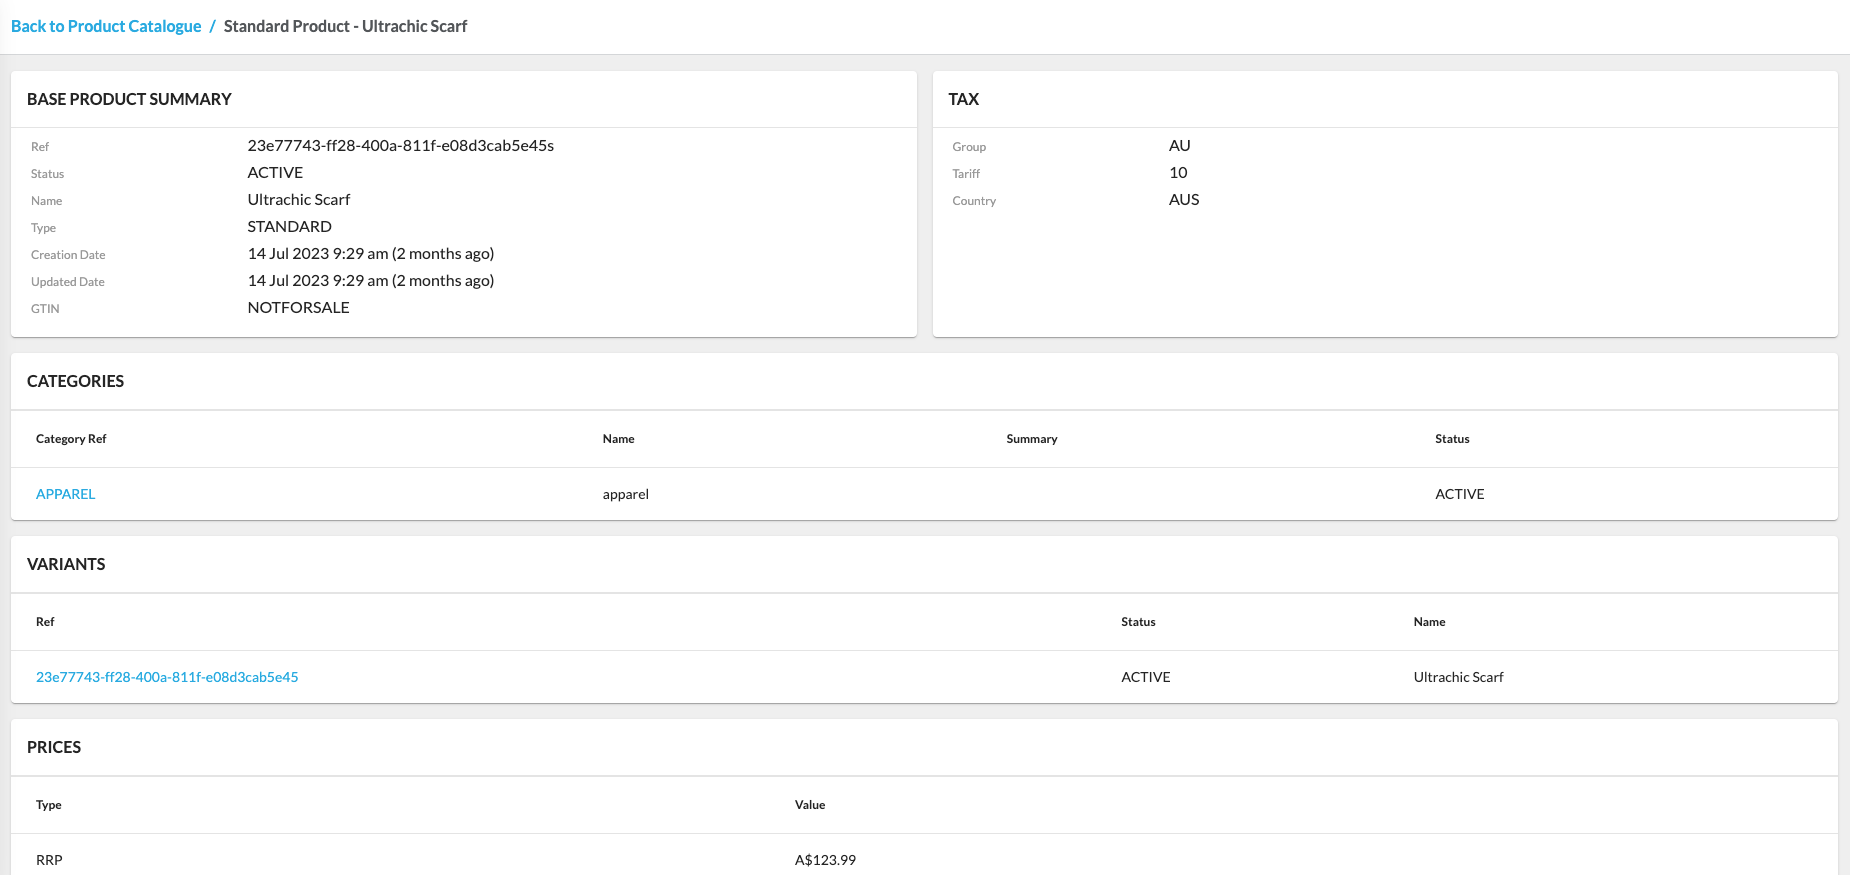
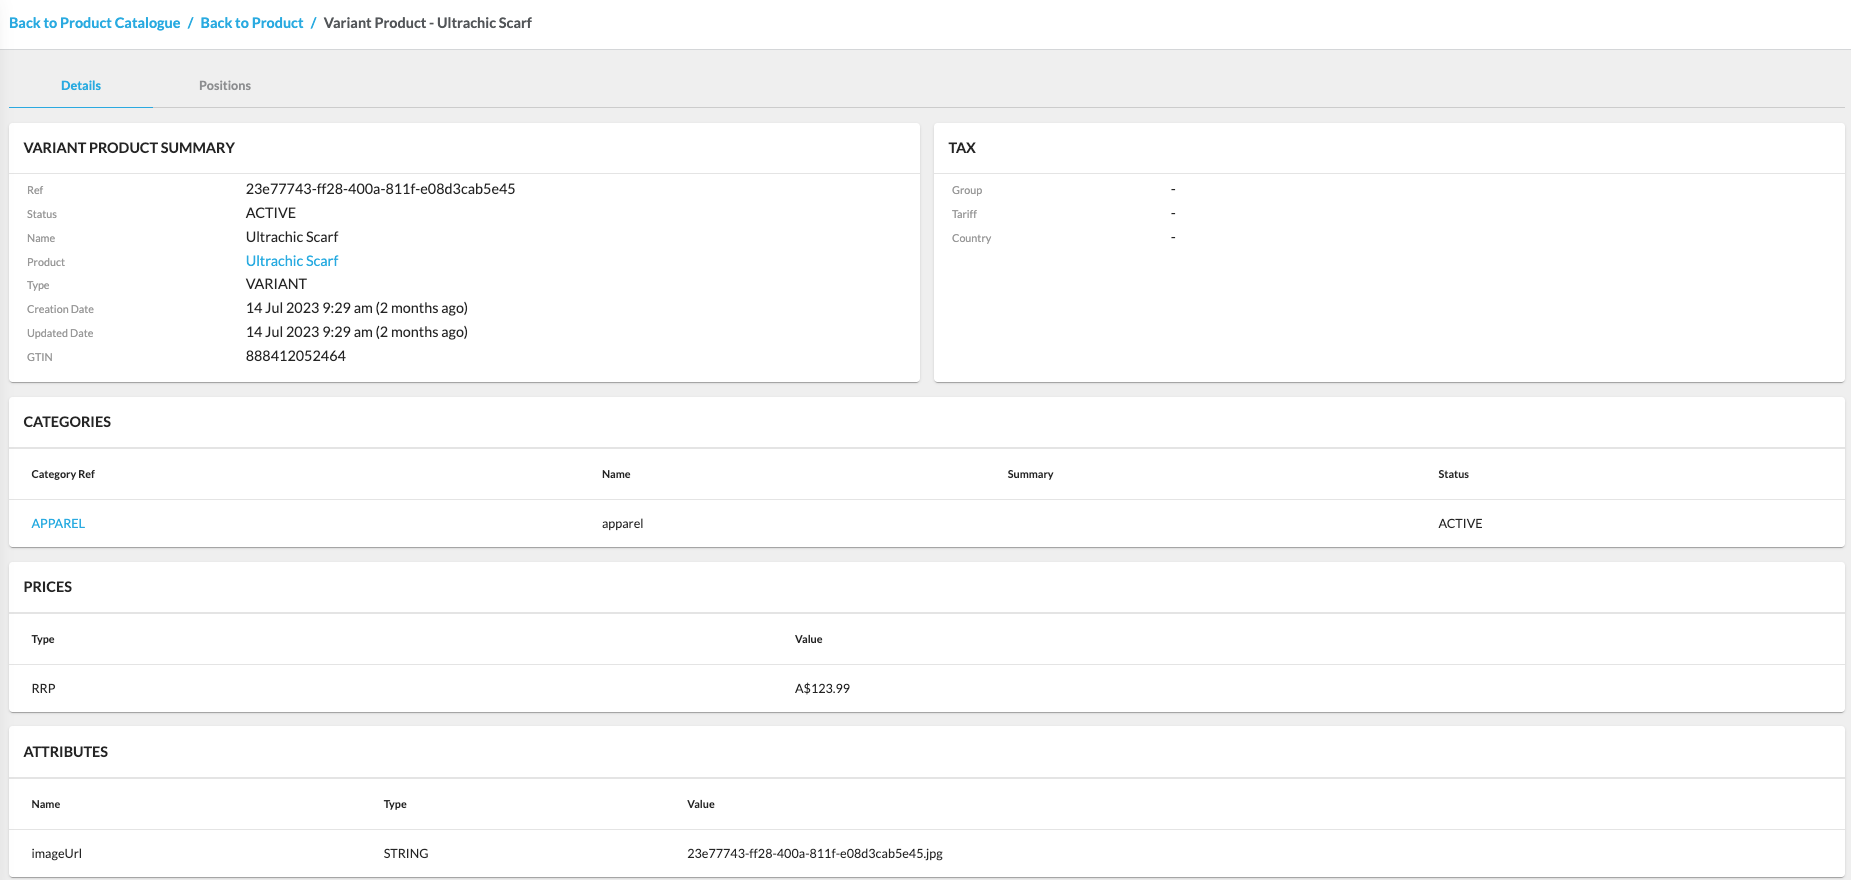 FeaturesThe Products Section offers a set of features designed to help users efficiently manage products within the application.Manage Product CatalogsUsers can create and manage product catalogs within the Products Section to organize and maintain product information effectively.For step-by-step instructions on creating and editing product catalogs, refer to the guide:How to create and edit a Product Catalogue.
Related content
Unified View of Inventory Interface
Author:
Yulia Andreyanova
Changed on:
29 Aug 2025
Overview
The Unified View of Inventory (UVOI) interface consolidates data from multiple locations and channels into a single, real-time interface. It provides centralized inventory search, advanced filtering, and customizable views. It enables you to monitor, analyze, and act on inventory data.Key points
- Centralized Inventory Management: The Unified View of Inventory (UVOI) consolidates data from multiple locations and channels into a single, real-time interface, simplifying inventory management and improving decision-making.
- Advanced Filtering Capabilities: UVOI offers flexible filters for refining search results, including catalog, stock status, on-hand quantities, and product or location-specific criteria.
- Comprehensive and Customizable Views: The Inventory Search page provides a detailed overview of inventory, with drill-down capabilities for stock levels, available-to-sell quantities, and update histories. Users can navigate to location-specific or product-specific views and customize filters and criteria to tailor the experience to their operational needs.
- Inventory Search Page: A centralized view with filter panels to refine inventory and virtual positions.
- Advanced Filtering Capabilities: Filters for catalog, stock status, on-hand quantities, and more.
- Inventory View by Location: Detailed insights into inventory at specific locations. Including stock levels and virtual positions.
- Inventory View by Product: A comprehensive look at product-specific inventory across locations, with key product details and statuses.
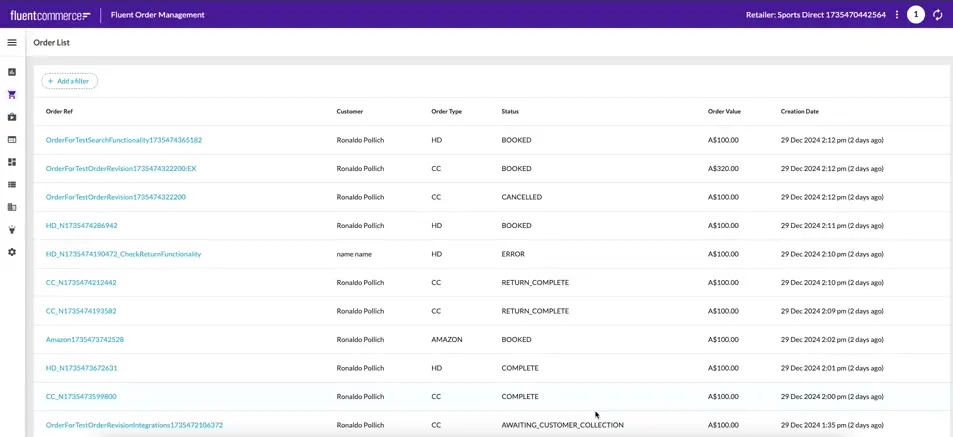
Inventory Search Page
The UVOI comes with a new menu section that is available out of the box in the Fluent OMS and Fluent Big Inventory Web Apps. The Inventory Search page displays a filter panel and a list of inventory positions as search results. Each inventory position expands into a detailed list of associated virtual positions, accessible via a dropdown.The top filter panel refines inventory positions based on user-defined criteria, while the inner filter panel focuses on virtual positions. These two filter panels operate independently.Advanced Filtering Capabilities
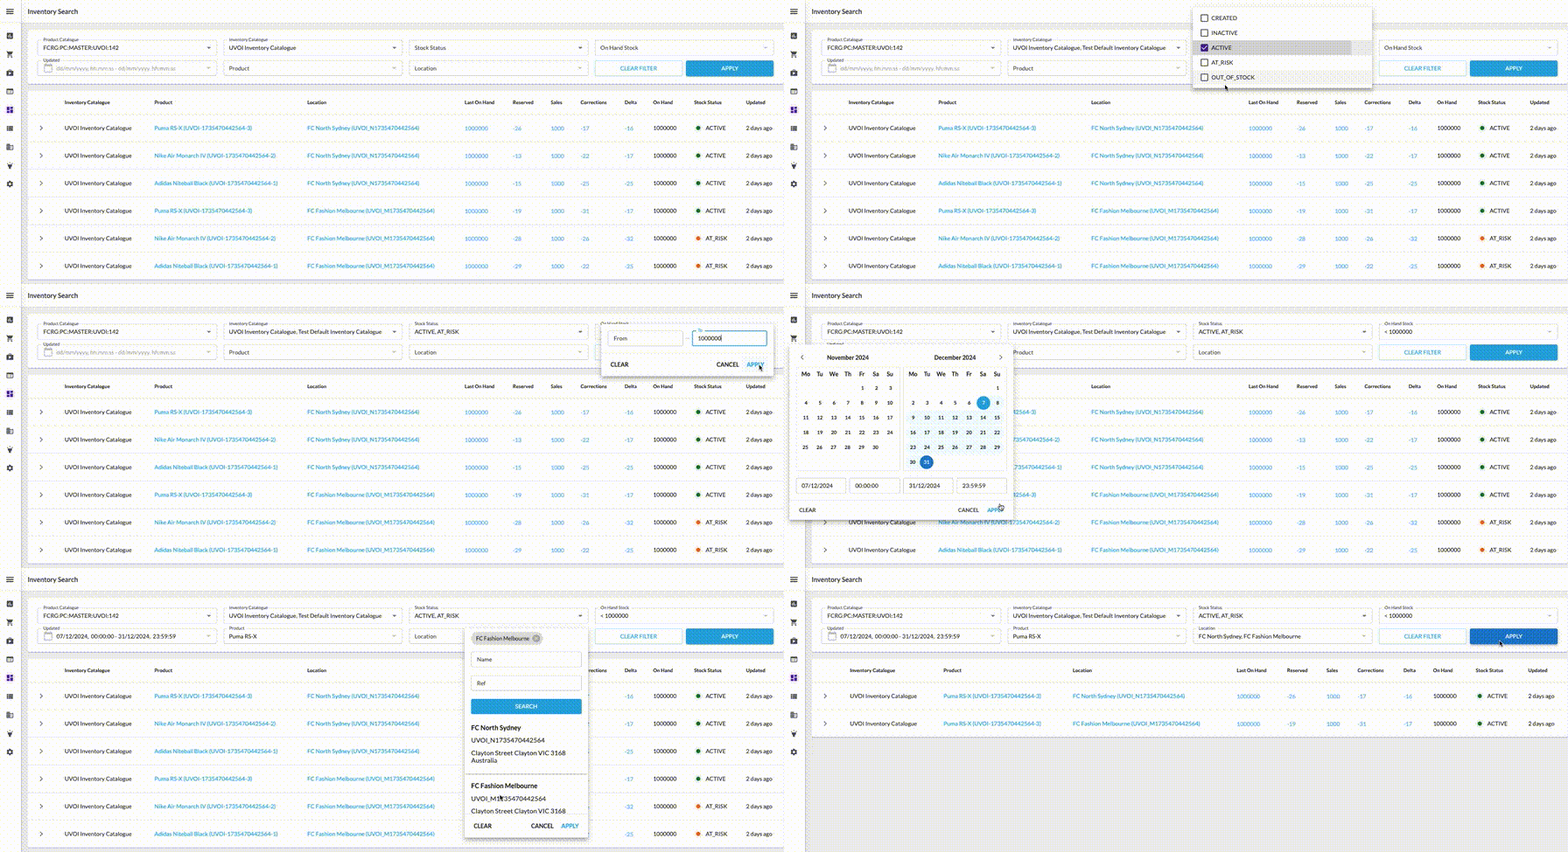 The Unified View of Inventory offers powerful and flexible filters to refine search results:
- Product Catalog Filter automatically applies the default product catalog upon visiting for the first time, as configured via the fc.oms.inventory.search.product.catalogue.default setting. The selected product catalog determines the product name displayed in the search results table. If the product associated with an inventory position belongs to a different product catalog, the product name will not appear. Instead, only the product reference will be shown.
- Inventory Catalog Filter controls the records displayed by linking to the inventory catalog defined via the fc.oms.inventory.search.inventory.catalogue.default setting. If no default inventory catalog is set, no records will appear.
- Stock Status Filter filters inventory positions by status as defined in the setting.
- OnHand Stock Filter allows filtering based on available on-hand stock. Users can set a range or filter inventory with values greater or smaller than a specific threshold.
- Updated Filter enables filtering by the last update timestamp of inventory positions.
- Product and Location Filters refine inventory positions by product or location. Clicking the filter opens an advanced form where users can search by name or reference. Matched records appear as selectable chips.
Inventory Position Details
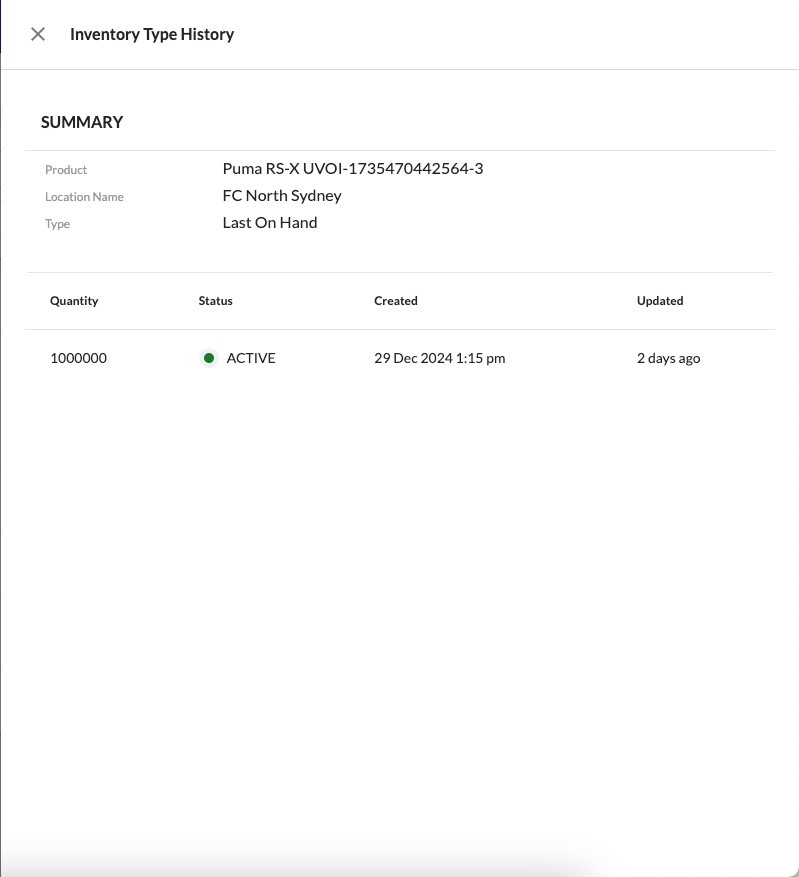
The Inventory Search page presents a detailed overview of inventory positions, offering important information at a glance. Users can view the inventory catalog name, associated product, and location, along with calculated on-hand quantities and aggregations of inventory quantities. Additionally, it displays the stock status and timestamps for the most recent updates, ensuring complete visibility into inventory changes. Clicking any quantity cell opens a Type History Drawer, displaying the history of changes for that inventory quantity type.
 Each inventory position contains an inner list of associated virtual positions, enabling a more granular view of inventory filtering by virtual catalog, available stock, and virtual stock statuses.
 From an inventory position, users can navigate to detailed inventory views:
- By Location: Focuses on inventory specific to a chosen location.
- By Product: Displays inventory details for a specific product, including stock levels across locations and virtual positions.
Inventory View by Location
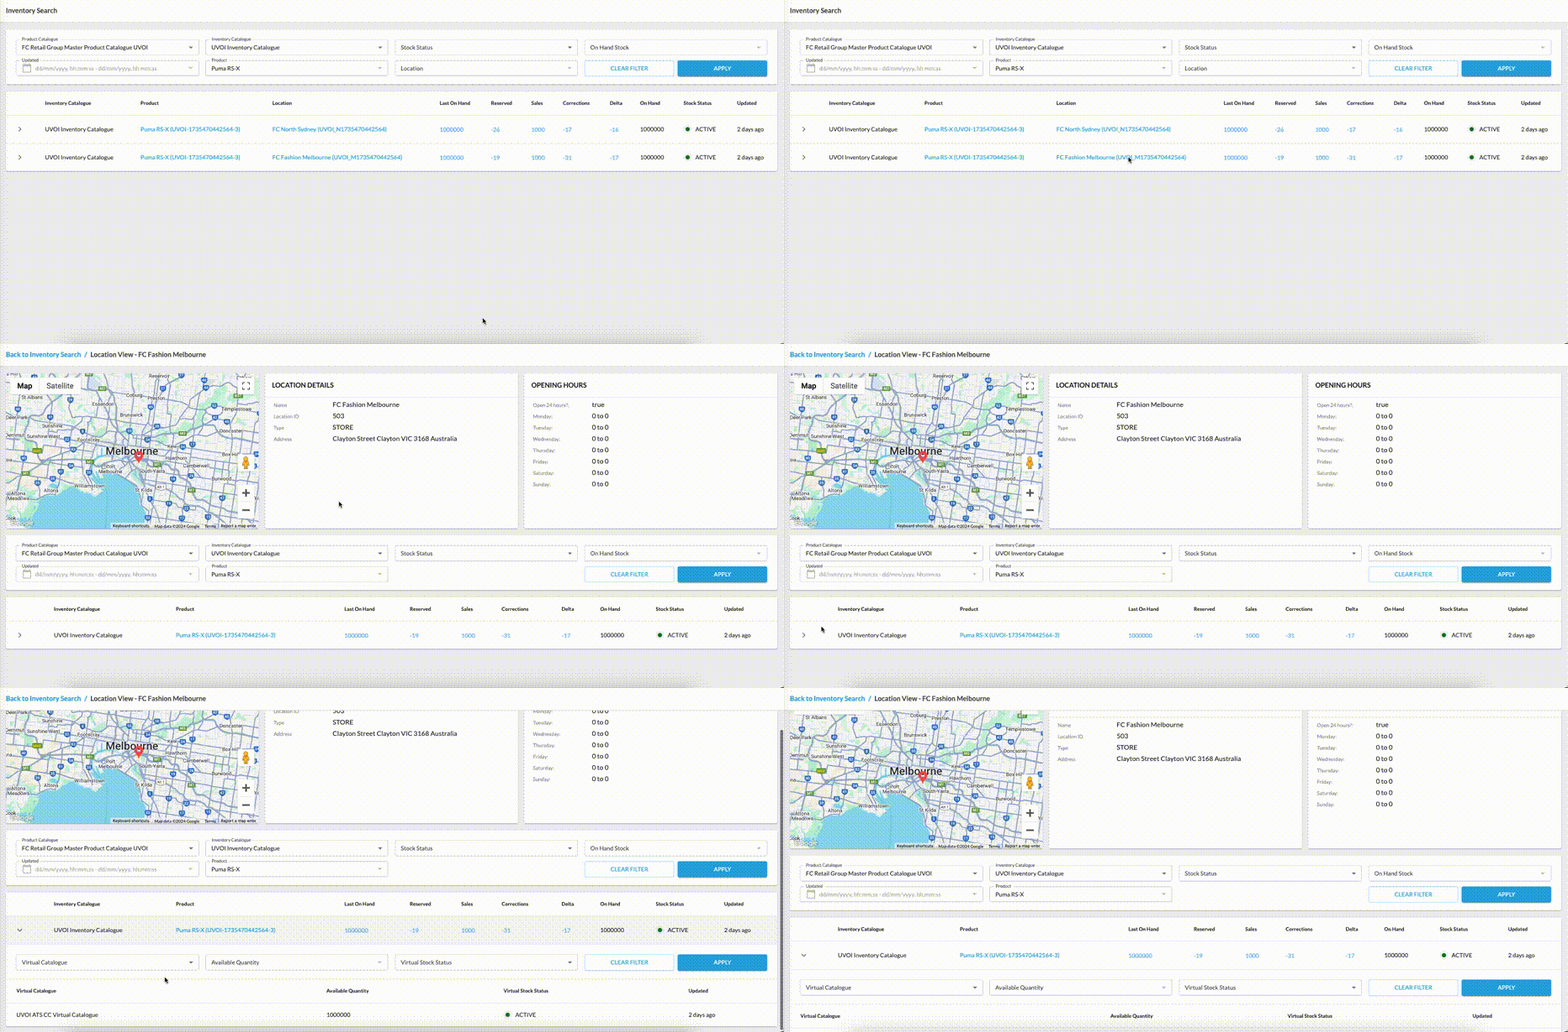 The Inventory View by Location page gives a clear and detailed look at a specific location’s inventory. Users can click on a location name from the Inventory Search page to access this view. The location reference will still show if someone doesn’t have the required permissions, but it won’t be clickable, keeping restricted information protected.This page provides the location’s address, working hours, and a full list of inventory positions. It also includes a filter panel—without the location filter—and a detailed inner list of virtual positions linked to each inventory entry. This ensures that all the key inventory details for that location are easy to find.Filters from the Inventory Search page carry over to this detailed view, making it easier to continue working with the same data. However, filters from the inner list do not apply. A breadcrumb link at the top allows users to return to the Inventory Search page, keeping any previously applied filters in place, even when switching between different details pages.
Inventory View by Product
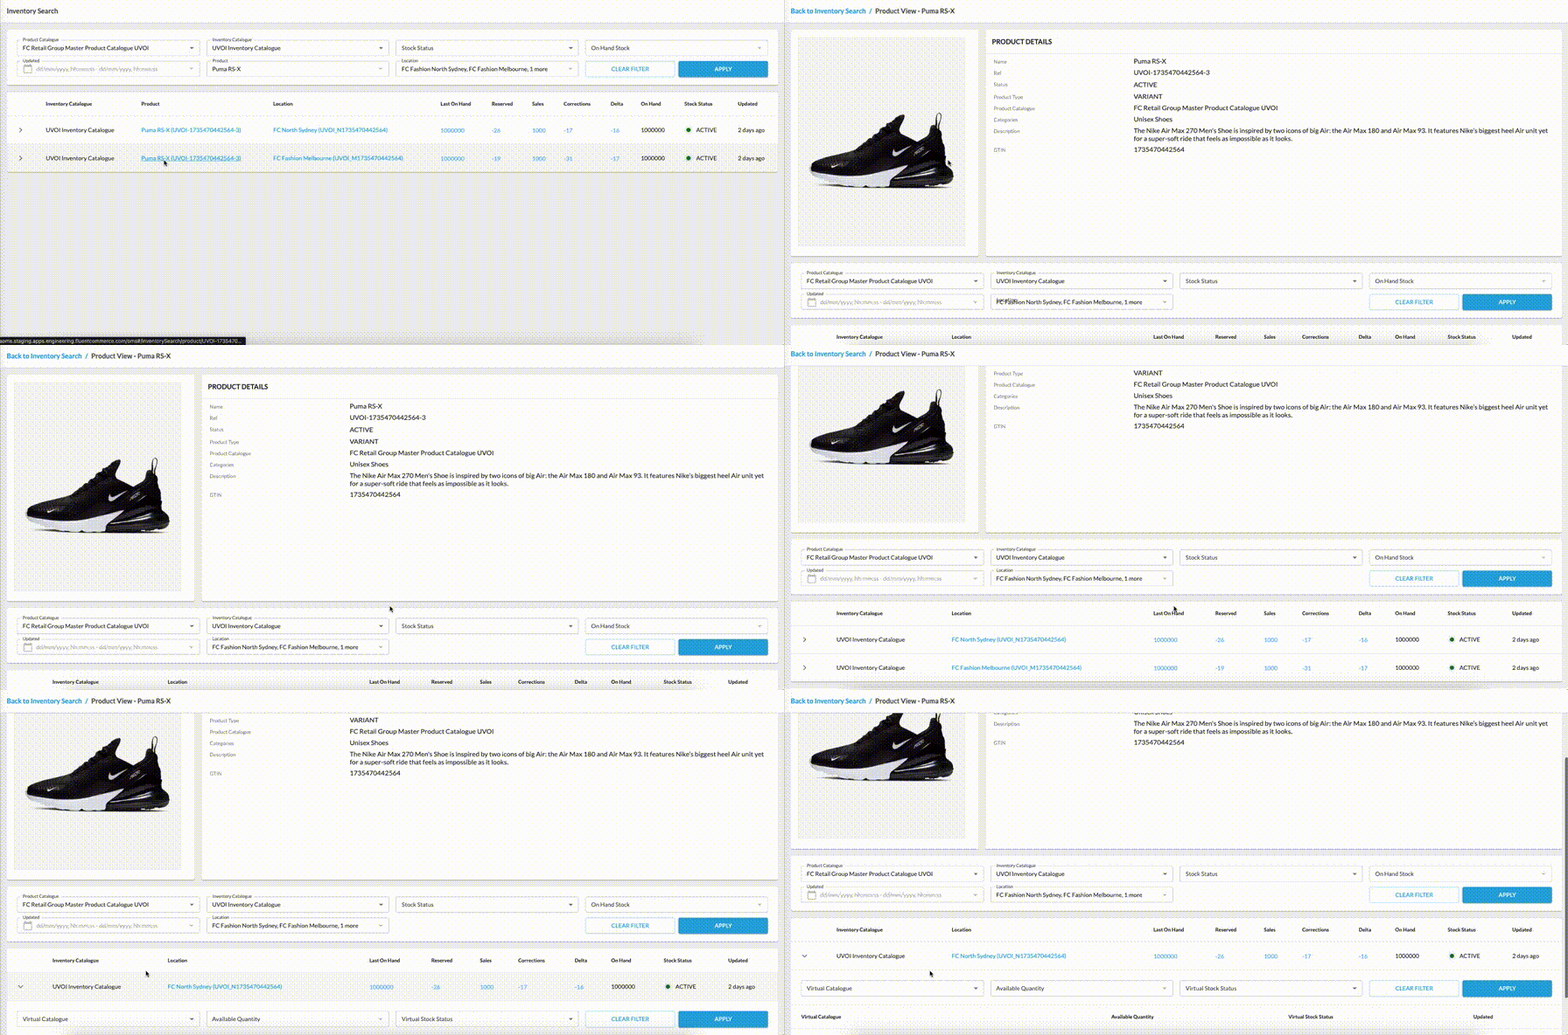 The Inventory by Product page provides a detailed view of inventory information for a specific product. Users can click on the product name from the Inventory Search page to access this page. If the selected product catalog is incorrect or doesn’t include the product, navigation to the product’s details will be restricted, and only the product reference will be displayed without a clickable link.On the UVOI by Product page, users can see key product details, such as its name, status, category, and description, along with an image of the product. The page also features a filter panel—excluding the product filter—and an updated list of inventory positions, complete with their associated virtual positions.Filters applied on the Inventory Search page remain active on this page, helping users maintain their focus on relevant data. Inner list filters, however, do not carry over. A breadcrumb navigation link allows users to return to the Inventory Search page with their original filters preserved, even when moving between multiple details pages.
Optimizing Stock, Enhancing Experiences
By combining advanced filtering capabilities, real-time updates, and intuitive navigation, UVOI ensures that users—from retail managers to eCommerce teams—can easily make data-driven decisions.Whether you're monitoring stock by location or tracking inventory across sales channels, UVOI empowers businesses to maintain optimal stock levels, reduce inefficiencies, and enhance the customer experience.Related content
Inventory Interface
Author:
Fluent Commerce
Changed on:
29 Aug 2025
Overview
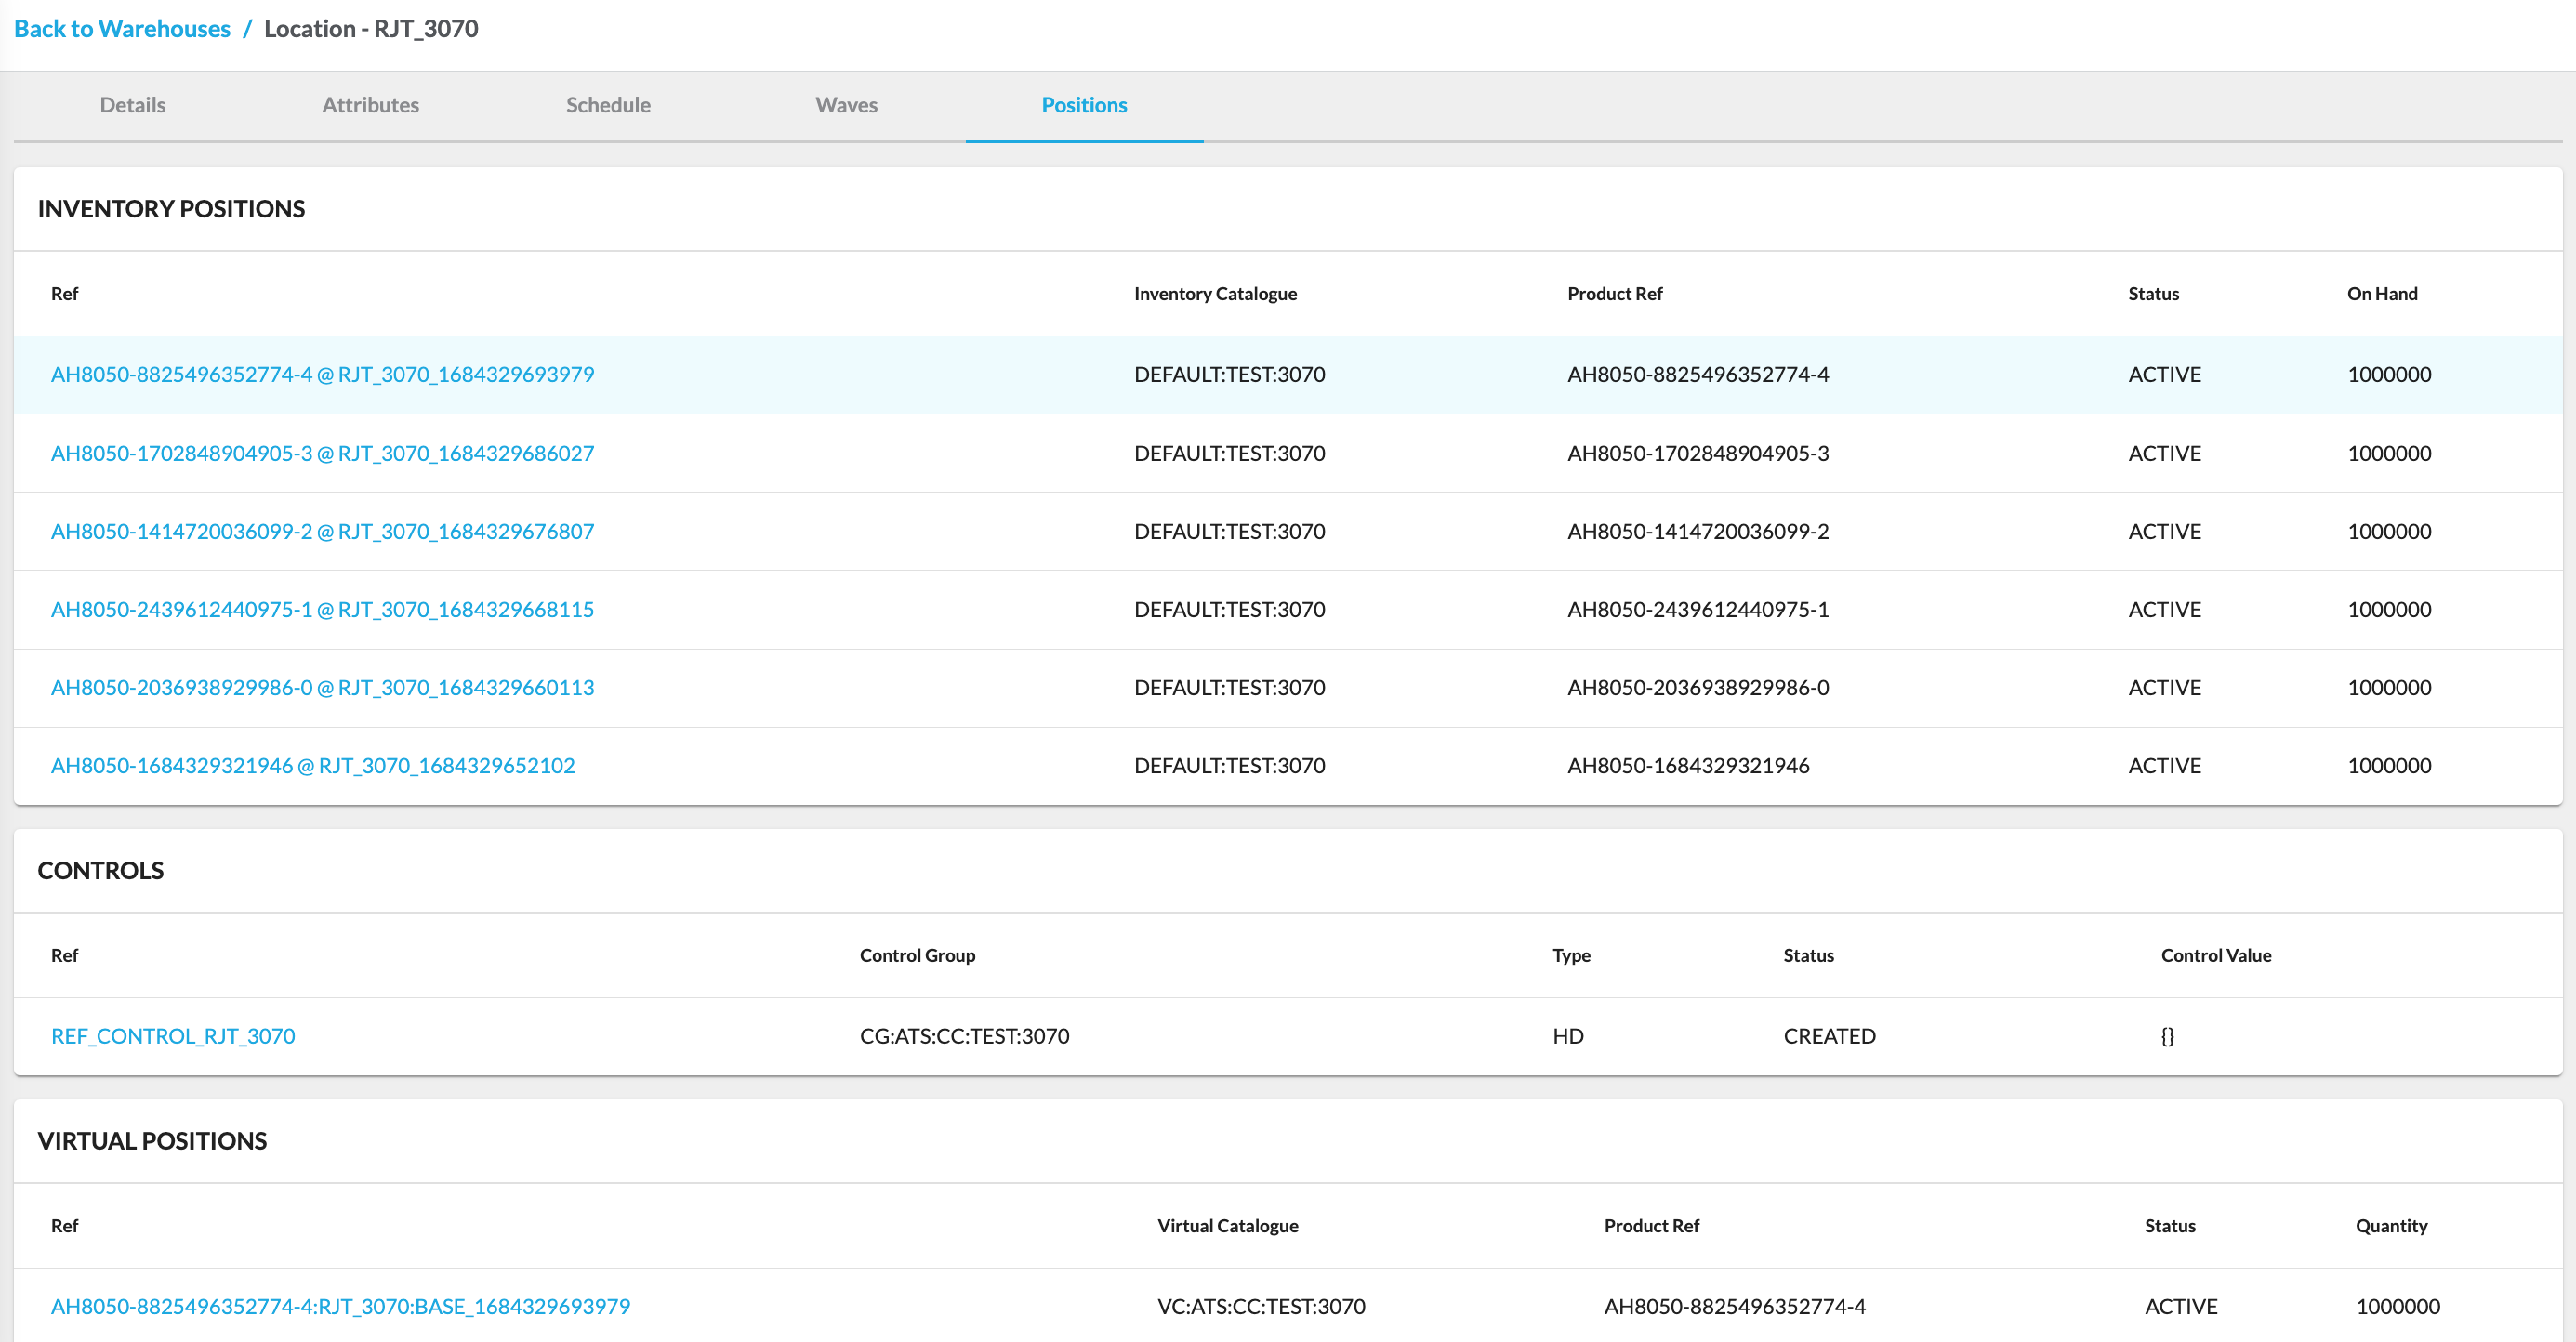
The Inventory interface of the Fluent Web app provides comprehensive inventory management capabilities:- Inventory visibility
- Inventory allocation
- The total quantity of stock for a specific item (stock on hand(SOH)) and the status of that inventory
- Available to promise inventory levels
- Inventory buffers to reduce overselling of products
Key points
- The Fluent Web app's Inventory interface offers a comprehensive suite of capabilities, including inventory visibility, allocation, total stock quantity (stock on hand), inventory status, available-to-promise levels, and strategically implemented buffers to prevent product overselling.
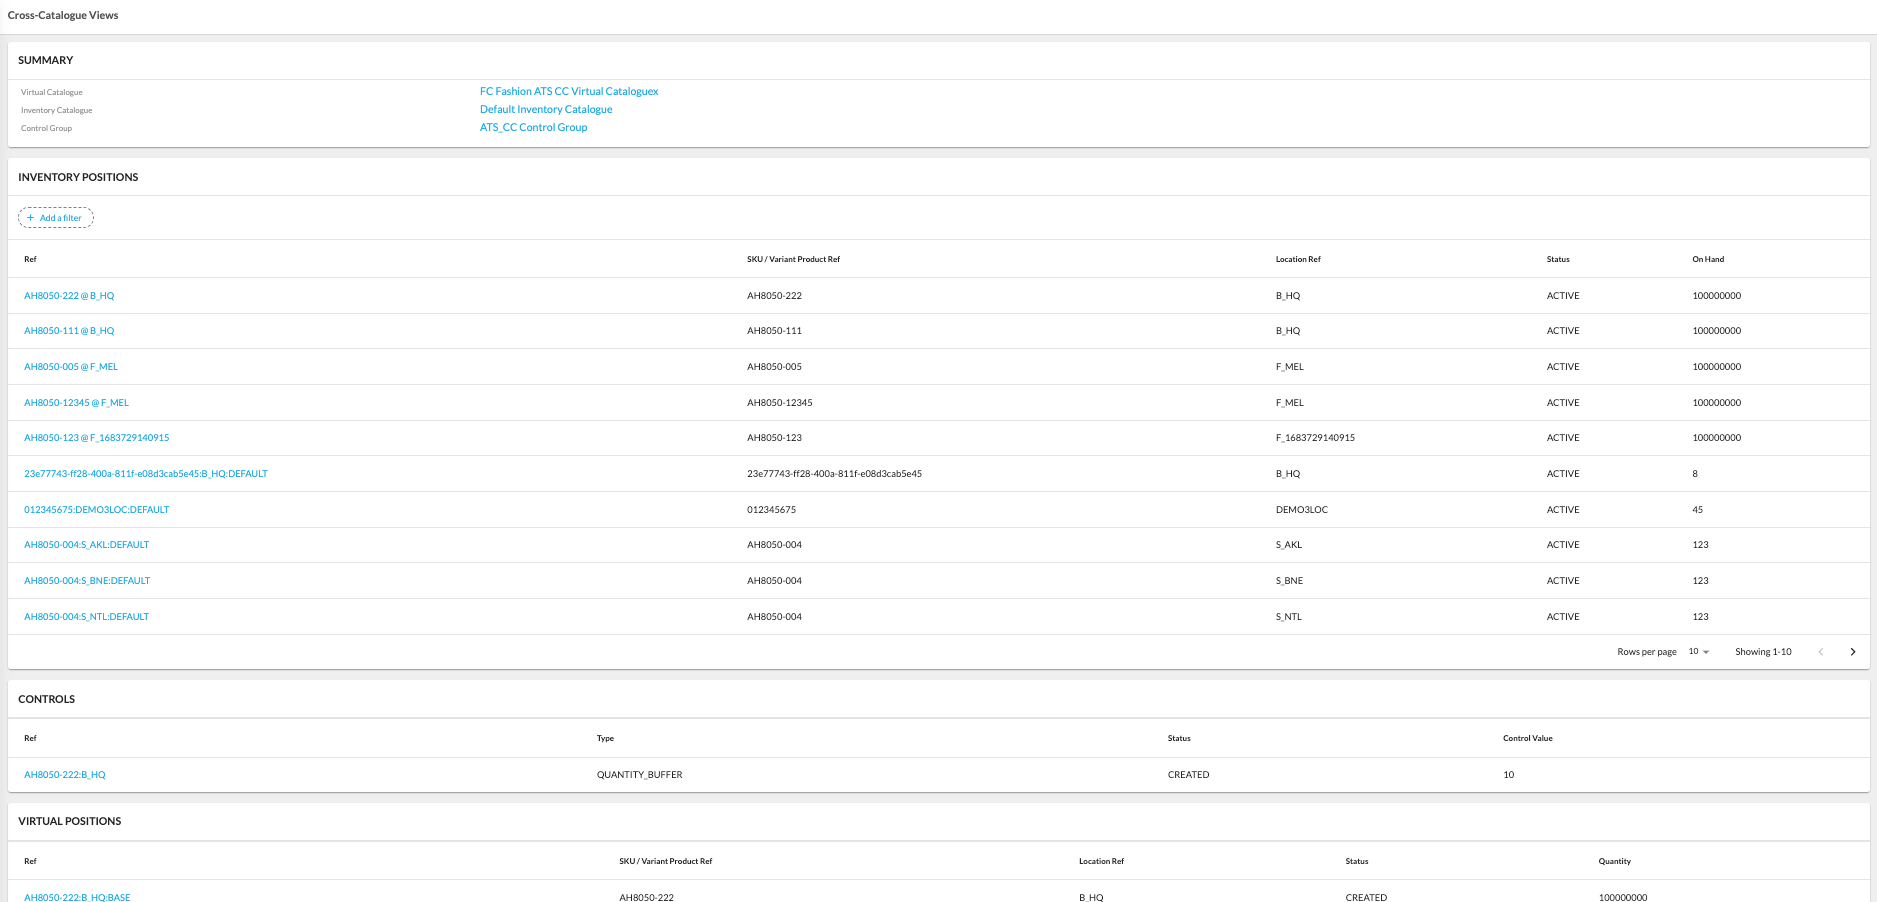
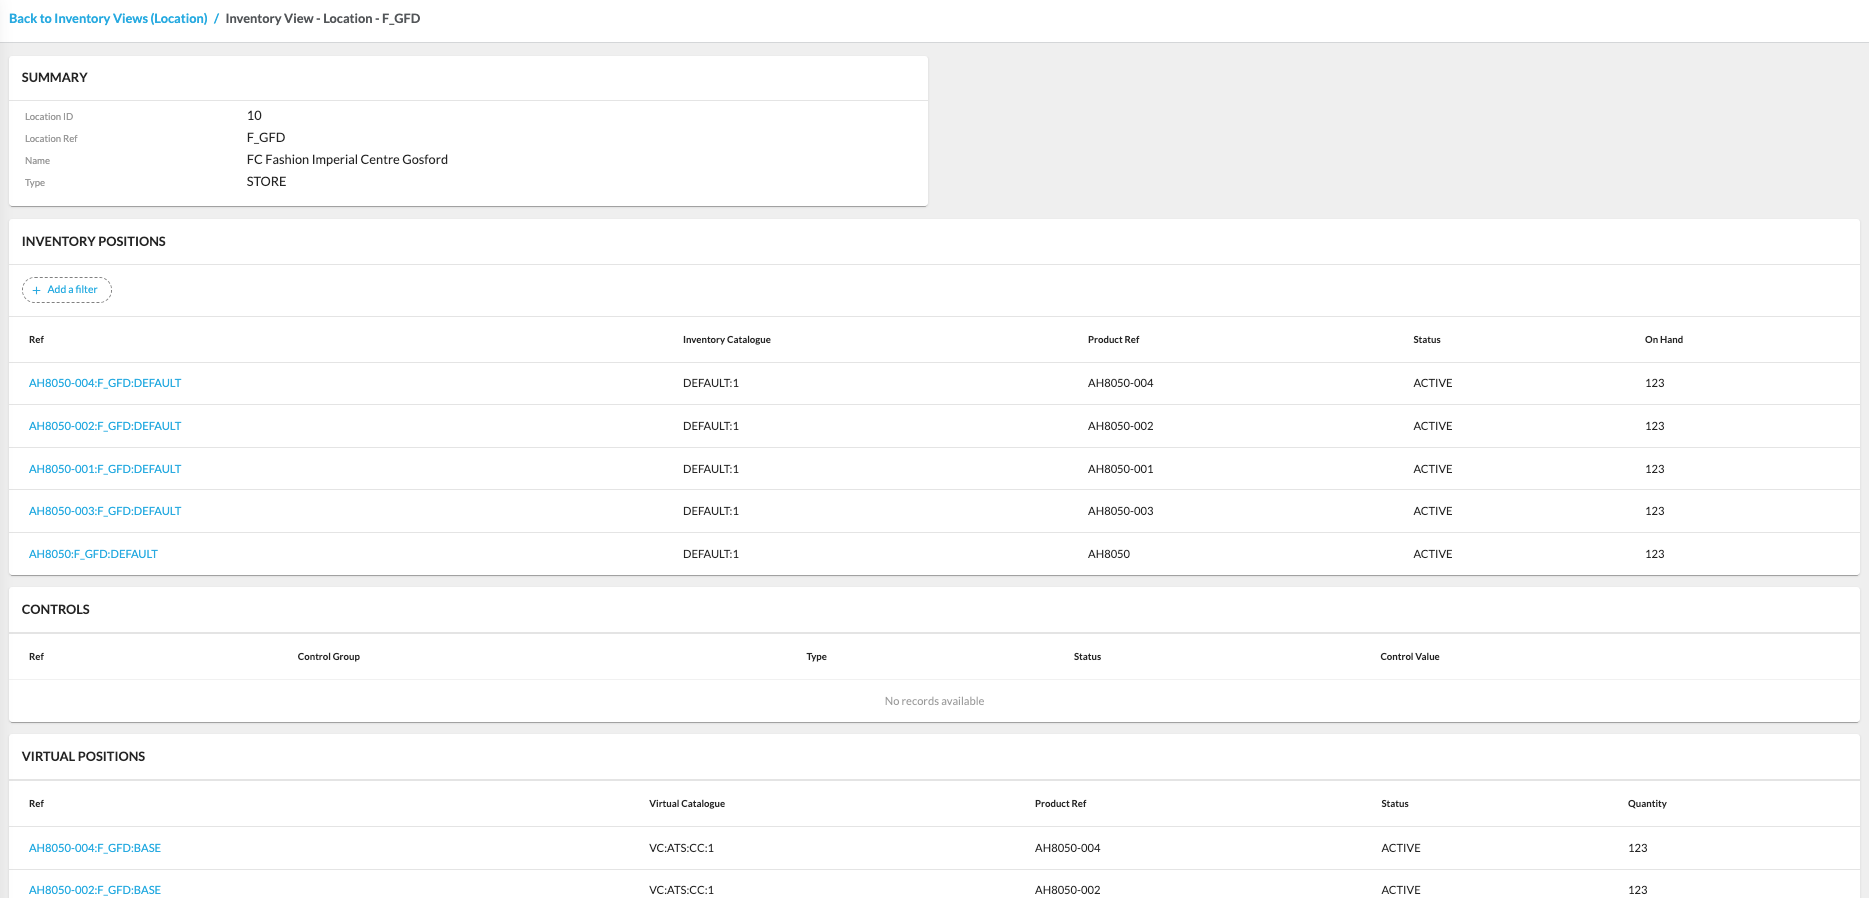
- The interface is equipped with various configurations, such as Inventory Catalogues, Control Groups, Virtual Catalogues, Cross-Catalogue Views, and Location Inventory Views, providing users with versatile tools to tailor their inventory management approach according to specific business needs and scenarios.
- Inventory Catalogues
- Control Groups
- Virtual Catalogues
- Cross-Catalogue Views
- Location Inventory Views
Related content
Store Interface
Author:
Fluent Commerce
Changed on:
27 Aug 2025
Overview
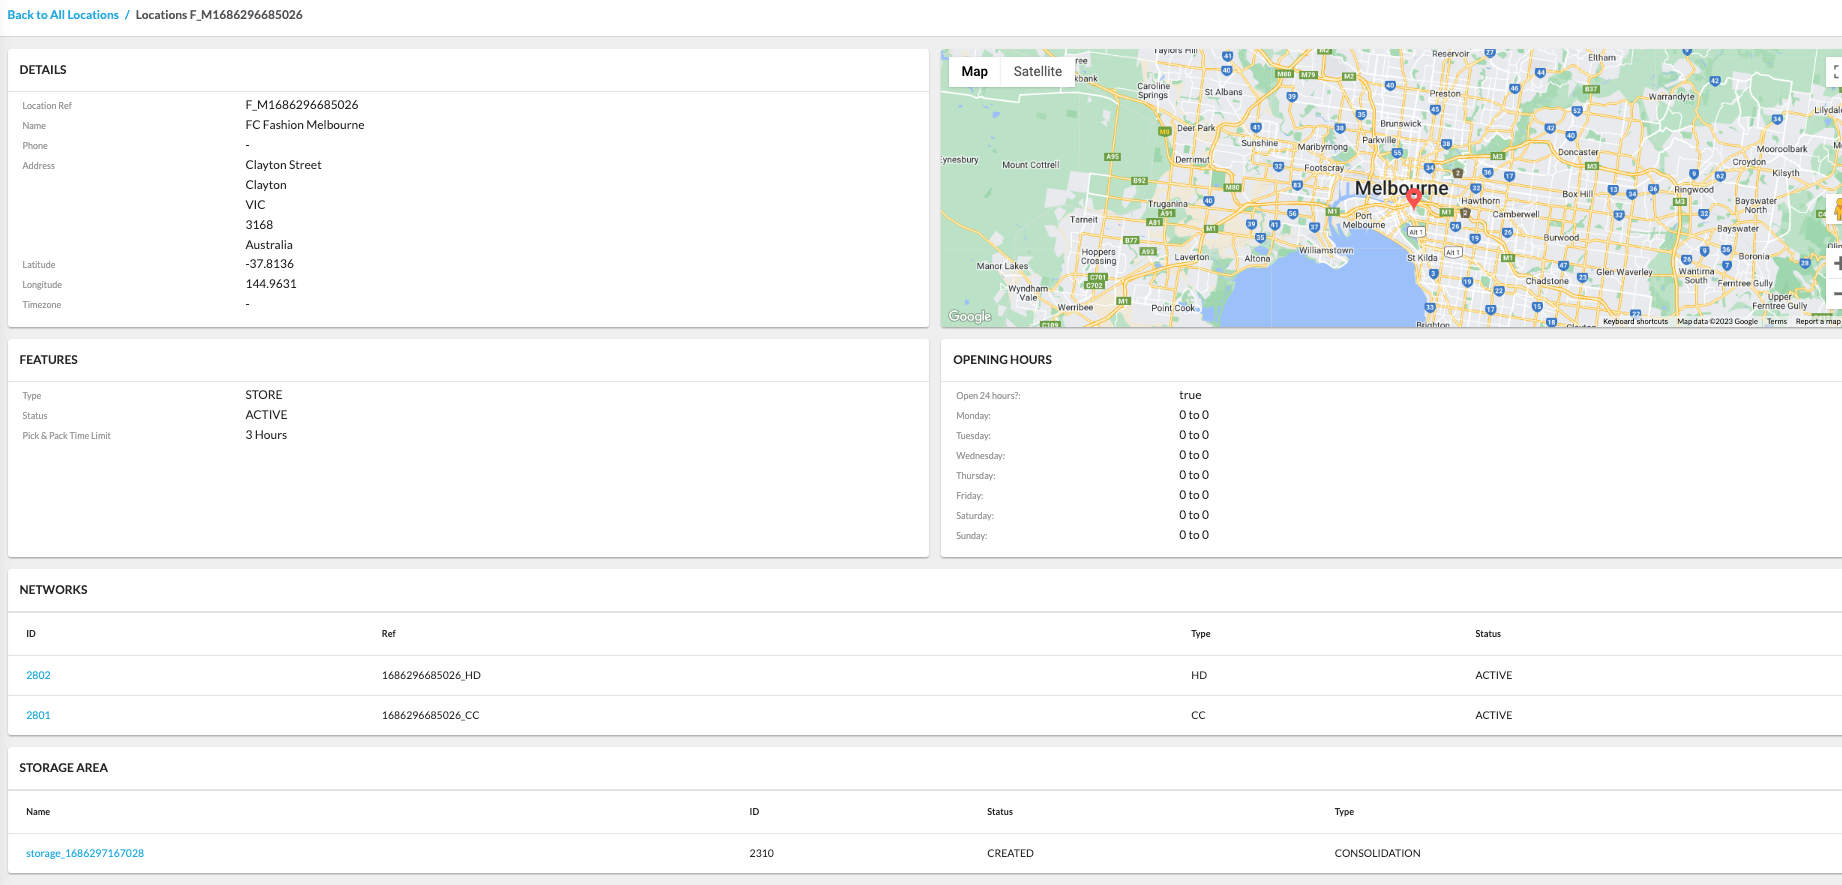
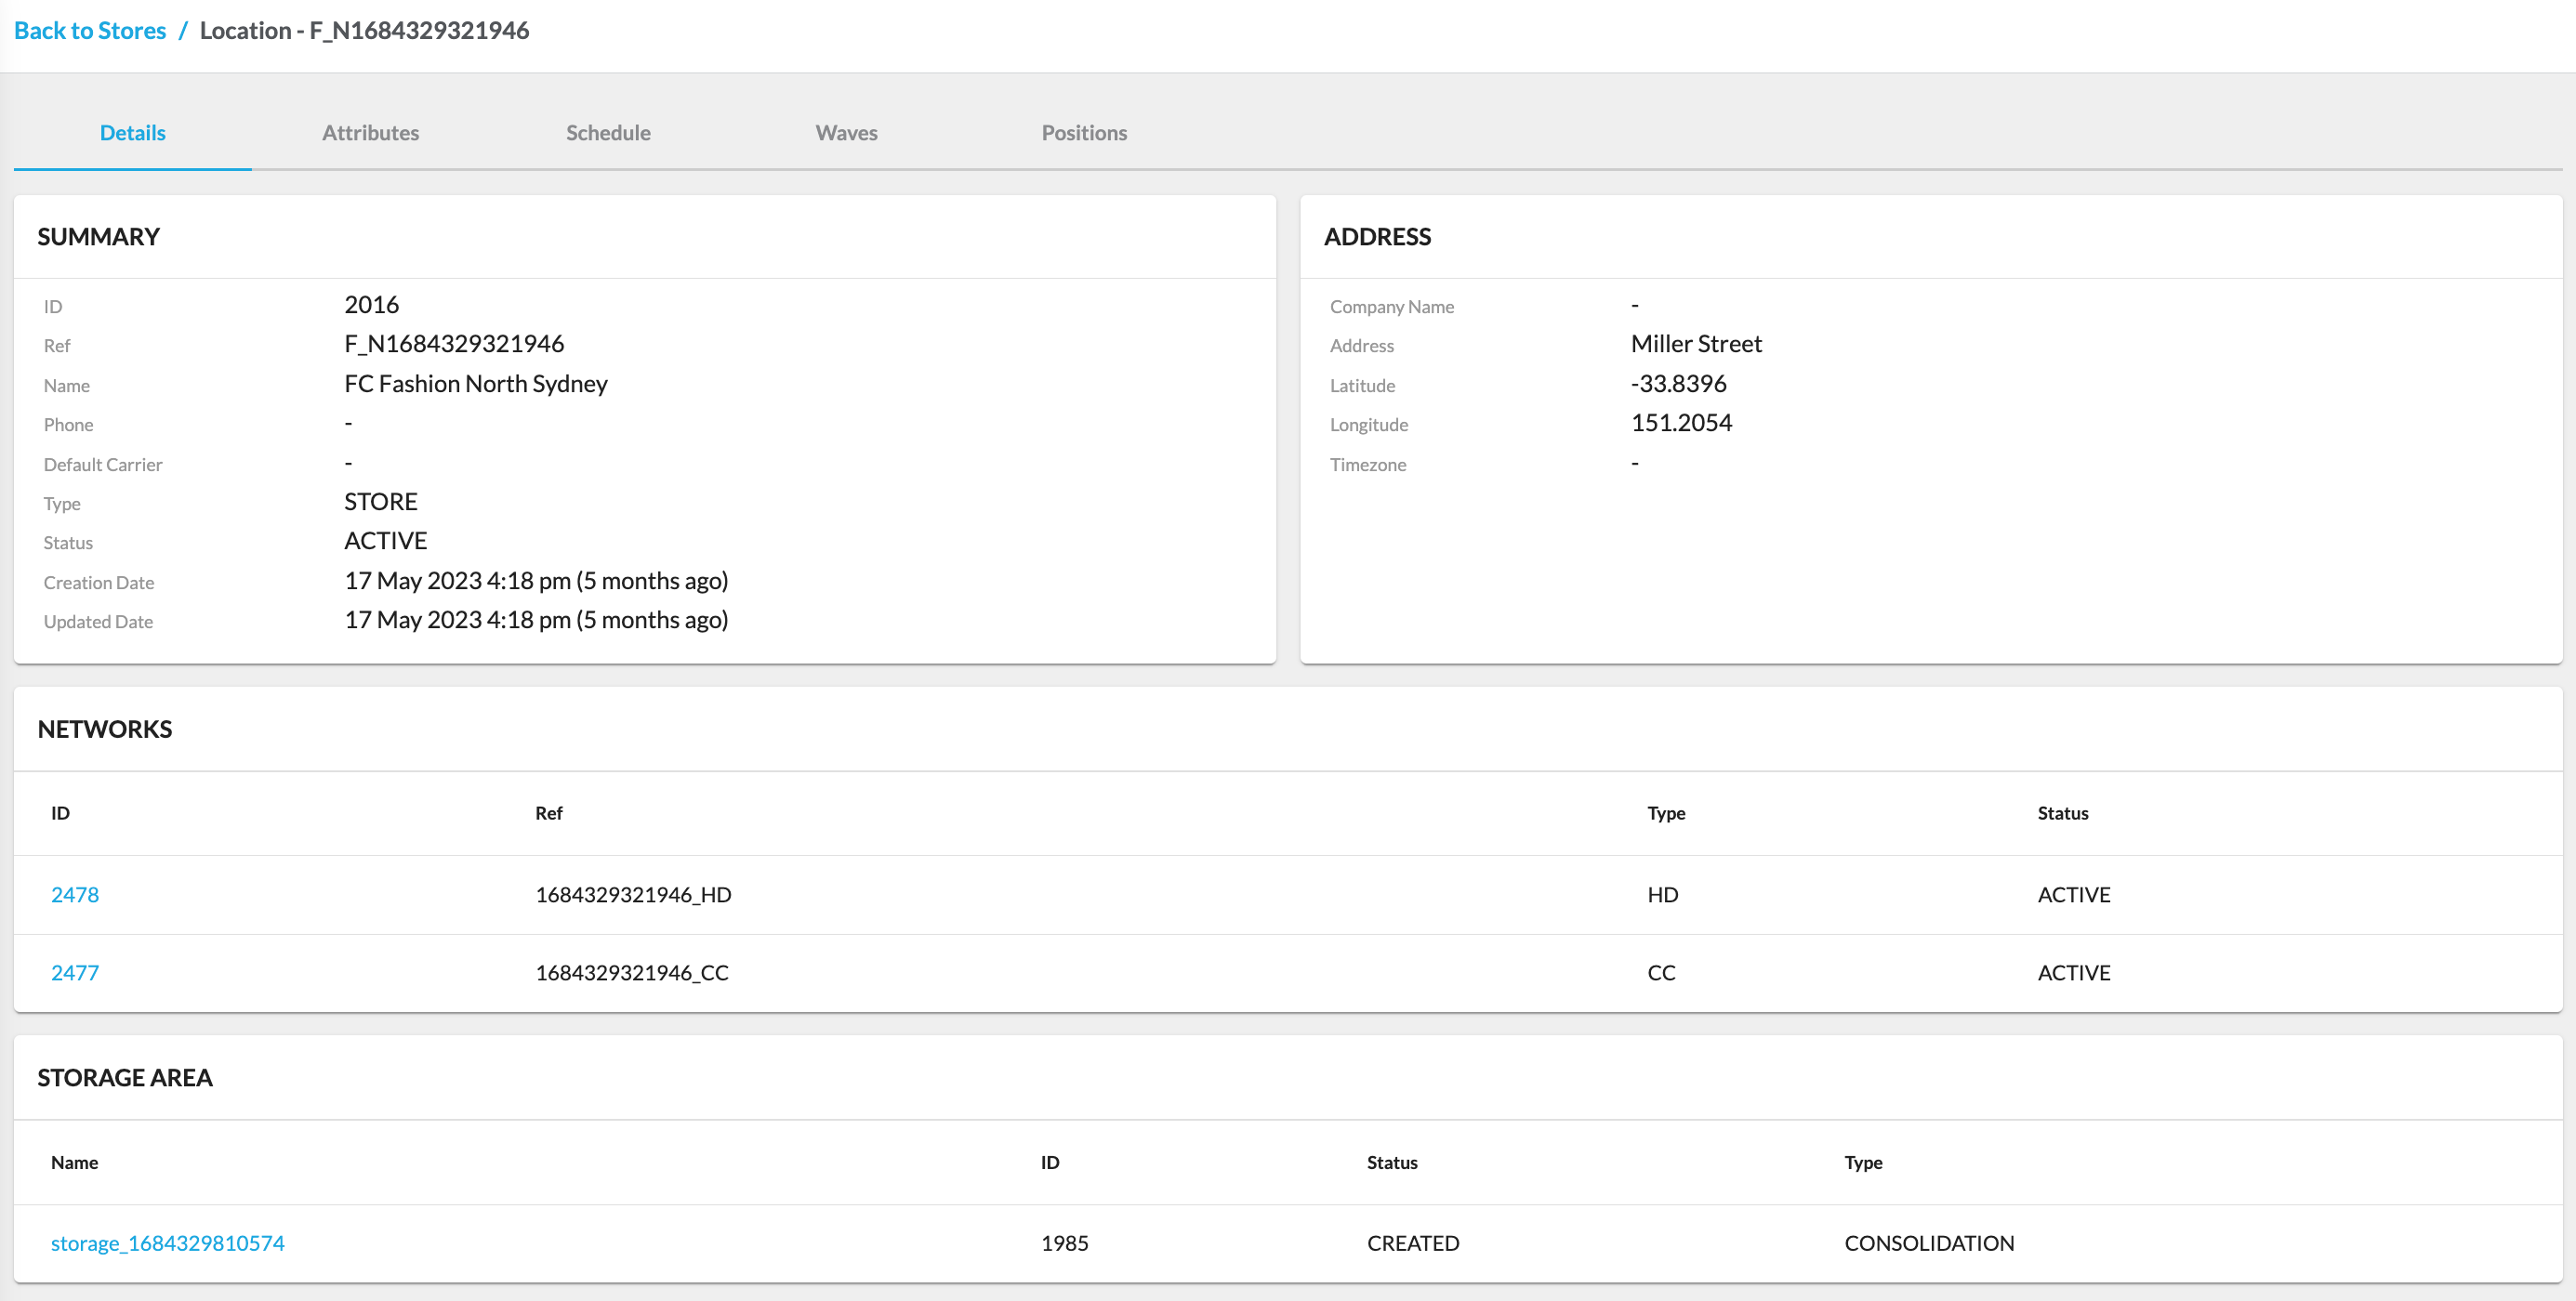
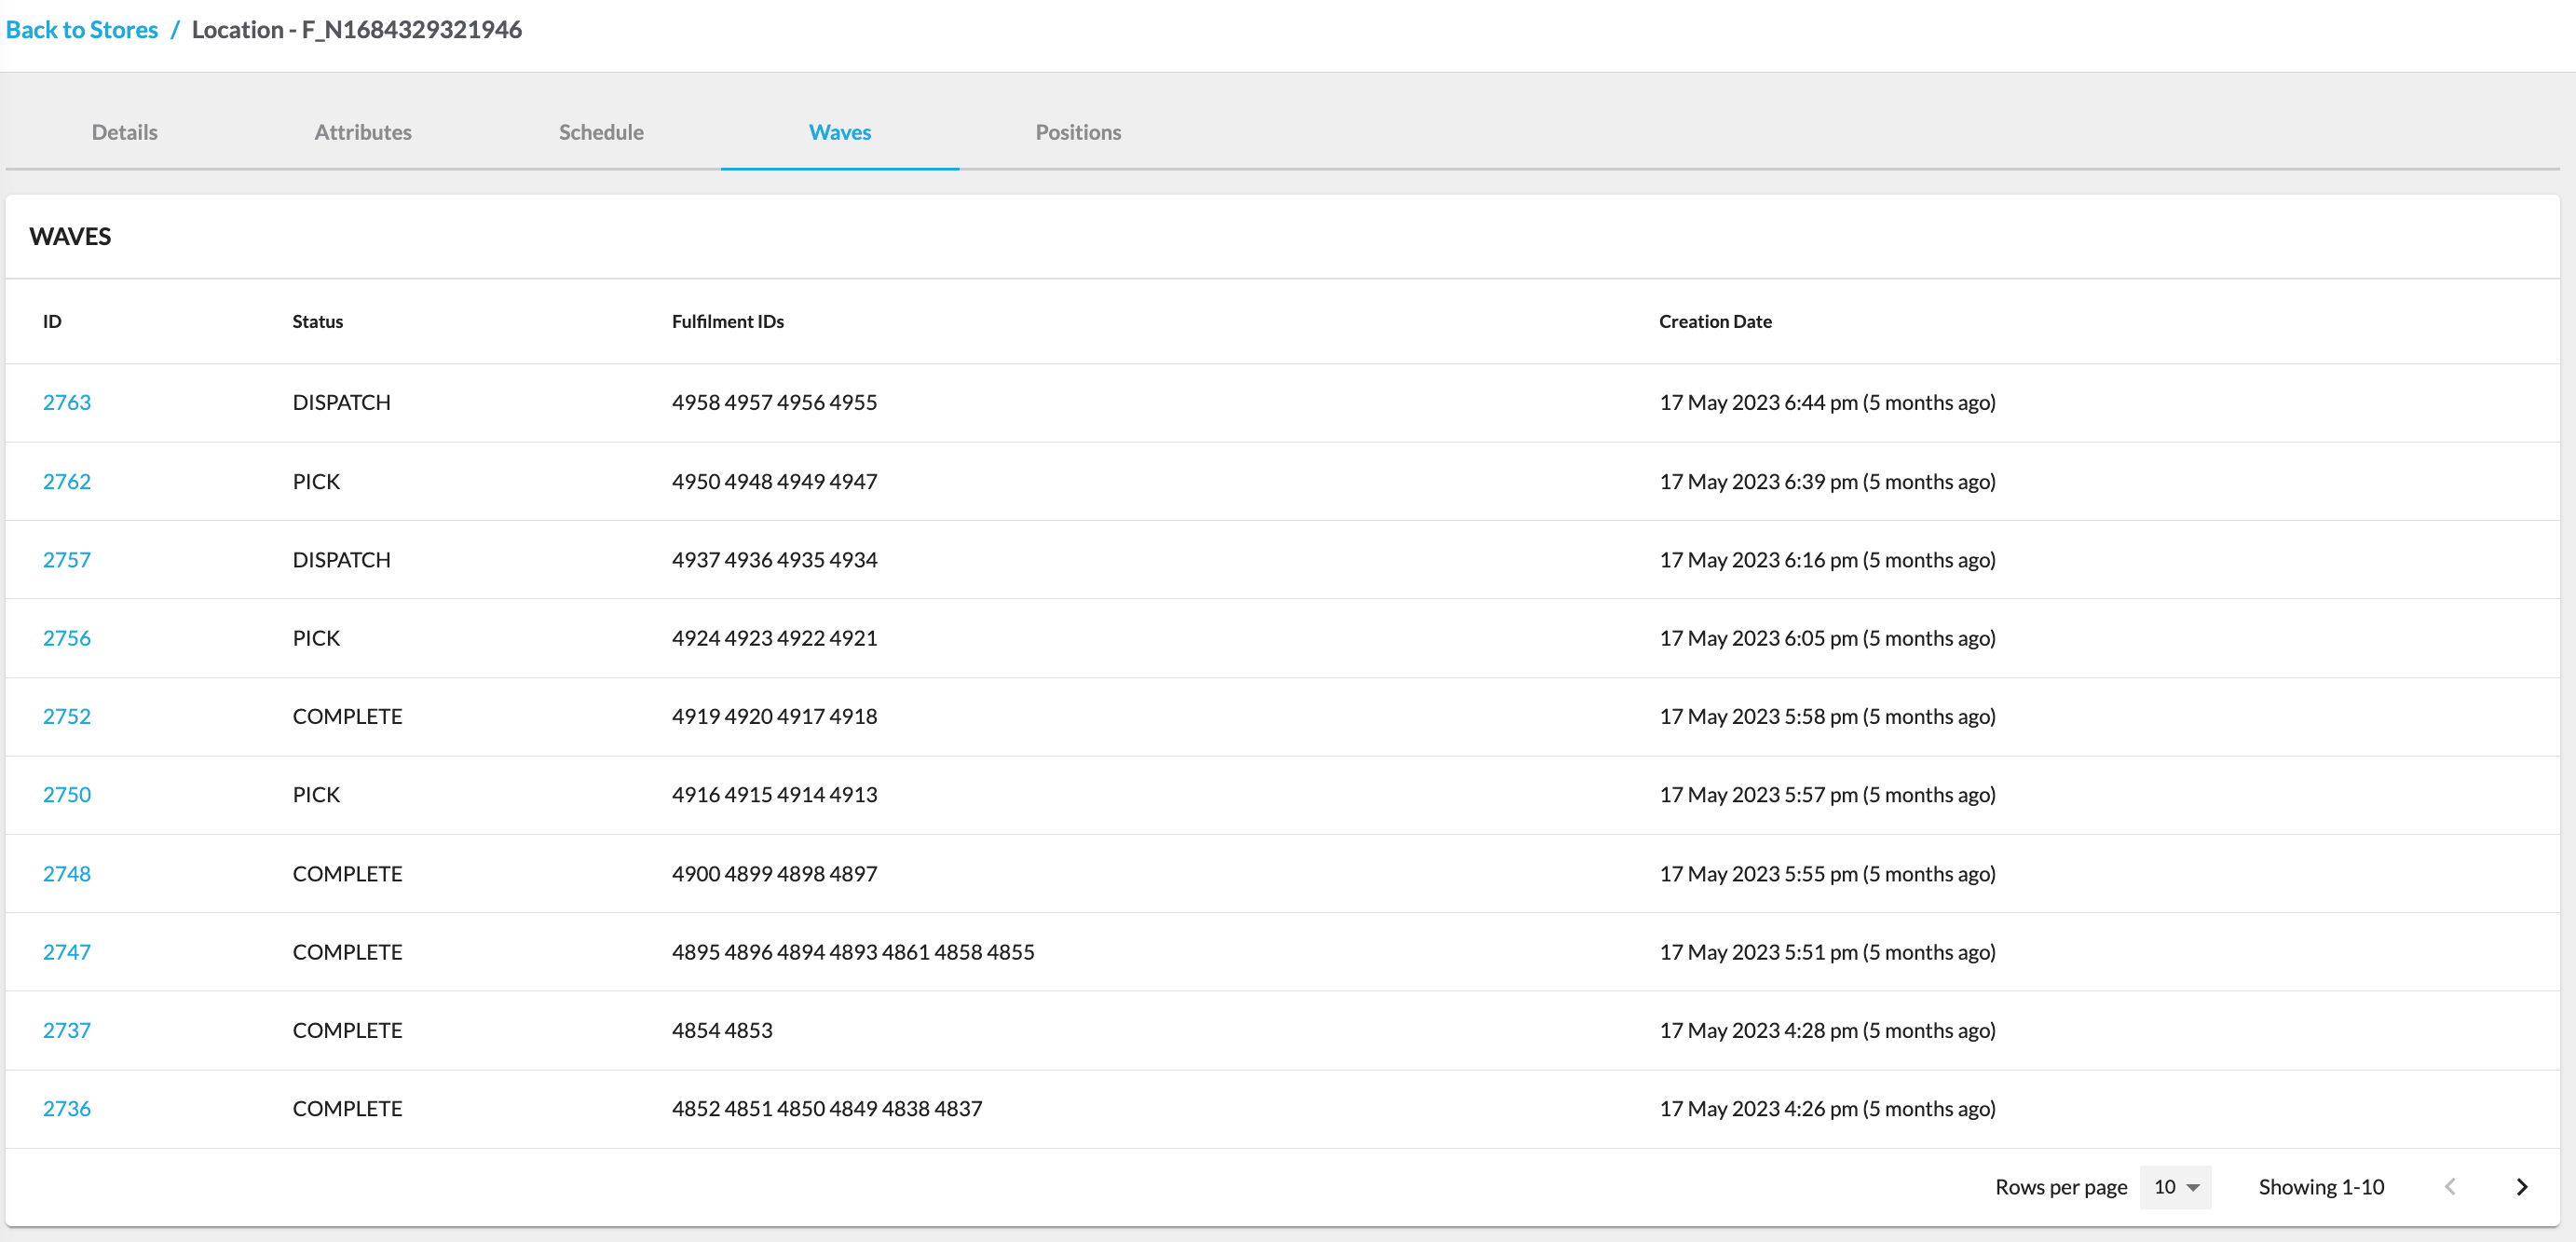
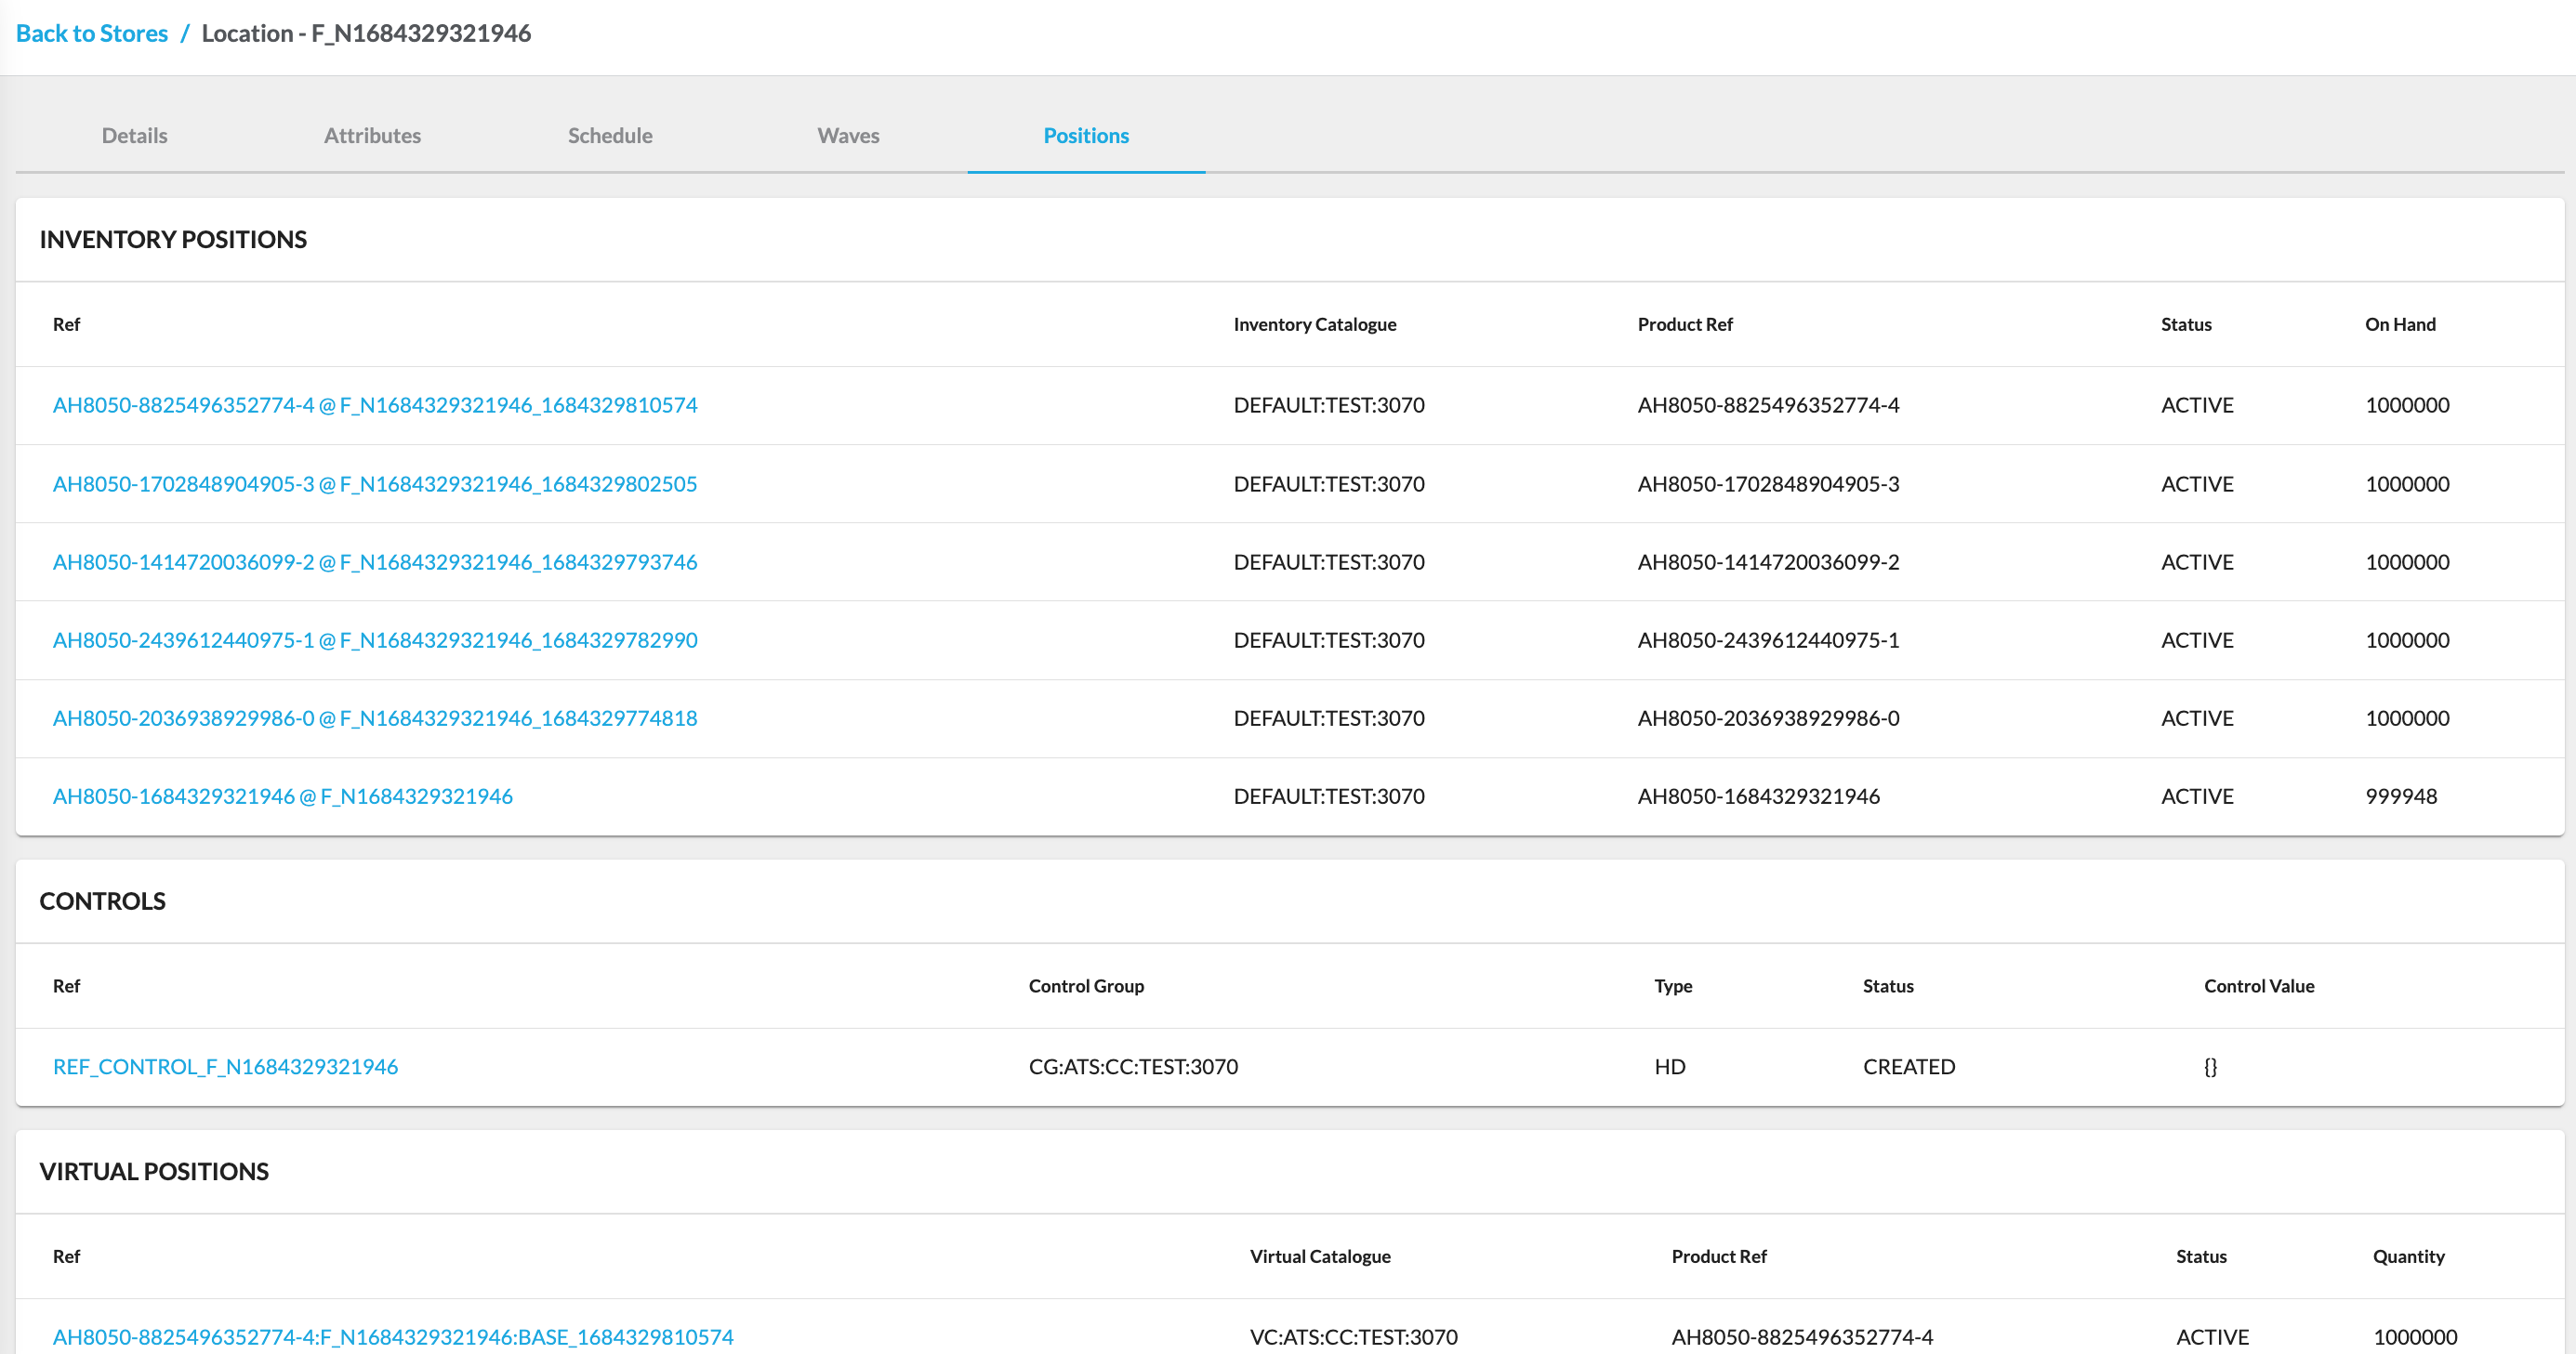
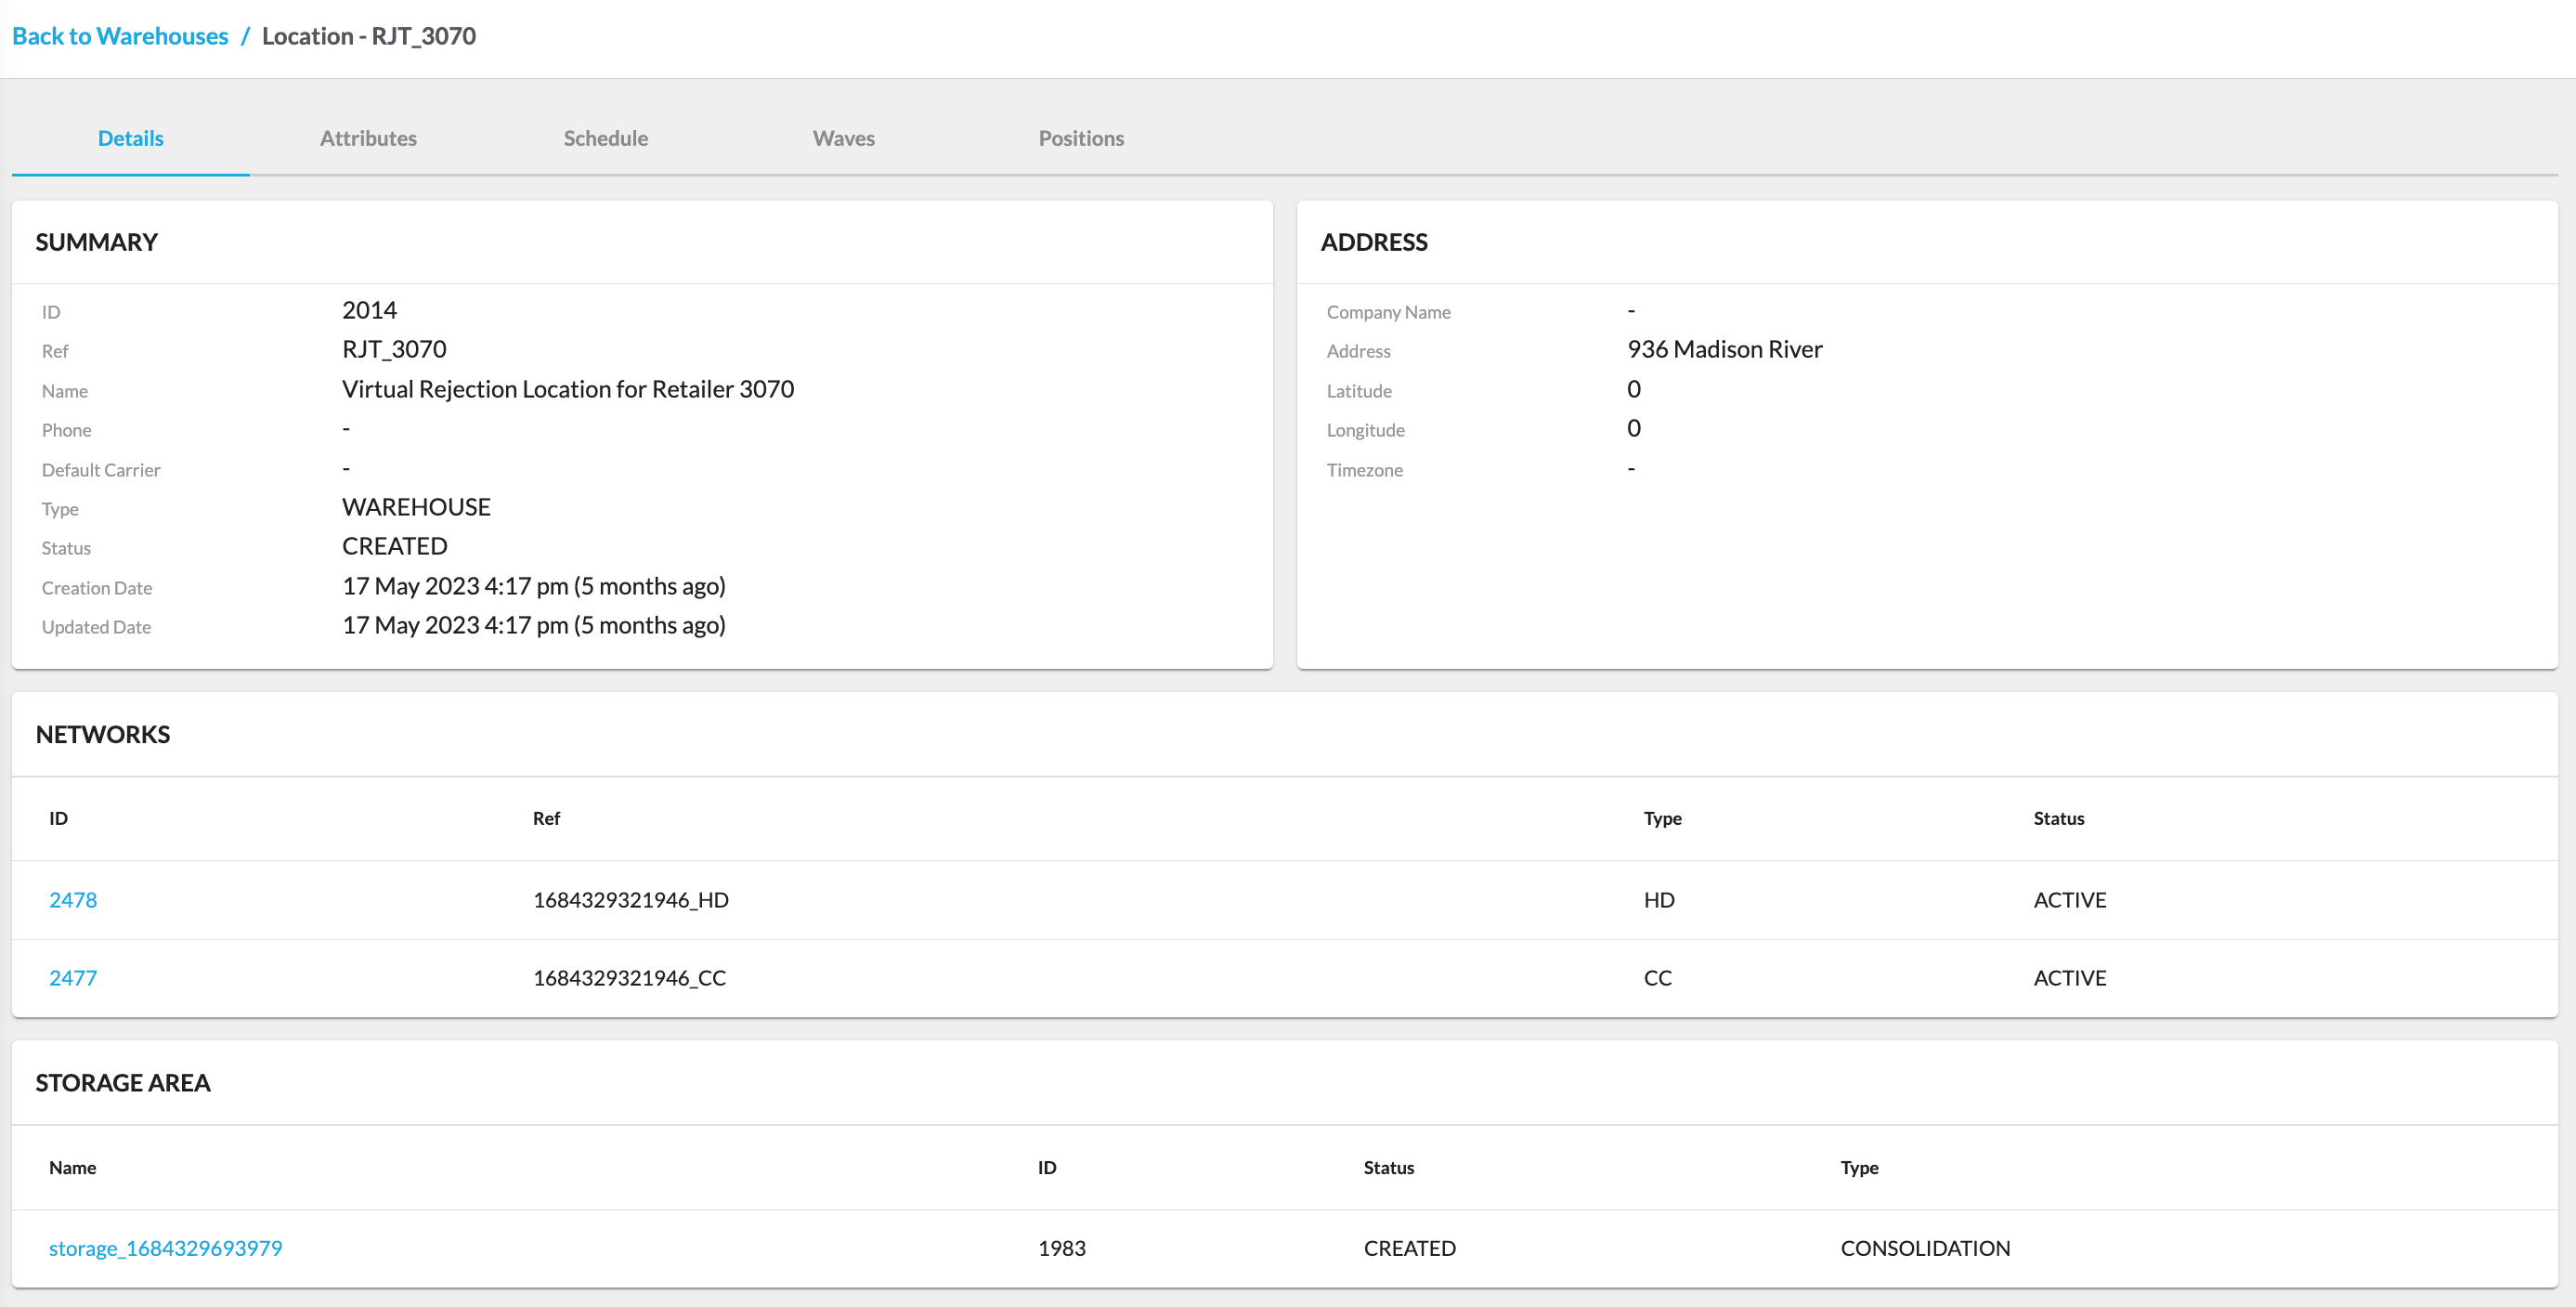
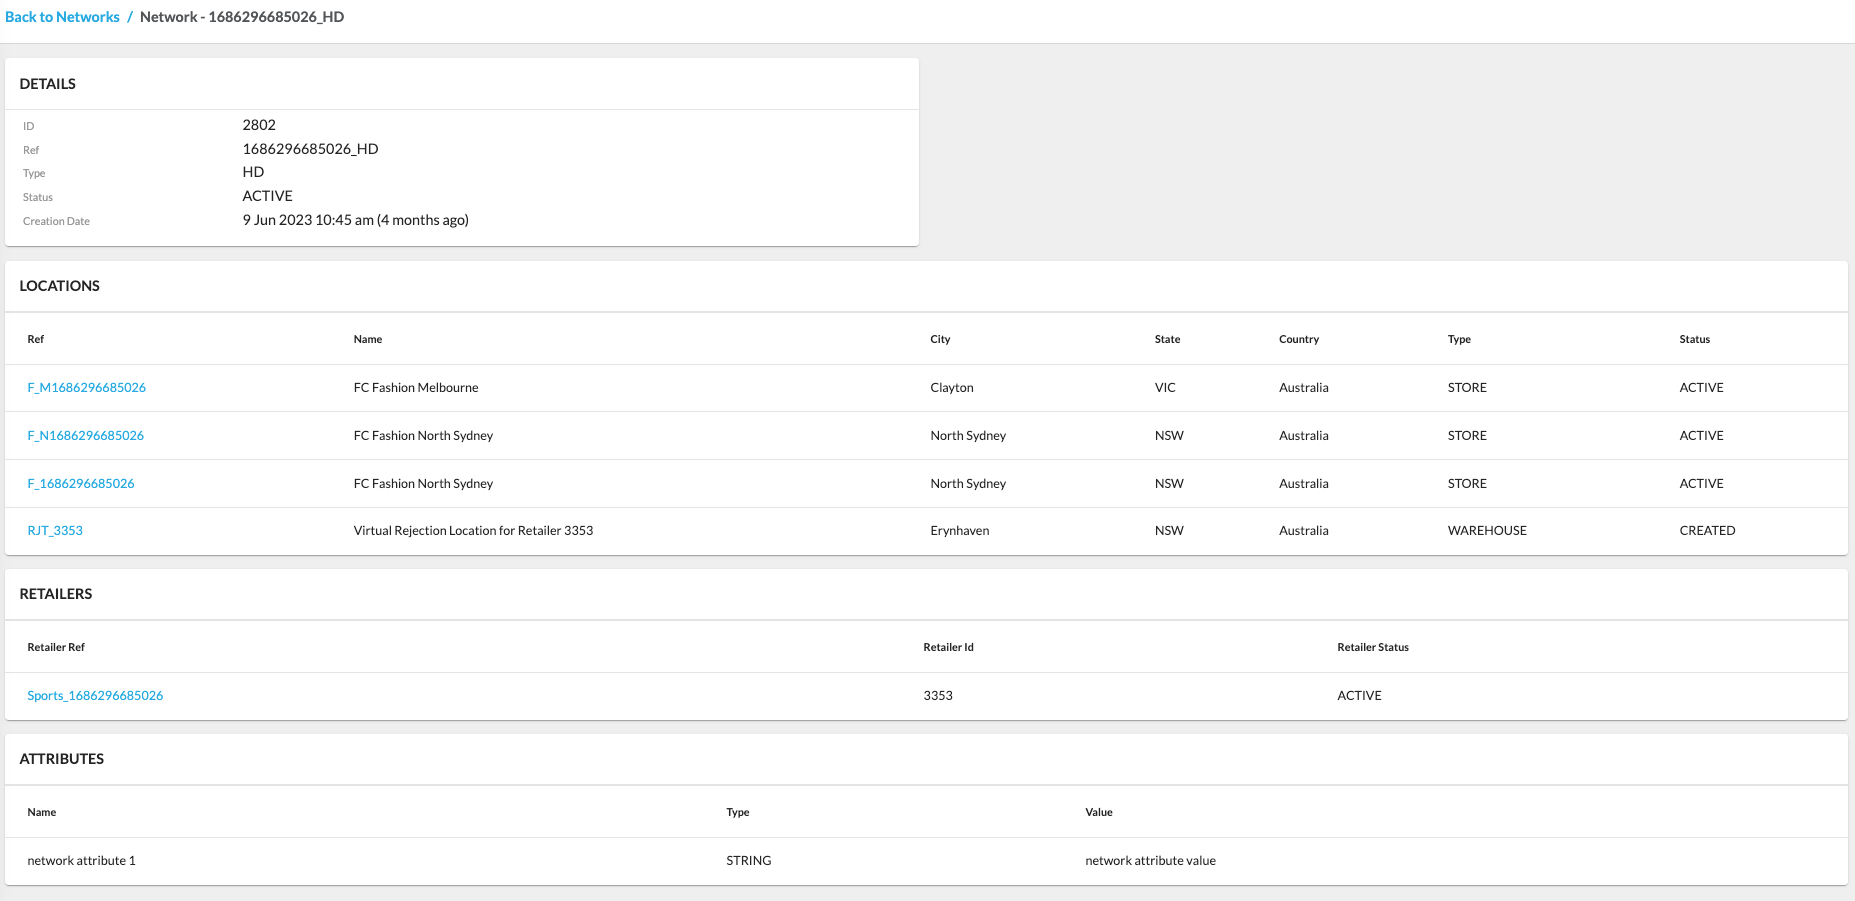
The Store interface empowers retailers to enhance their operational efficiency by transforming stores into fulfillment centers and optimizing inventory management. This ultimately delivers a superior customer experience through streamlined order fulfillment and improved inventory control. The app contains the following configurations:- All Locations
- Stores
- Warehouses
- Networks
Key points
- Stores are transformed into efficient fulfillment centers, ensuring a seamless customer experience through optimized order fulfillment and superior inventory control.
- With configurations for all Locations, Stores, Warehouses, and Networks, the app provides a comprehensive toolkit, enabling retailers to manage their entire ecosystem.
Related content
Insights
Authors:
Fluent Commerce, Kirill Gaiduk
Changed on:
4 Aug 2025
Overview
The Insights interface is a comprehensive repository of system Events, representing occurrences or triggers within the Fluent Platform. These Events, like changes in inventory position or entity states, act as notifications, prompting specific workflows and providing a dynamic overview accessible through a user-friendly configuration featuring the Events Search Form, the Events Search Results, and the Event Details Drawer for efficient information retrieval.Key points
- The Insights interface is a comprehensive repository providing full information about system Events, representing occurrences and triggers that prompt actions or log activities within the Fluent Platform.
- With a user-friendly configuration, the module enables efficient interaction through the Events Search Form, providing filtered event searches and responsive Events Search Results. The Event Details Drawer ensures users can seamlessly access detailed event information without losing search results or experiencing delays in page navigation.
Insights Interface
The Insights interface contains the full information about Events. An Event represents something that has, will, or is happening within the system. An Event is typically used to ask or trigger the system to do something or log activity of what has occurred within the system.Essentially, events are notifications within the system that various internal or external systems can consume to take further action.Events Page
The Events page is powered with the Events Search Component.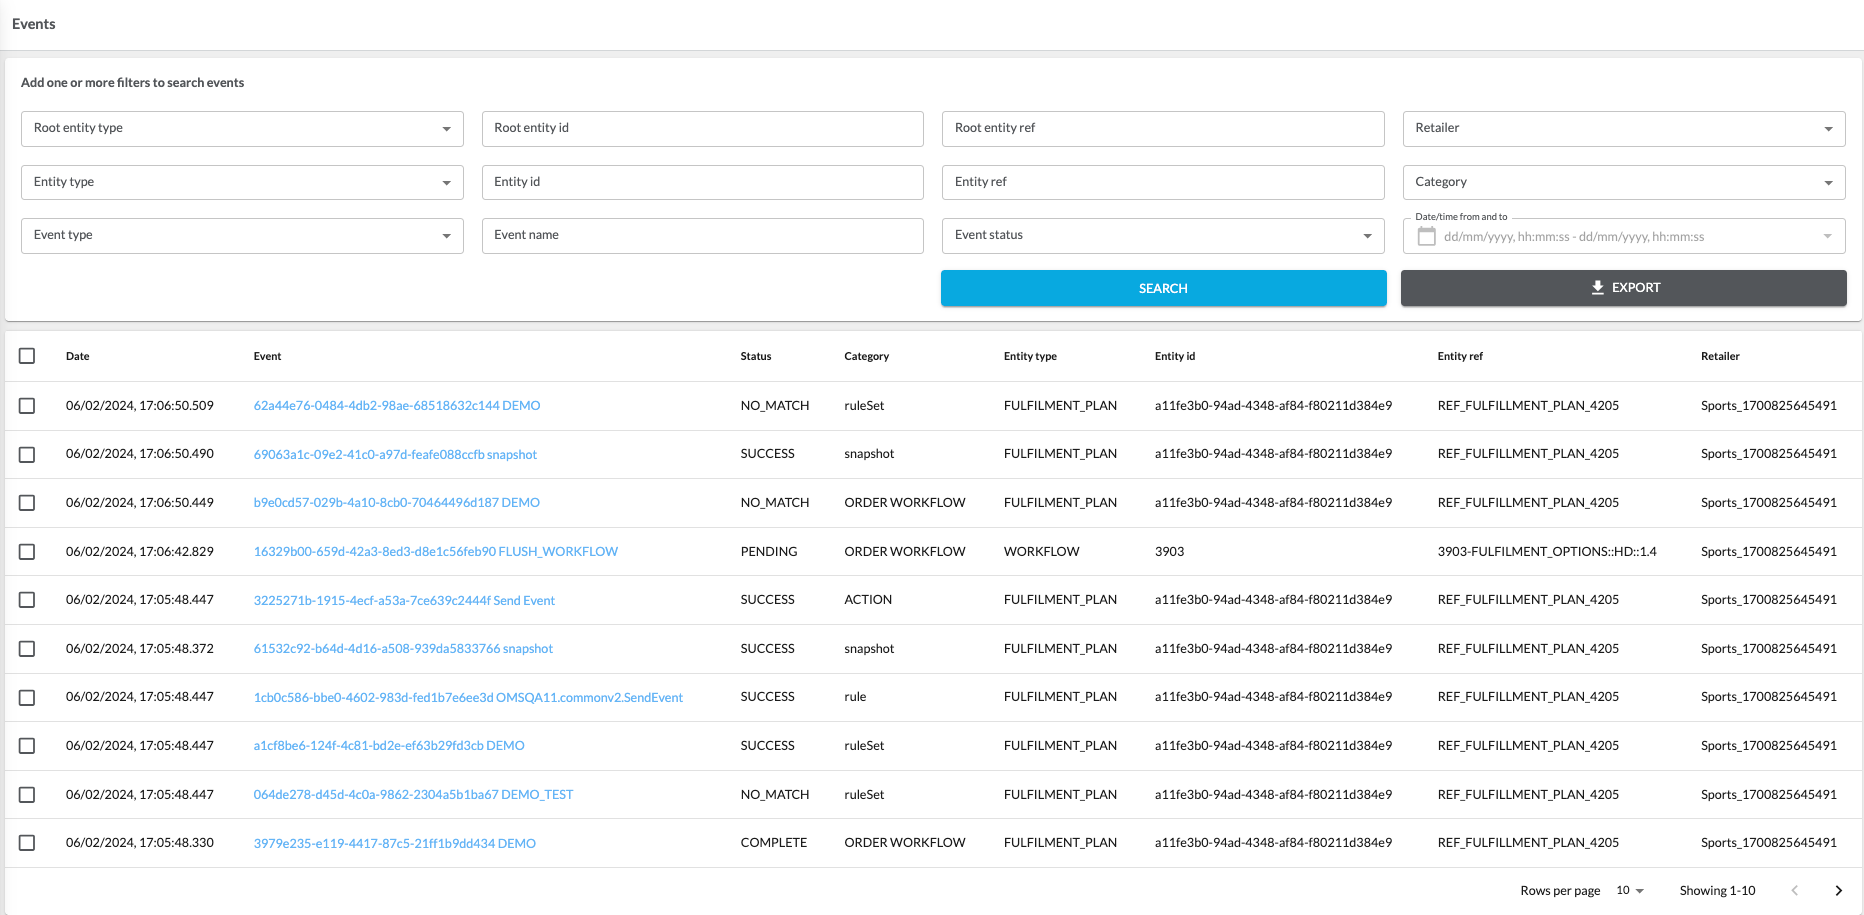
Events Export
Related content
Admin Interface
Author:
Fluent Commerce
Changed on:
25 Sept 2025
Overview
The Admin interface in the Fluent Web Apps provides comprehensive administrative capabilities to manage the entire system efficiently.Key points
- The Admin interface helps in managing users, retailers, settings, etc.
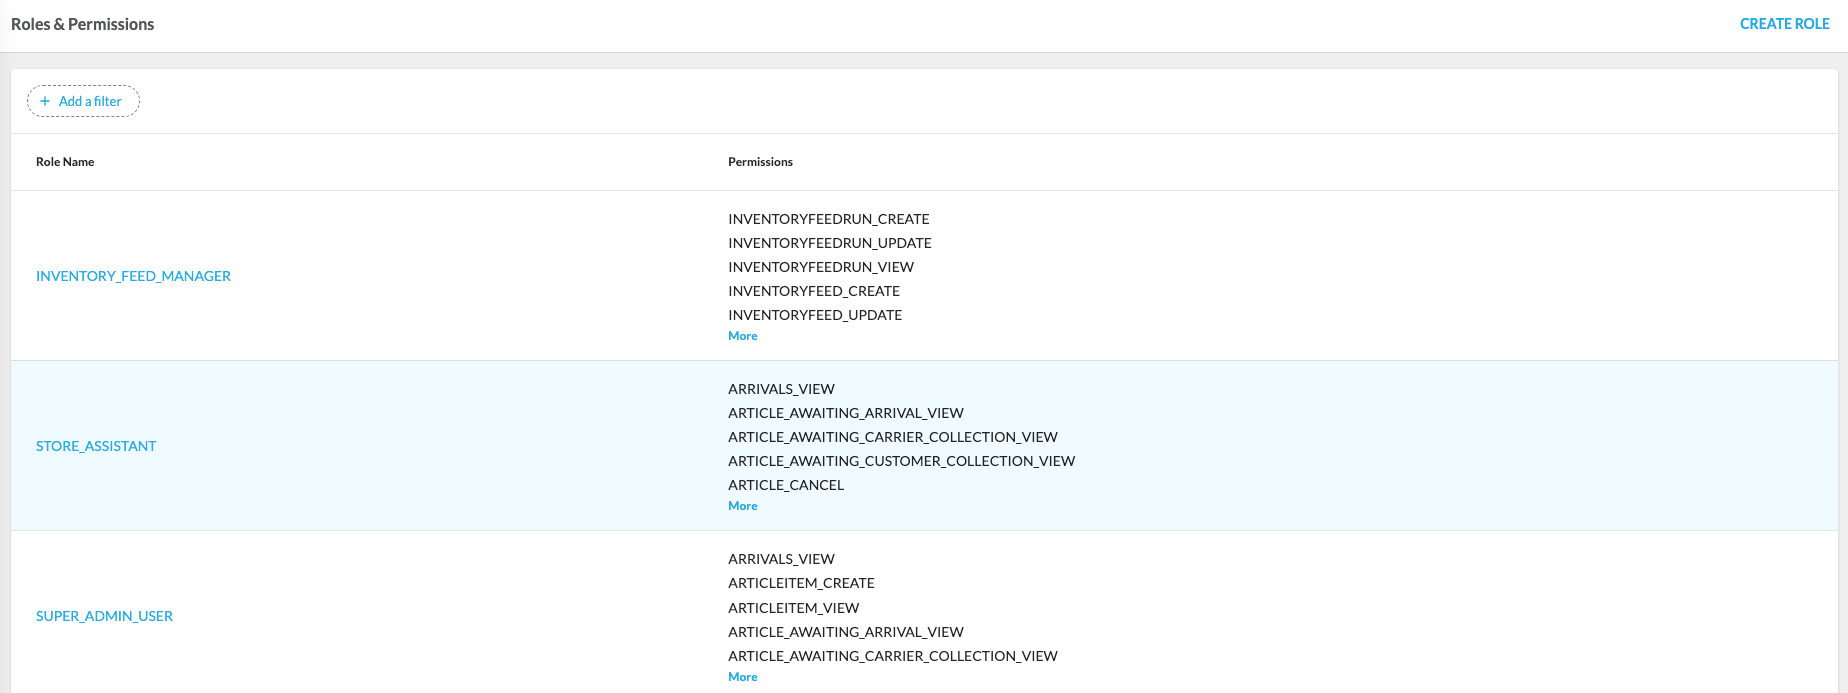
- Depending on the configuration, it can contain any combination of the following: Retailers, Carriers, Users, Roles and Permissions, and Settings.
Admin Management in Fluent Web Apps
Retailers
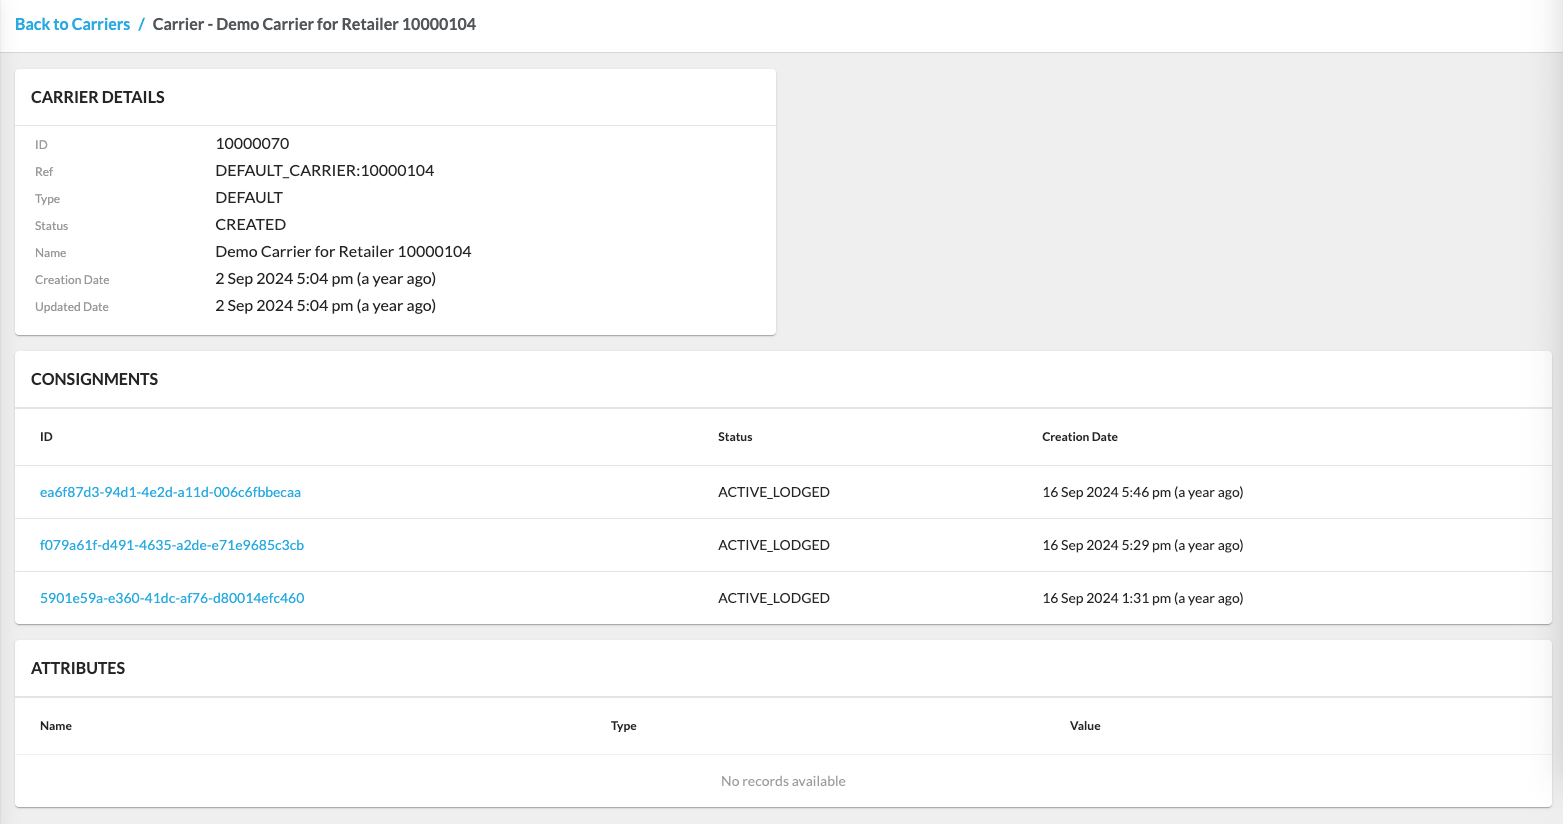
Carriers
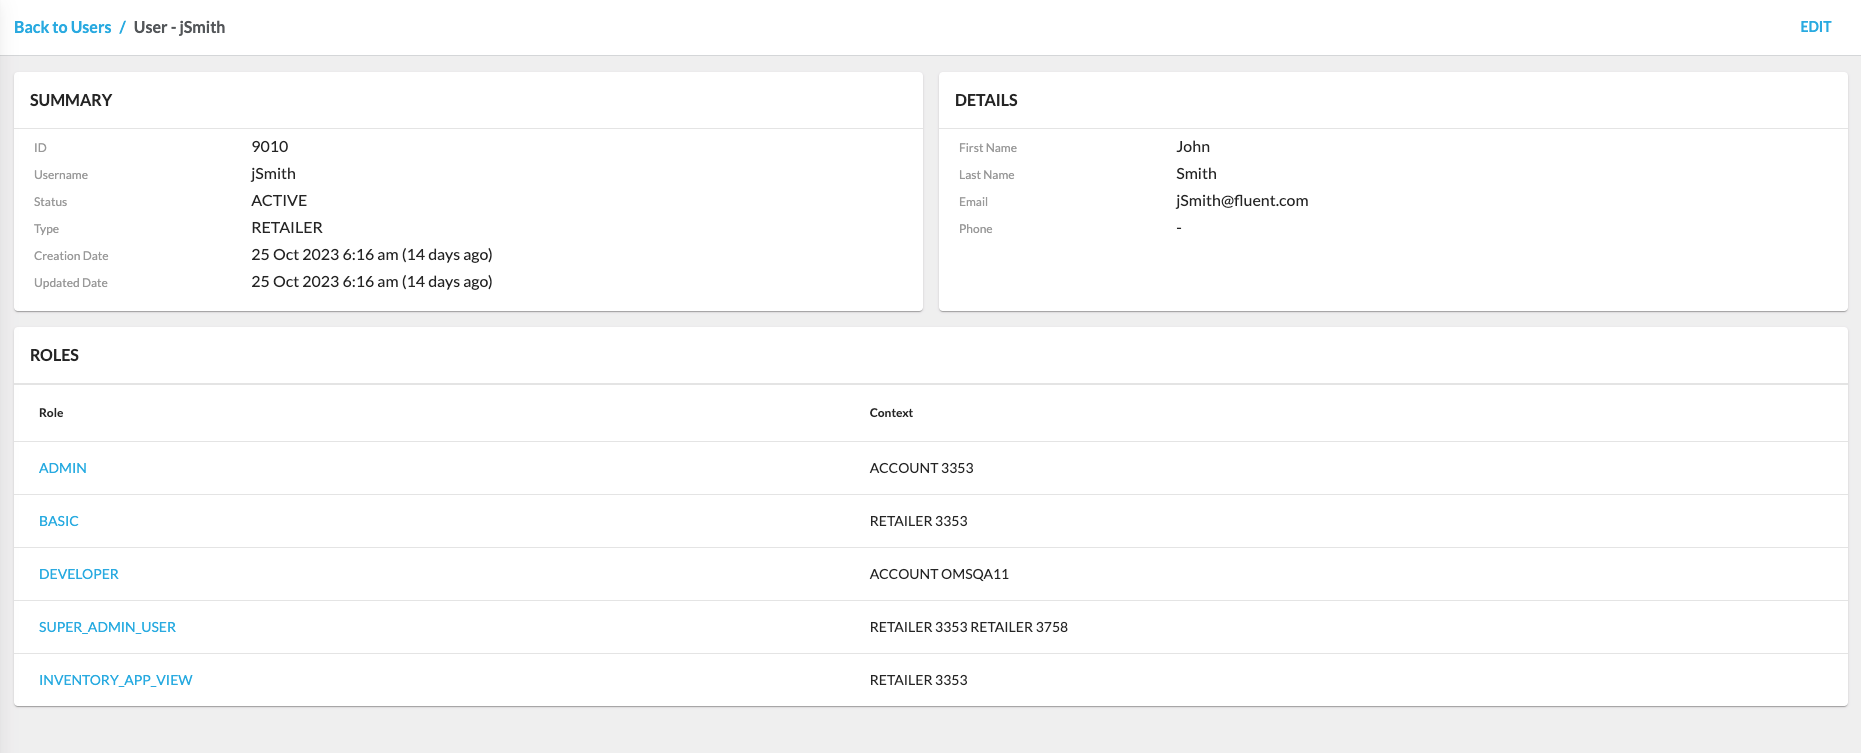
The Carriers configuration is available only in the reference Fluent OMS Web App version.Users
Roles & Permissions
Settings
Sourcing Profiles
The Sourcing Profiles page in the Admin interface provides a centralized view of all configured profiles. It allows users to quickly see each profile’s current configuration, status, and history. From here, profiles can be opened for editing, version history can be reviewed, or a draft or inactive profile can be activated.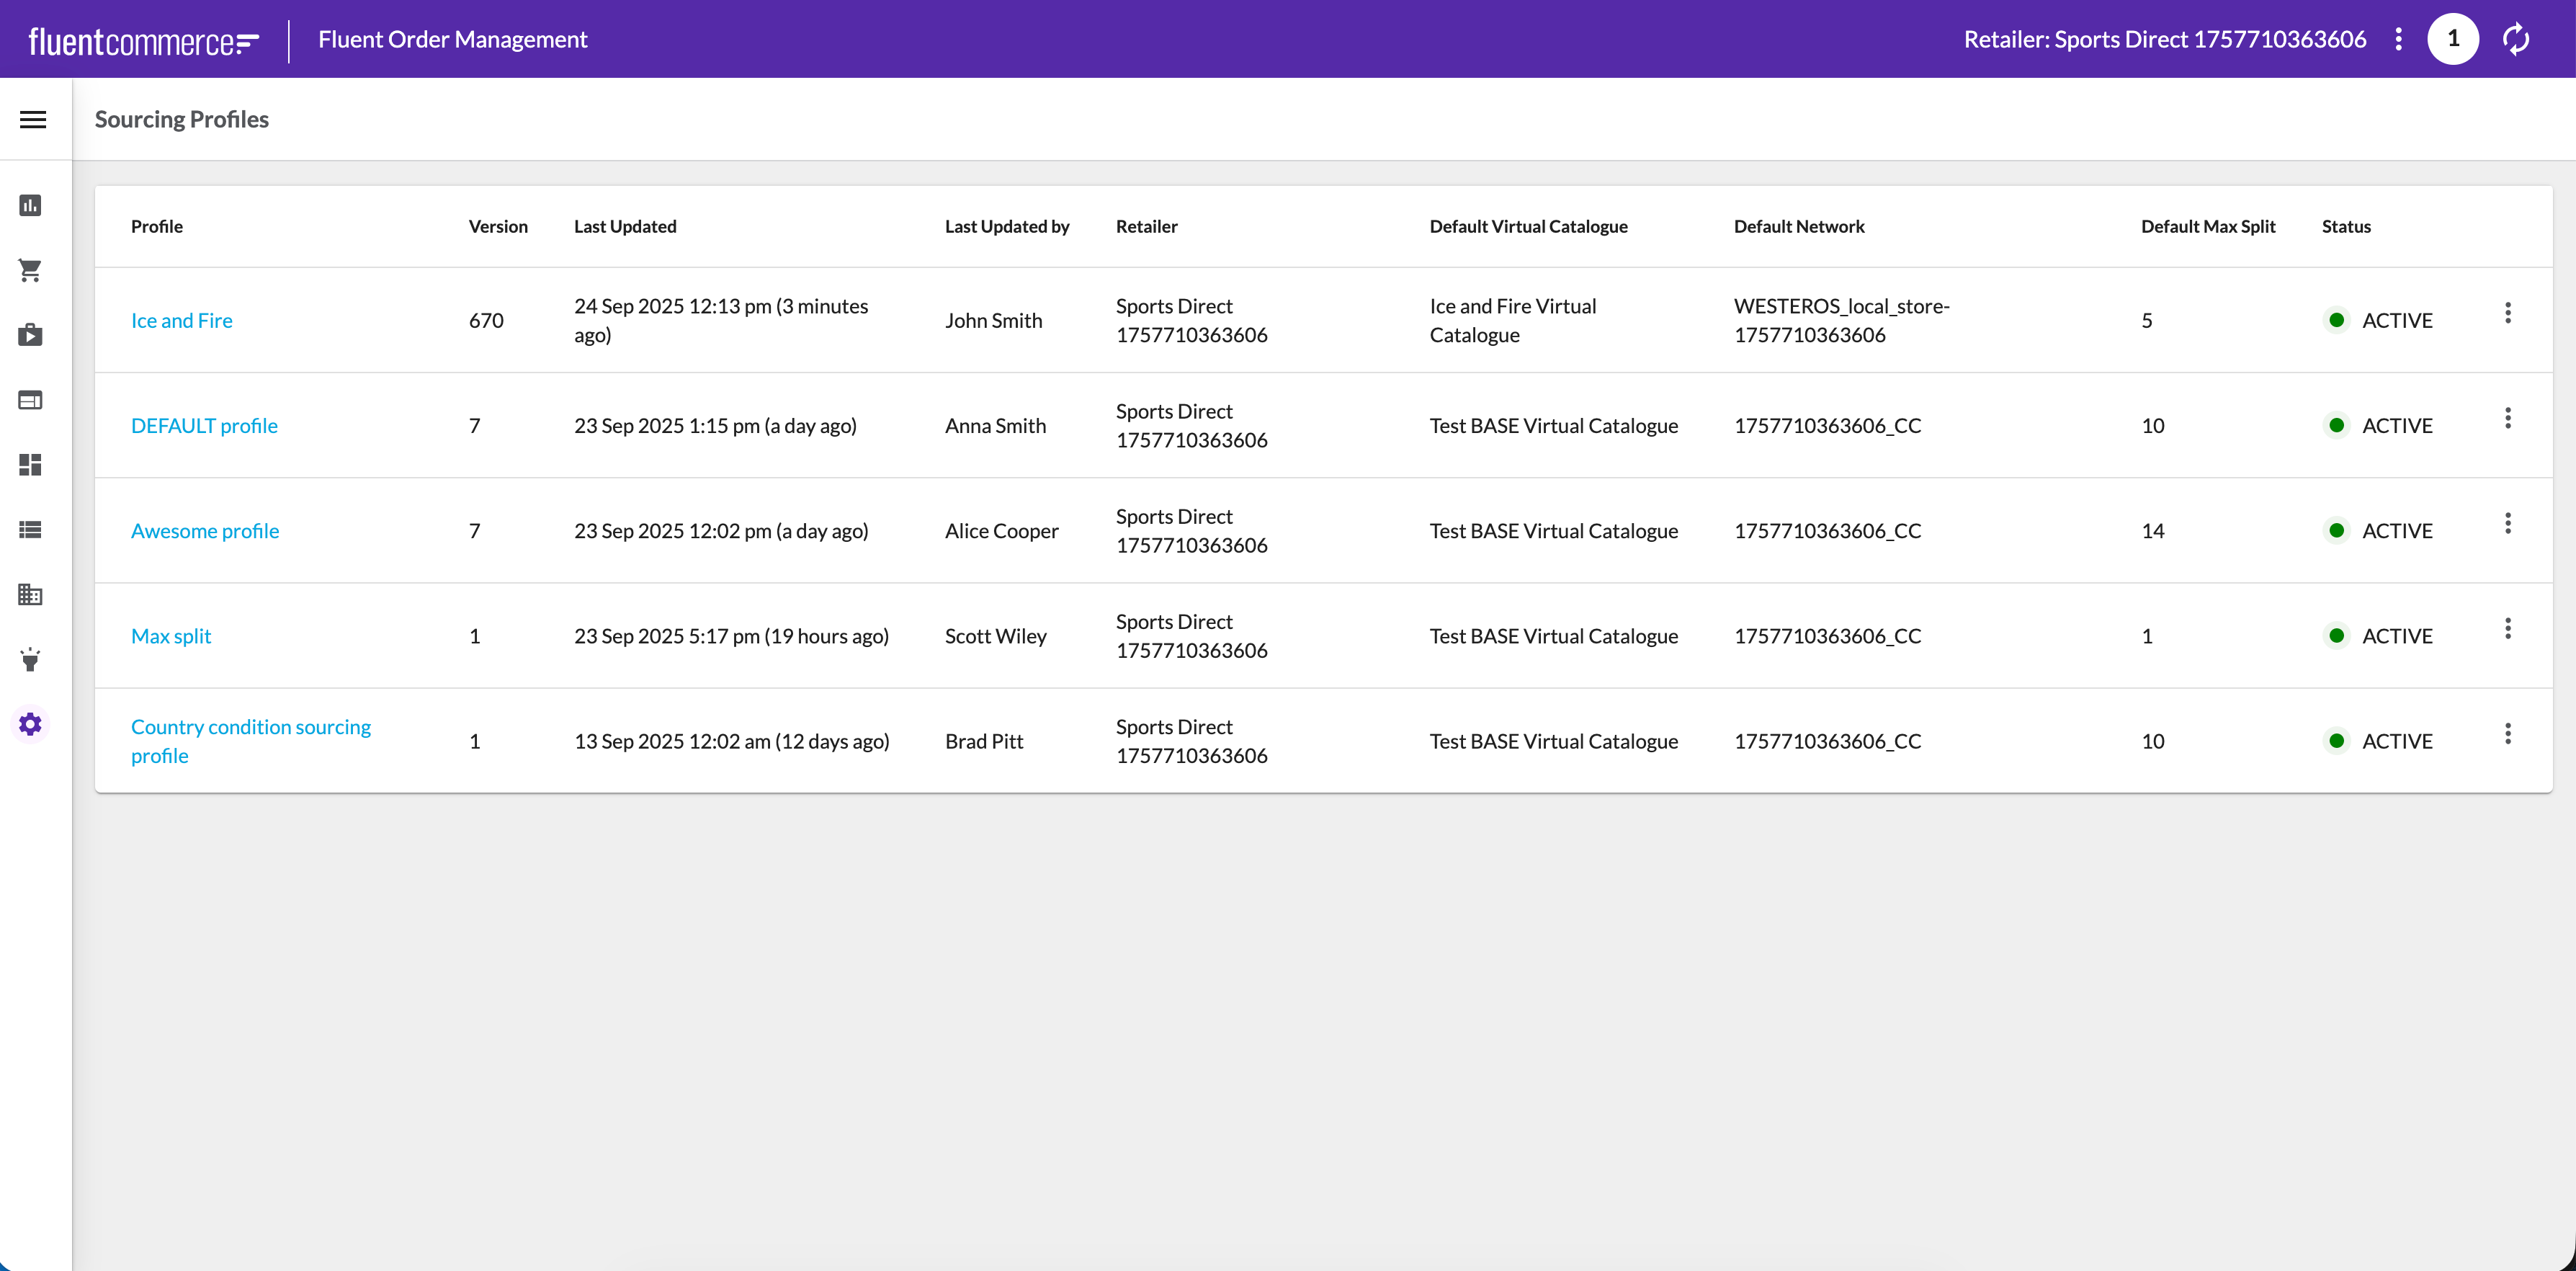 When a profile is opened, the Profile Details view is displayed. This view combines a summary of key attributes (such as default catalog, networks, and max split) with the profile’s current status and version information. Strategies are shown in the order they are executed, with primary and fallback strategies clearly distinguished for clarity.
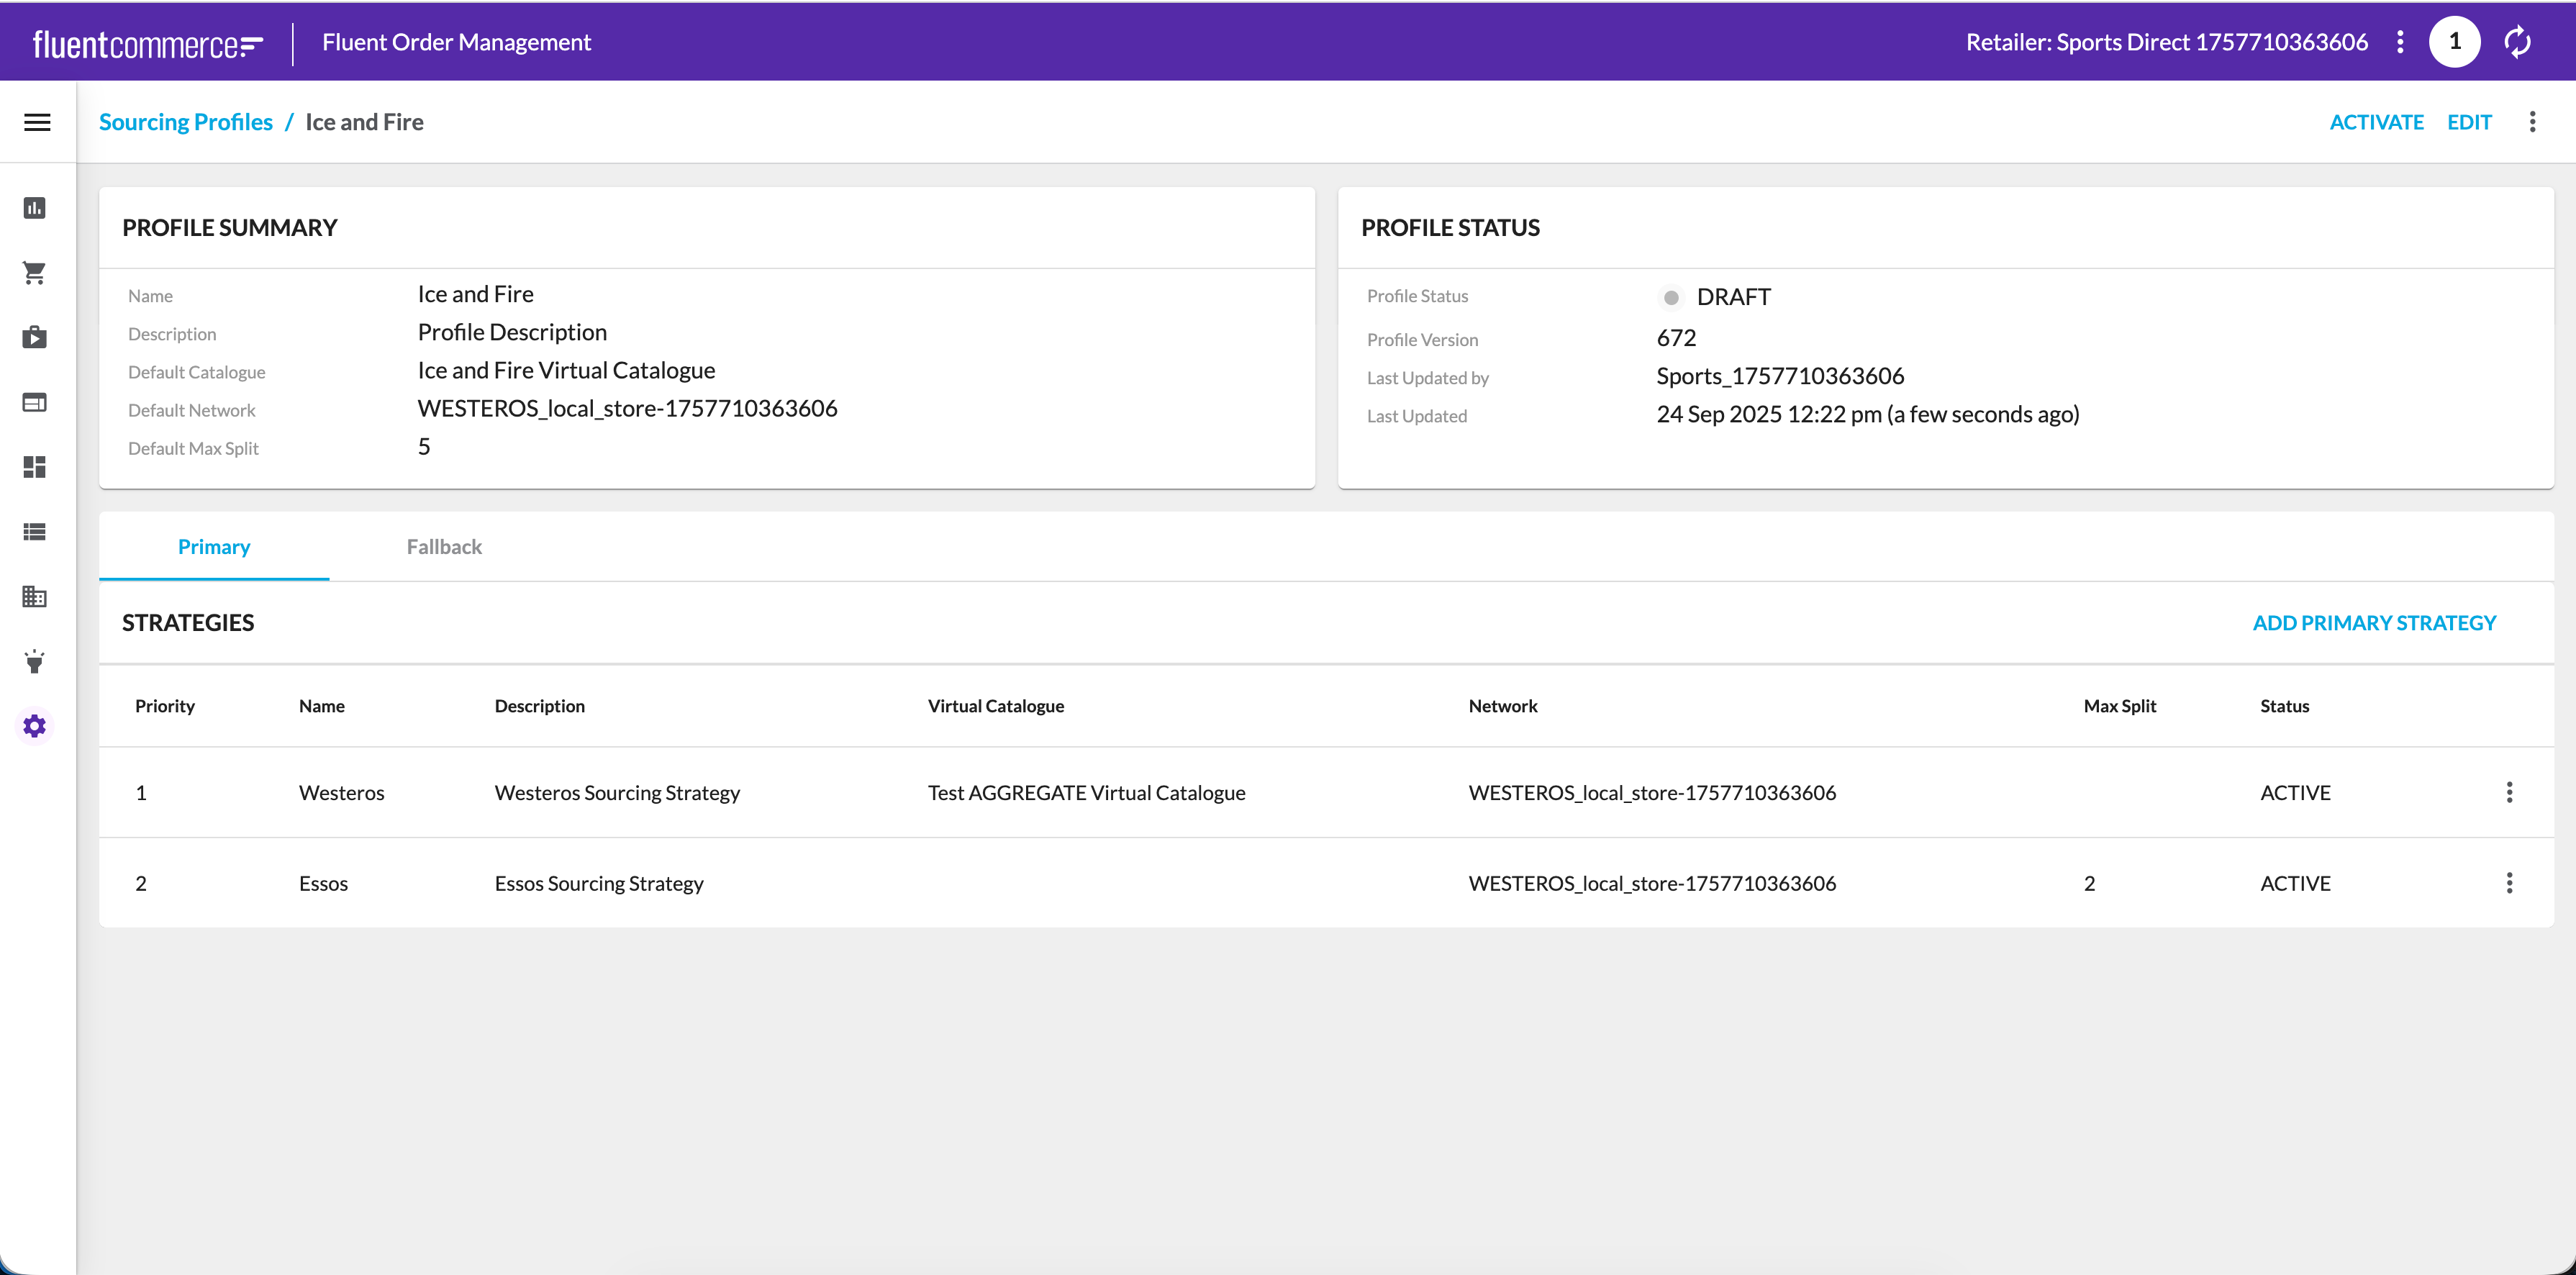 For a deeper overview of configuring and managing profiles, please see the full article on Sourcing Profiles.
Related content
Creating and Editing Product Catalogues
Author:
Fluent Commerce
Changed on:
8 Feb 2024
Key Points
- A Product Catalogue can be created and modified via the UI.
- To create a new Product Catalogue or to edit the existing one, the user needs to have the right permissions, and the required mutations need to be enabled in the manifest.
Steps
Related content
Create and Edit Inventory Catalogues
Author:
Fluent Commerce
Changed on:
9 Feb 2024
Key Points
- An Inventory Catalogue can be created and edited via the UI.
- To create a new Inventory Catalogue or edit an existing one, the user needs to have the right permissions, and the required mutations need to be enabled in the manifest.
Steps
Related content
Settings Creation and Editing Mutations
Author:
Fluent Commerce
Changed on:
1 July 2024
Key Points
- A setting can be added or modified directly via UI.
- A new setting requires its name, context, the identifier of the context, the value, and the value type.
Steps
Related content
User Creation and Editing Mutations
Author:
Fluent Commerce
Changed on:
30 Nov 2023
Key Points
- A user can be created and modified via UI.
- The user creation requires the associated Location, Retailer, Role, and Context. It’s also possible to add extra attributes.
- It’s only possible to ADD roles to the user on the UI. Removing roles is not feasible from the UI.
Steps
Related content
Role Creation and Editing Mutations
Author:
Fluent Commerce
Changed on:
3 May 2024
Key Points
- When creating or editing roles, ensure to define permissions accurately to maintain system security.
- Follow the best practices for naming conventions and role descriptions for easier management and clarity.
- Test role changes in a controlled environment before applying them to the live system to avoid unintended access issues.
Steps
Related content
Control Group Creation and Editing Mutations
Author:
Fluent Commerce
Changed on:
8 Dec 2023
Key Points
- Control groups can be created and modified via the UI.
- In order to create or modify Control Groups, the user needs to have the correct permissions.
Steps
Related content
Virtual Catalogue Creation and Editing Mutations
Author:
Fluent Commerce
Changed on:
8 Feb 2024
Key Points
- A Virtual Catalogue can be created and modified via the UI.
- In order to create a new Virtual Catalogue or to edit the existing one, the user needs to have the right permissions, and the required mutations need to be enabled in the manifest.

