Docs
Author:
Esma Tuzovic
Changed on:
5 Sept 2025
Copyright © 2024-2026 Fluent Retail Pty Ltd (trading as Fluent Commerce). Unless otherwise expressly stated in a current written agreement with Fluent Commerce or any of its affiliates or on any single page of the docs.fluentcommerce.com site, use of the materials on this site is strictly limited to viewing by individuals over 18 years old for legitimate commercially appropriate reasons; and any downloading, copying or other actions or uses of any kind or by any means of the materials on this site, including by artificial intelligence tools, is strictly prohibited. All other rights reserved.
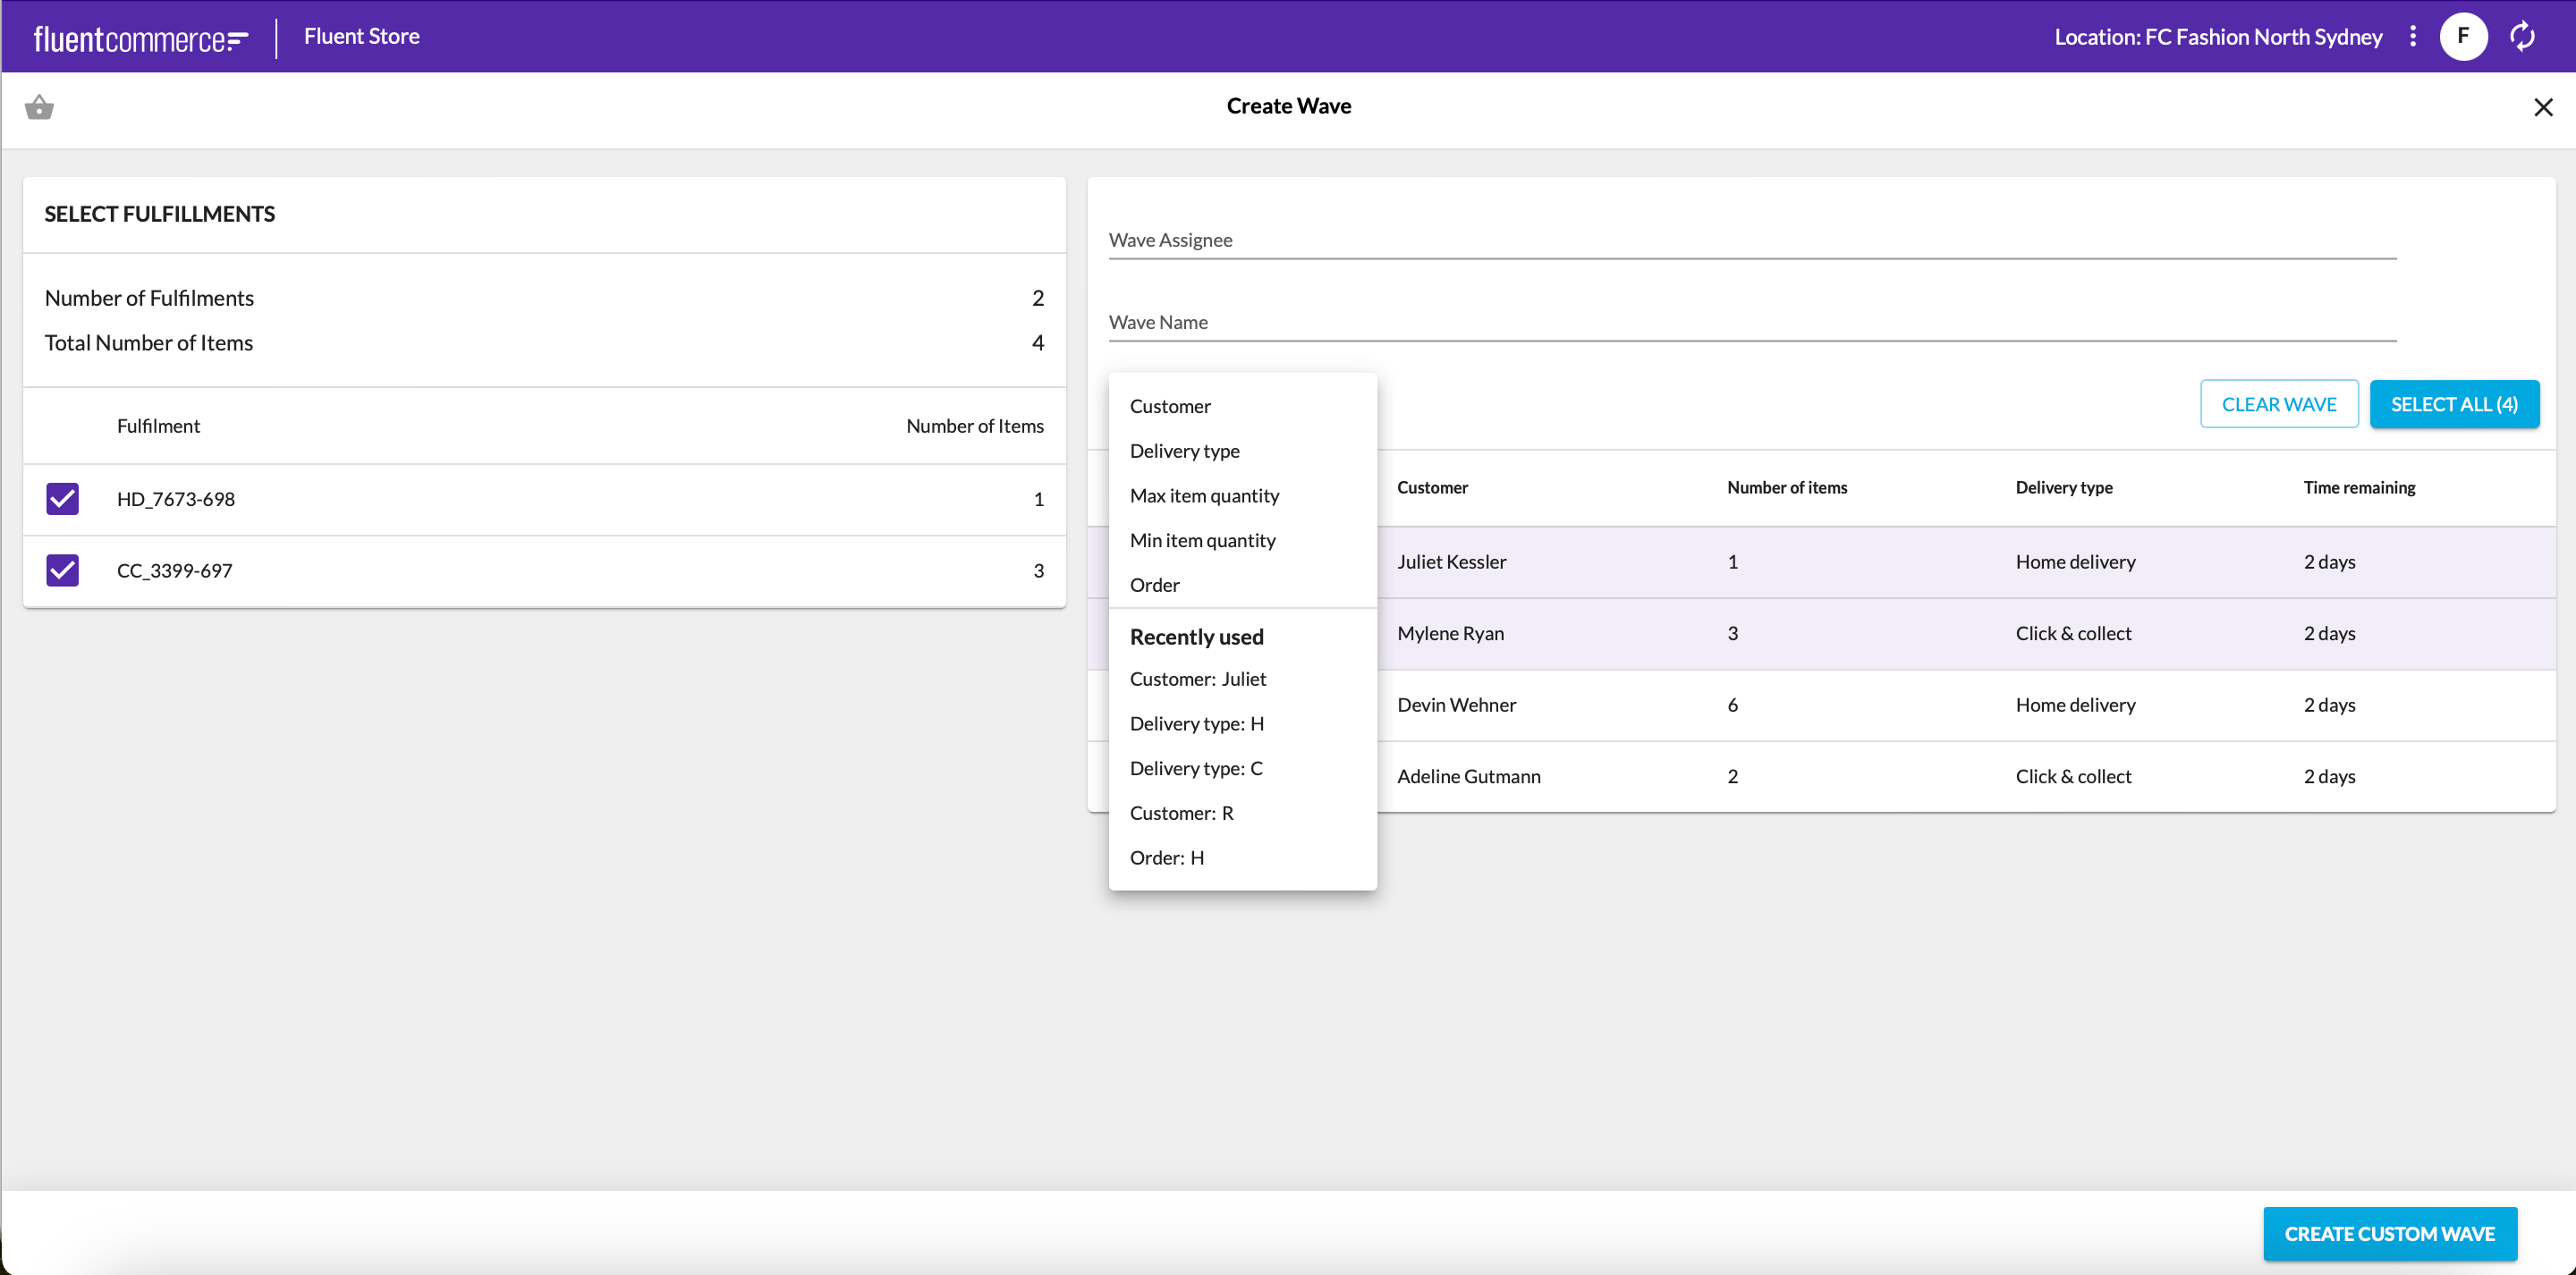
`CreateWaveByFulfillmentIds` rule.`CreateWaveByFulfillmentIds` rule into a new ruleset in the Location workflow. `FULFILMENT_IDS` to ensure the FulfilmentList component renders on the page.`type` `navigation`. This will cause the create wave button to navigate to the link you specify In the below example, an action extension has been added to the 'CreateWaveByUserSelection' action in the waves manifest that will enable a Store Associate to launch the Wave creation functionality from the dashboard in Fluent Store. In this example, '/waves/create' is specified as the URL suffix that the user will land on.1"actions": {
2 "primary": [
3 {
4 "type": "userAction",
5 "label": "i18n:fc.sf.ui.wave.createWave.createCustomWave",
6 "name": "CreateWaveByUserSelection",
7 "extensions": {
8 "action": {
9 "type": "navigate",
10 "link": "/waves/create"
11 }
12 }
13 }
14 ]
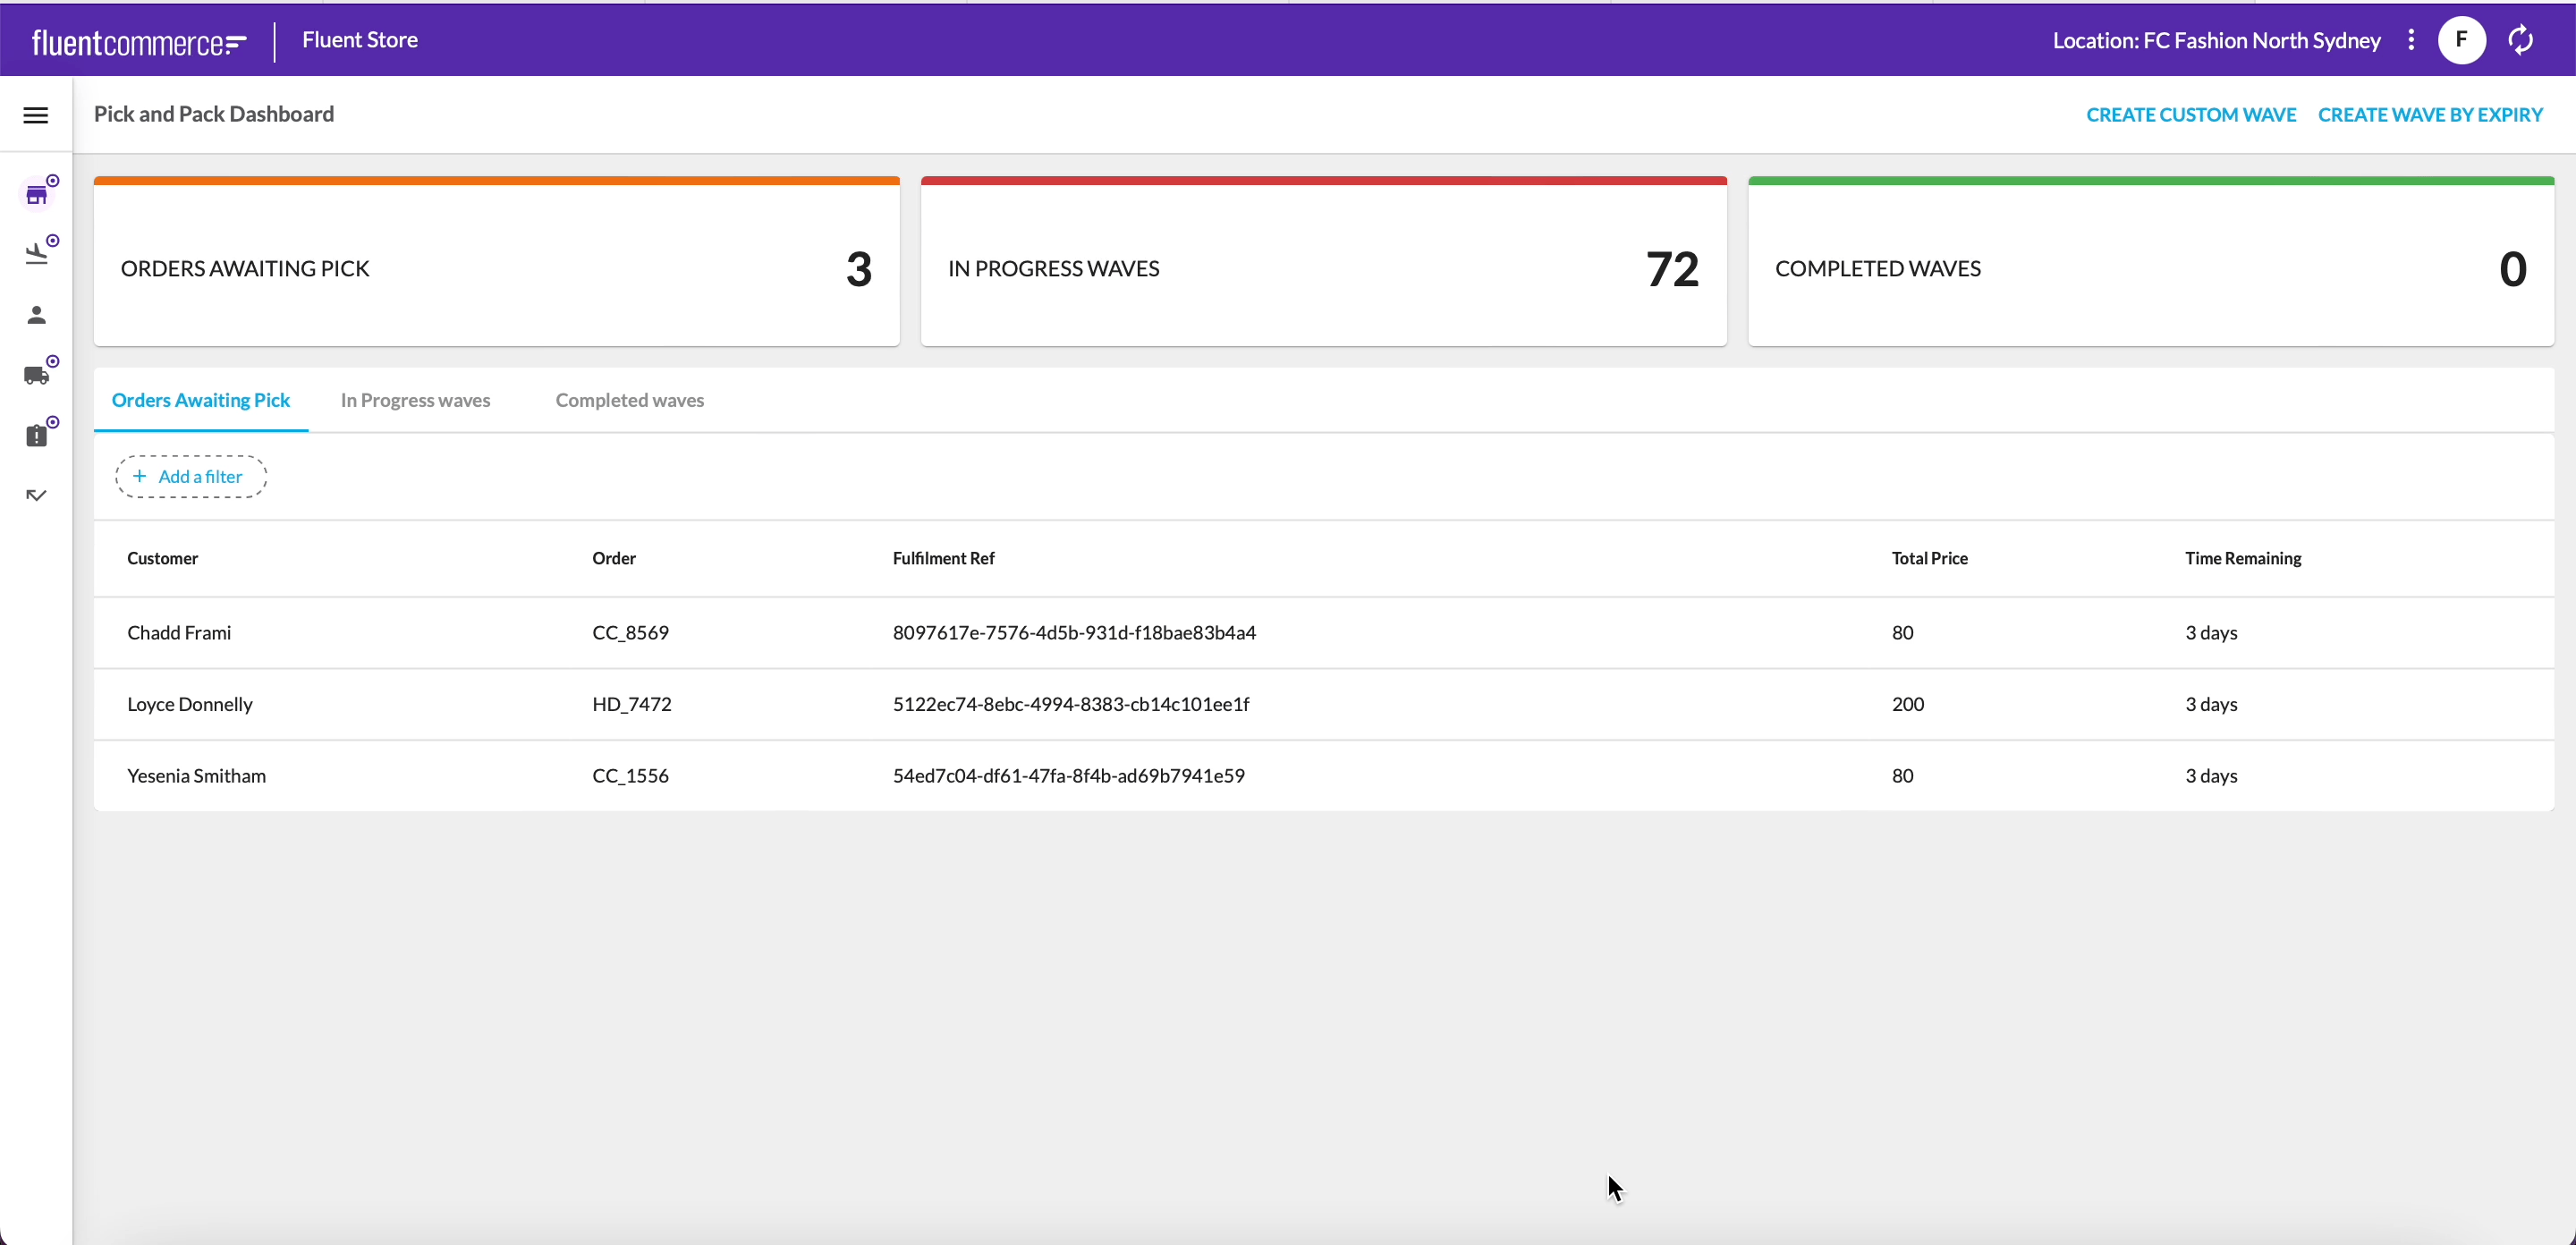
15}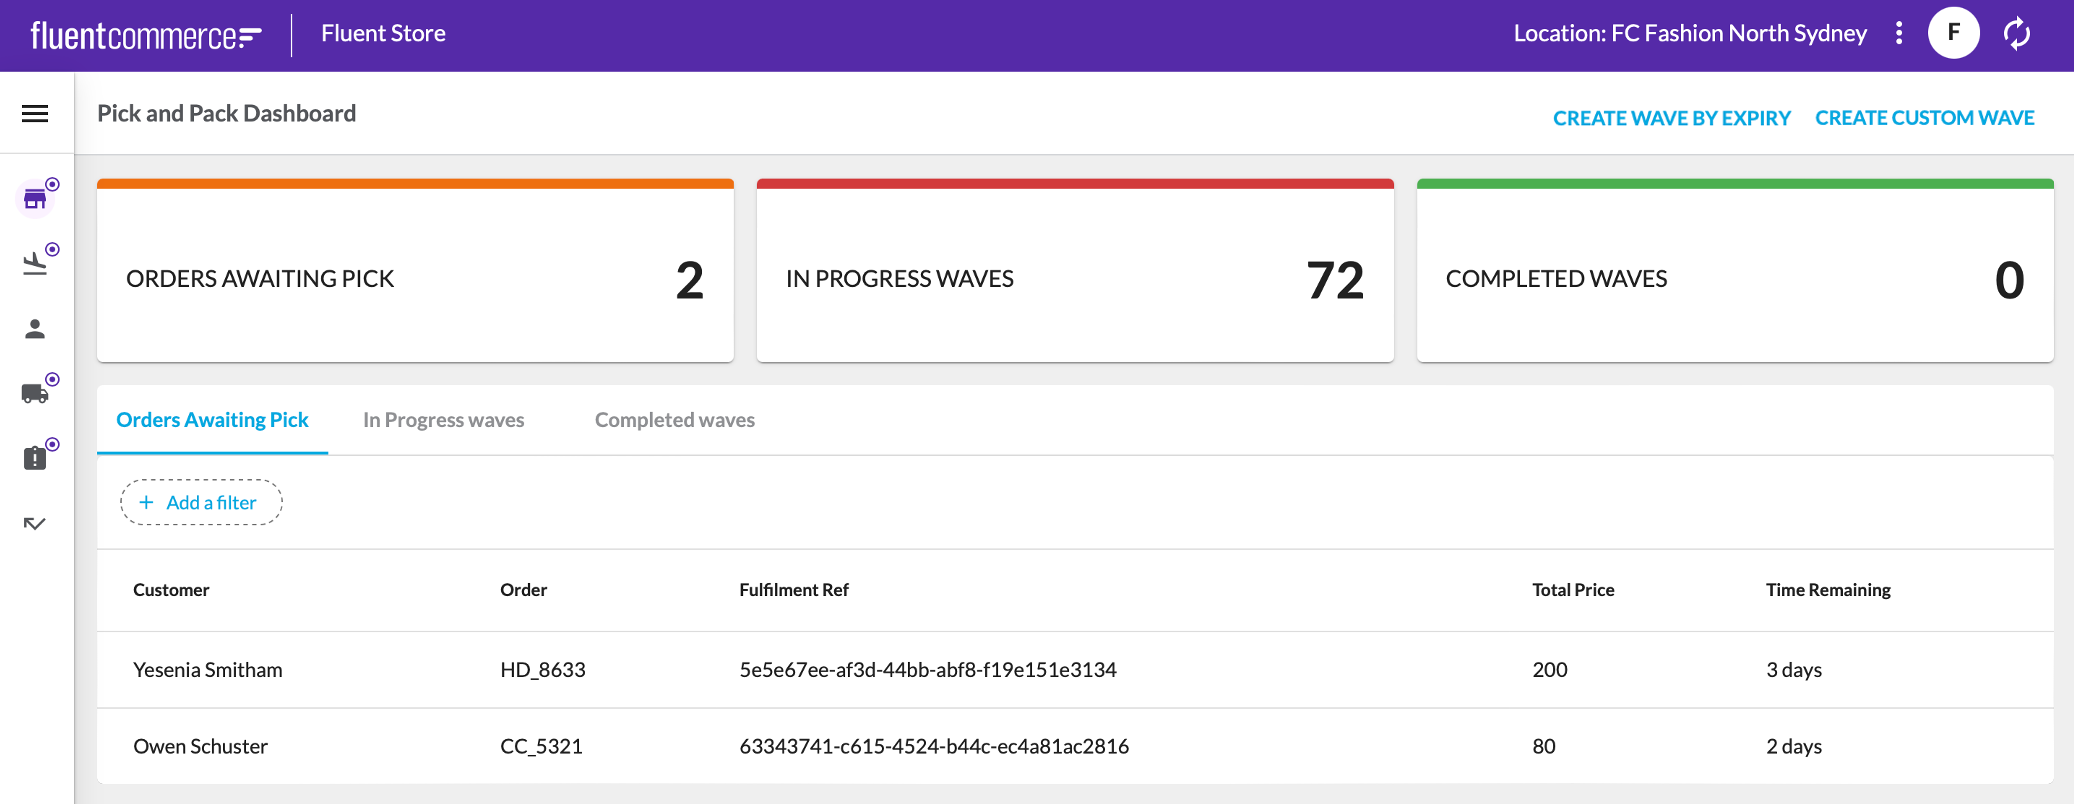 At this stage, when clicking onto the page action, the following screen will not work yet as it has not been configured.
`/waves/create.`In the example below a snippet is provided defining a new page for the Waves manifest fragment. This is a 1-step wizard page that is associated with the URL path '`/waves/create`' - the URL specified in the previous step. In the `actions` prop for this wizard page, an action is specified called '`CreateWaveByUserSelection`' which is the ruleset name defined earlier. This links this Wizard page to the ruleset defined in that step and allows the page to load the relevant fields required by that ruleset.As the Fulfiment List Field Component has a summary, the Wizard page is configured to show a summary alongside the Wizard form field.You can also configure all the properties available in the Wizard Component here. For example, you can update the width of the Summary.1{
2 "type": "page",
3 "path": "waves/create",
4 "fullScreen": true,
5 "component": "fc.page.wizard",
6 "props": {
7 "actions": true,
8 "closePath": "waves",
9 "steps": [
10 {
11 "title": "i18n:fc.sf.ui.wave.createWave.createCustomWave",
12 "icon": "MdShoppingBasket",
13 "action": {
14 "name": "CreateWaveByUserSelection",
15 "config": {
16 "noSuccessMessage": false,
17 "extension": {
18 "postSubmit": {
19 "type": "navigate",
20 "link": "/waves/{{wavesInProgress.edges.0.node.id}}"
21 }
22 }
23 }
24 },
25 "descendants": [
26 {
27 "component": "fc.page.wizard.summary",
28 "props": {
29 "noCard": true,
30 "width": 5,
31 "sticky": true
32 }
33 },
34 {
35 "component": "fc.page.wizard.action",
36 "props": {
37 "width": 7
38 }
39 }
40 ]
41 }
42 ]
43 },
44 "data": {
45 "query": "query ($locationRef: String!, $status: [String]!, $locationId: ID!) { locationById(id: $locationId) { ref } wavesInProgress: waves(processingLocation: {ref: $locationRef}, status: $status) { edges { node { id ref status location { id ref } } } } }",
46 "variables": {
47 "locationId": "{{activeLocation.id}}",
48 "locationRef": "{{activeLocation.ref}}",
49 "status": [
50 "PICK"
51 ]
52 }
53 }
54}