Create a Custom Printable Pack Slip
How-to Guide
Author:
Fluent Commerce
Changed on:
14 May 2025
Key Points
- The Pack Slip on Fluent Store can be customised via an HTML template.
- This guide will take you through the setup and fragment changes required to customise the Pack Slip.


Prerequisites
Steps
 Configure the page query in the Waves fragment
Add the required fields in the page query of the waves fragment to populate the details on the custom pack slip.The sample configured page query is as follows:
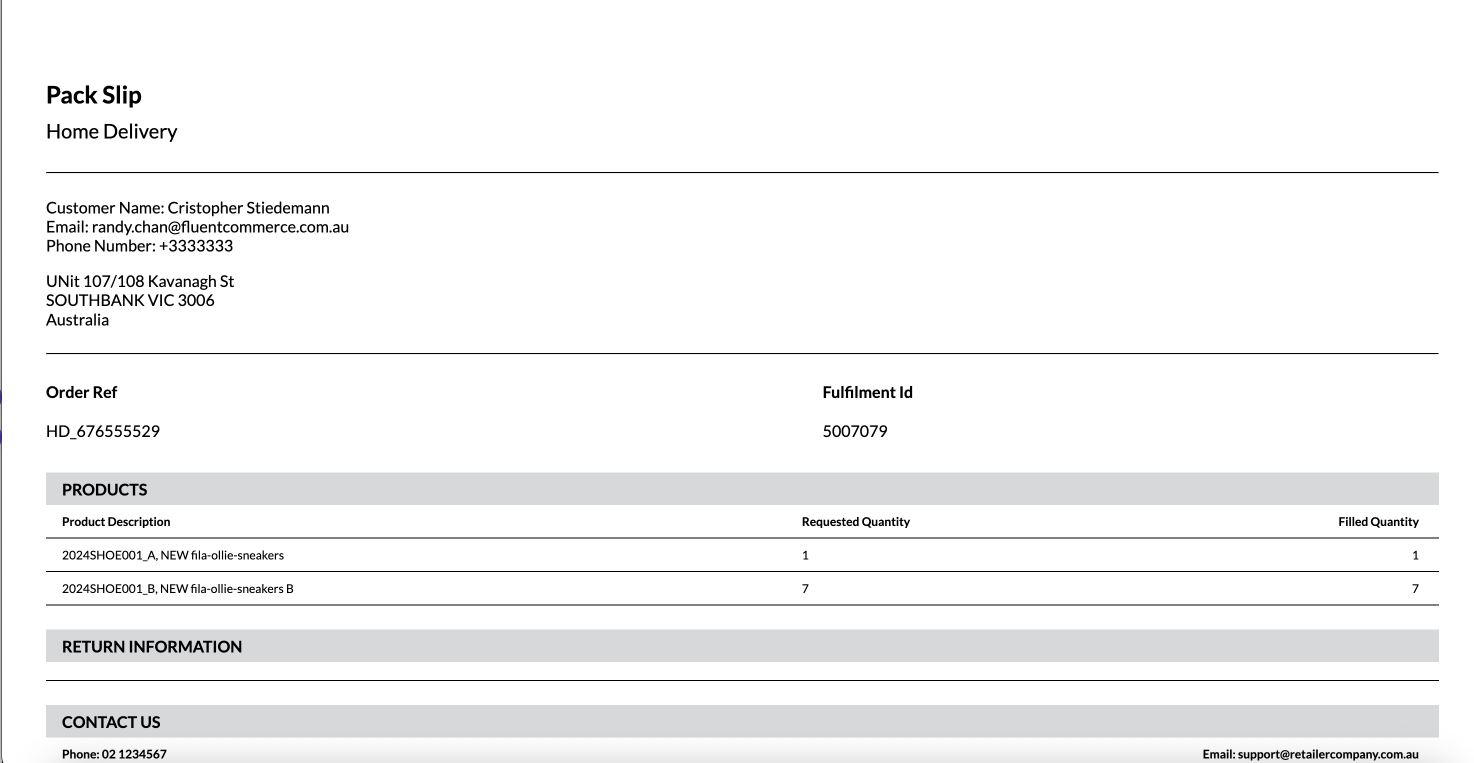
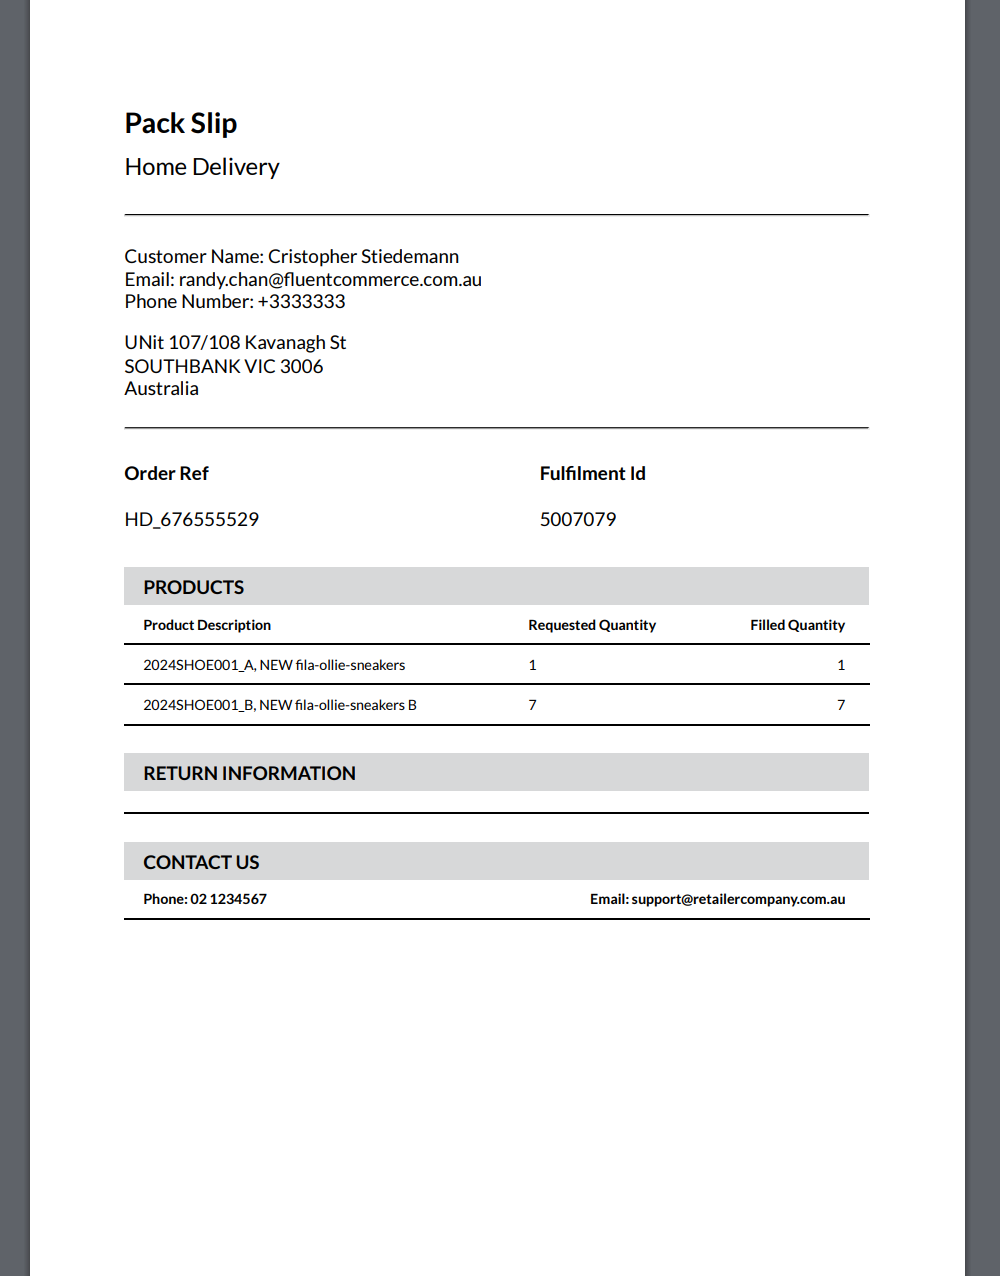
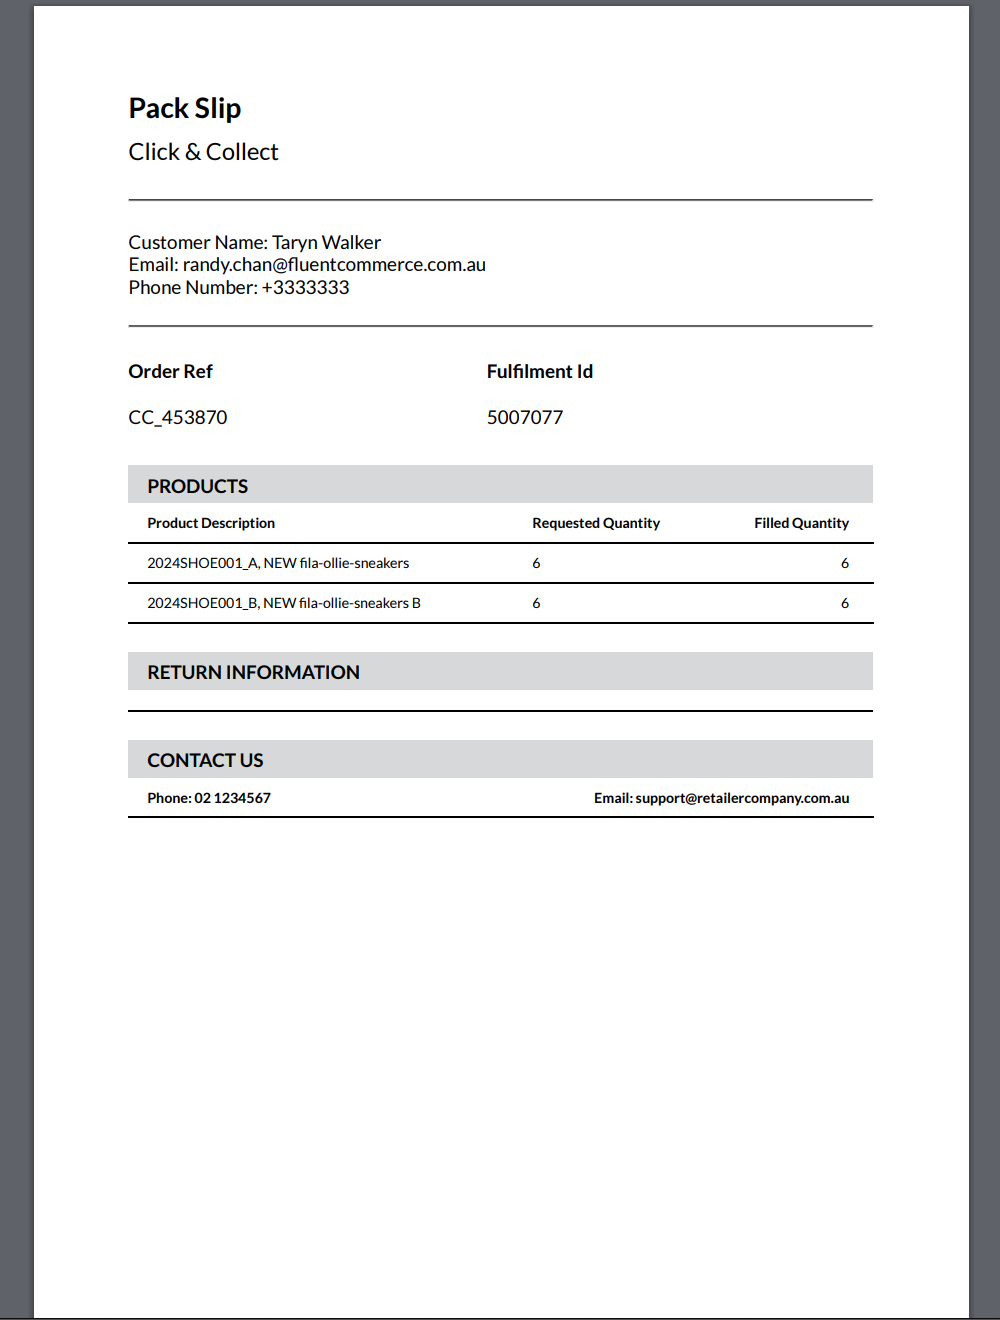
Create a setting fc.store.print.packslip
| Name | fc.store.print.packslip |
| Value type | `LOB` |
| LOB value | `<..The HTML template example provide below>` |
| Context | `RETAILER -or- ACCOUNT` |
| Context ID | `<RetailerID> -or- 0` |
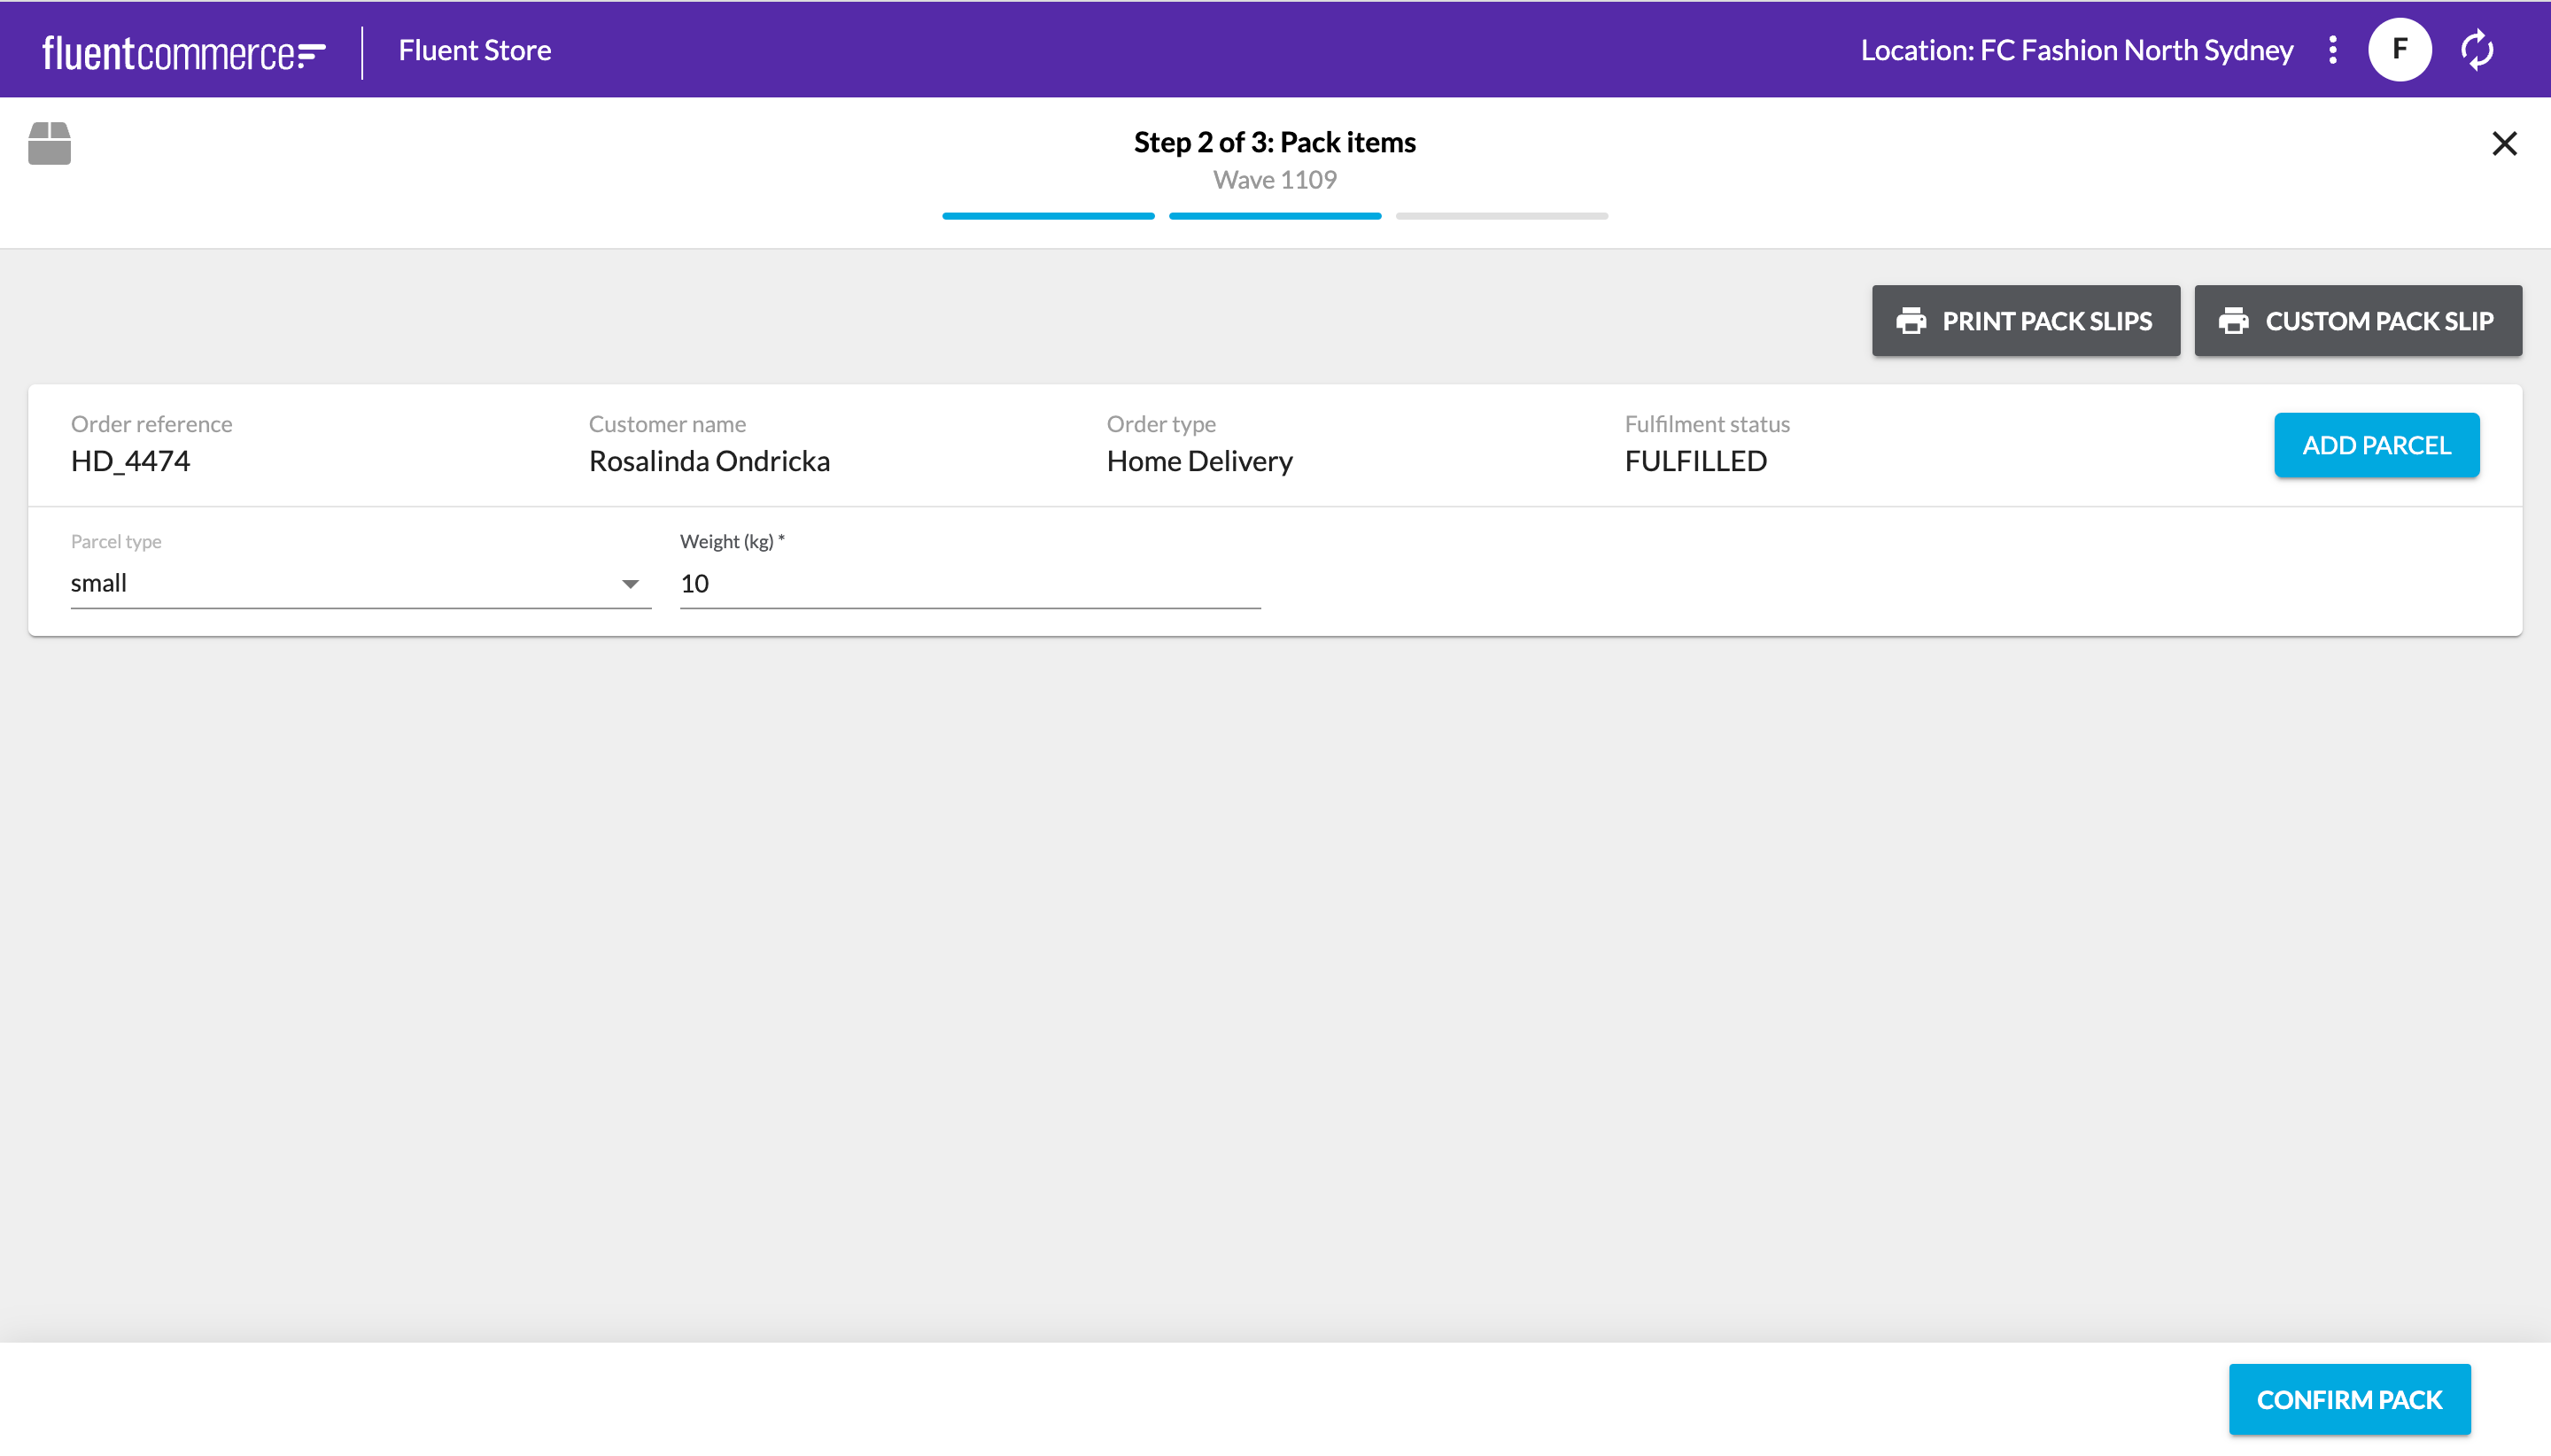
Configure the Waves fragment to include the “Custom Pack Slip“ button
If the Waves fragment has not been configured previously then you will first need to get the content of the baseline waves fragment. Otherwise, if you have already configured the waves fragment on your account, then get the content from your account settings instead.Once you have accessed the baseline waves fragment, copy the content into your preferred text editor.Define the following component to the second step of the wizard (PACK stage), just below the component
`fc.button.print`Make sure the JSON is validated.Testing the outcome
Once you have successfully updated the waves fragment with the Custom Pack Slip button, now create/ update the waves fragment setting on your account. Manifest documents should be stored as a JSON Setting at the Account context.You can now log on to Fluent Store with your location username and password. Select a Wave in the status "PACK" or Create a new Wave. You should then be able to see the “Custom Pack Slip” button on the PACK step of the Wave.