Docs
Authors:
Anita Gu, Girish Padmanabha
Changed on:
10 Dec 2025
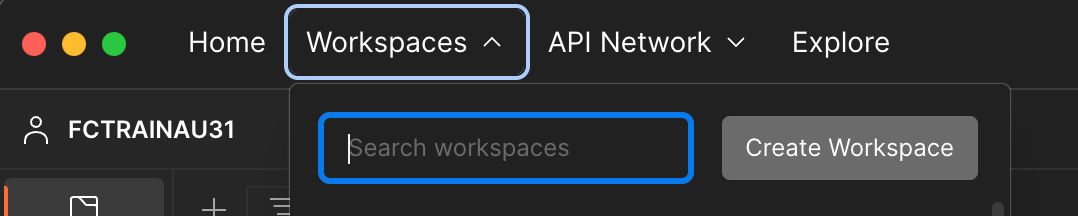
 If they have been imported successfully, you should see popups with green stripes in the bottom right hand corner of your screen. You should also see Fluent JetPack - LaunchPad and Fluent Training on the left sidebar.
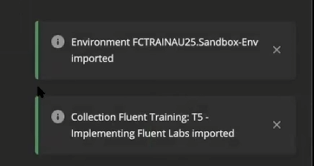
`FCTRAINEU<ID>.Sandbox-Env`) There may also be scripts on the folder level in a LaunchPad request. You can view these by clicking on a folder and checking the Pre-request Scripts and Test tabs. Any scripts at a folder level will be applied to all other requests within it.
 Outside of Auth requests, authorization is set at the folder level, so all requests inherit the same authorization. It is set as a Bearer Token and uses the
 `{{fluent.account.token}}`. These values should not be edited.
Copyright © 2024-2026 Fluent Retail Pty Ltd (trading as Fluent Commerce). Unless otherwise expressly stated in a current written agreement with Fluent Commerce or any of its affiliates or on any single page of the docs.fluentcommerce.com site, use of the materials on this site is strictly limited to viewing by individuals over 18 years old for legitimate commercially appropriate reasons; and any downloading, copying or other actions or uses of any kind or by any means of the materials on this site, including by artificial intelligence tools, is strictly prohibited. All other rights reserved.