Scheduling Reports in Analytics Studio
How-to Guide
Author:
Yulia Andreyanova
Changed on:
15 June 2026
Key Points
- Scheduled reports automatically deliver dashboard data to stakeholders by email
- Reports can be delivered on a recurring schedule based on business requirements
- Scheduled reports use the dashboard filters configured when the schedule is created
- Existing schedules can be edited, duplicated, deleted, or sent immediately
Steps
 Open the Schedule Delivery dialog
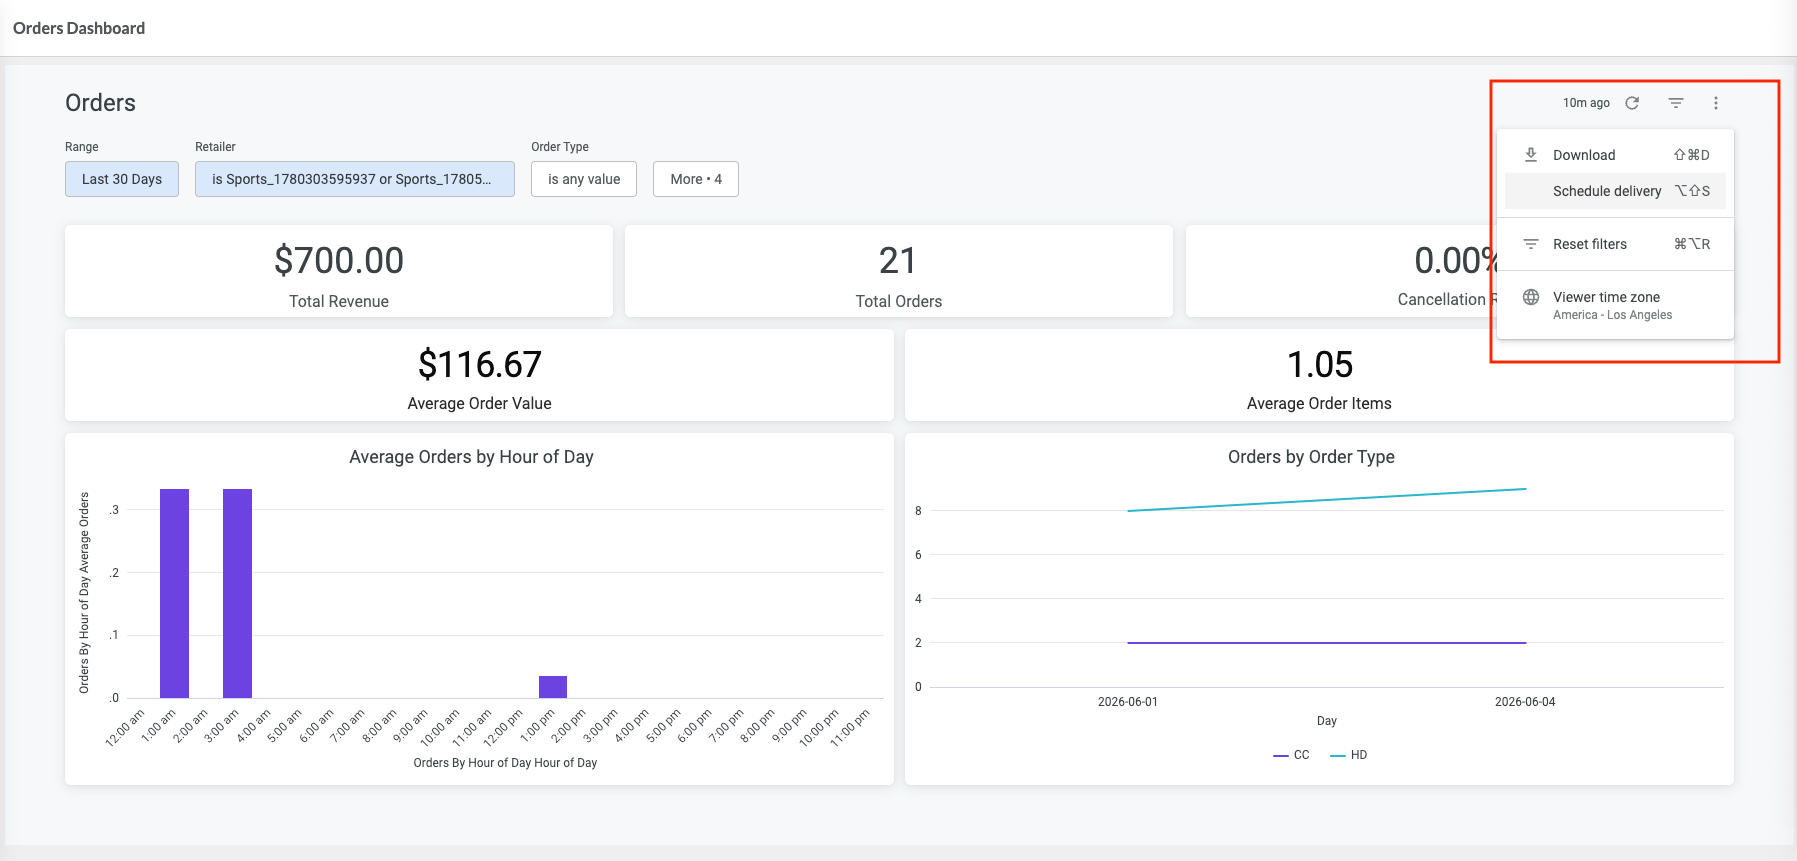
- Open Analytics Studio either by navigating directly to the URL or via the context switcher in Fluent OMS or Store, then navigate to the dashboard you want to distribute.
- Click the dashboard actions menu (⋮) and select Schedule delivery.
Configure the schedule
Enter the schedule details:
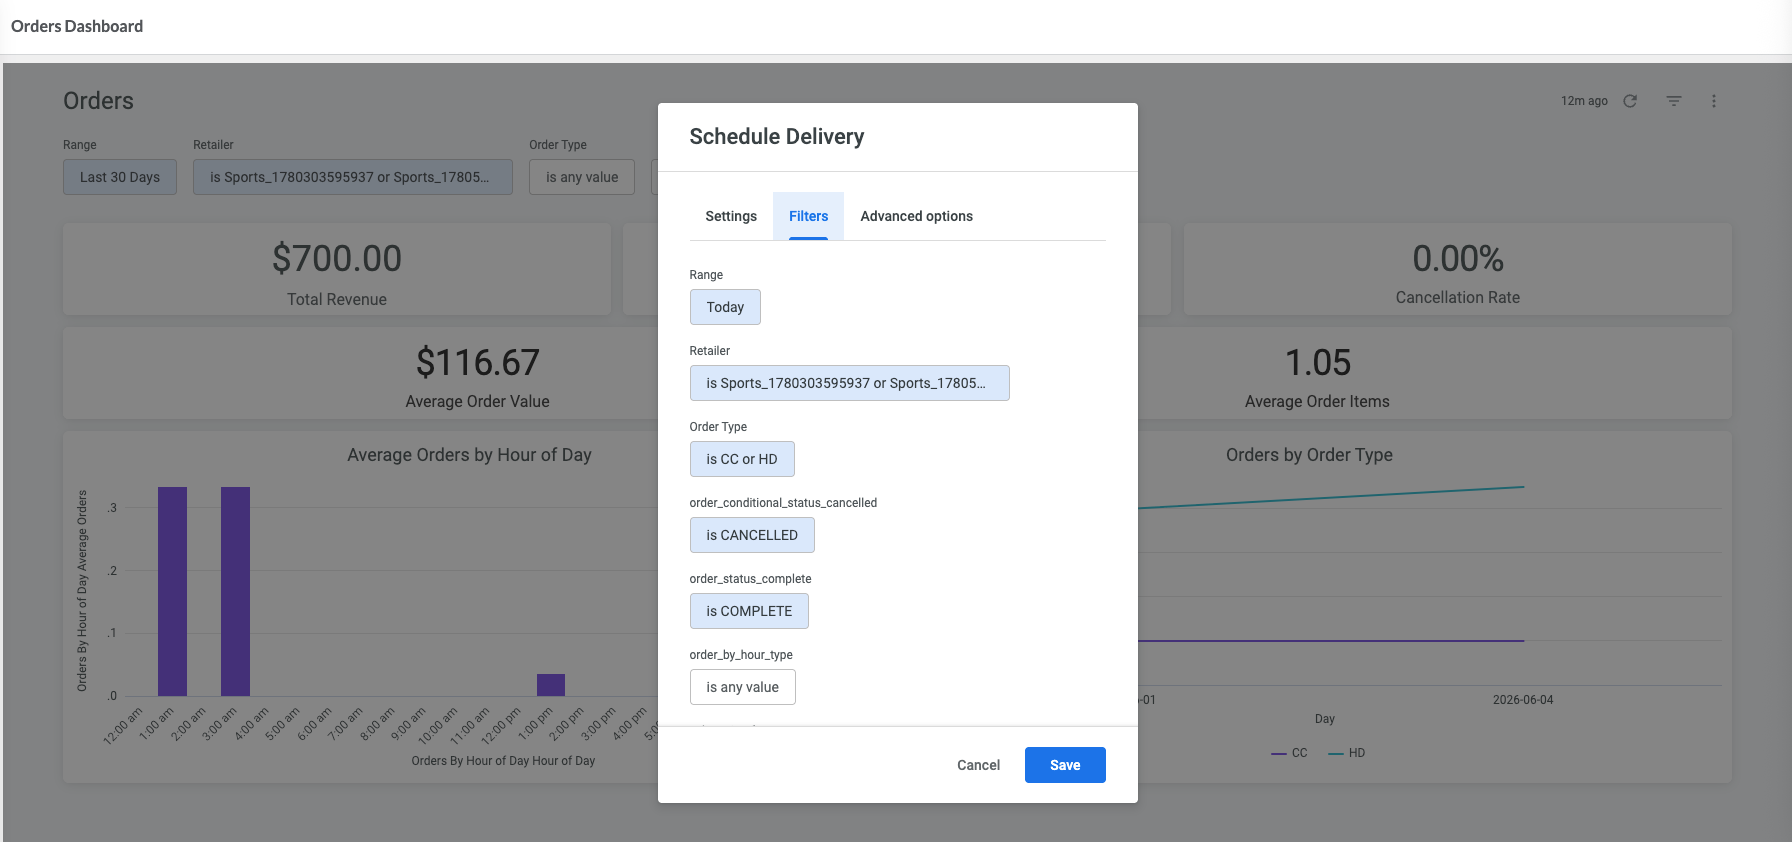
- Schedule Name
- Recurrence - see recurrence options below
- Delivery Time
- Recipients - To add multiple recipients, enter an email address and press Enter, then continue adding additional recipients.
- Output Format- Available output formats include:
- PDF – a formatted dashboard report (default option)
- CSV zip file – raw dashboard data in CSV format
- PNG visualization – an image of the dashboard
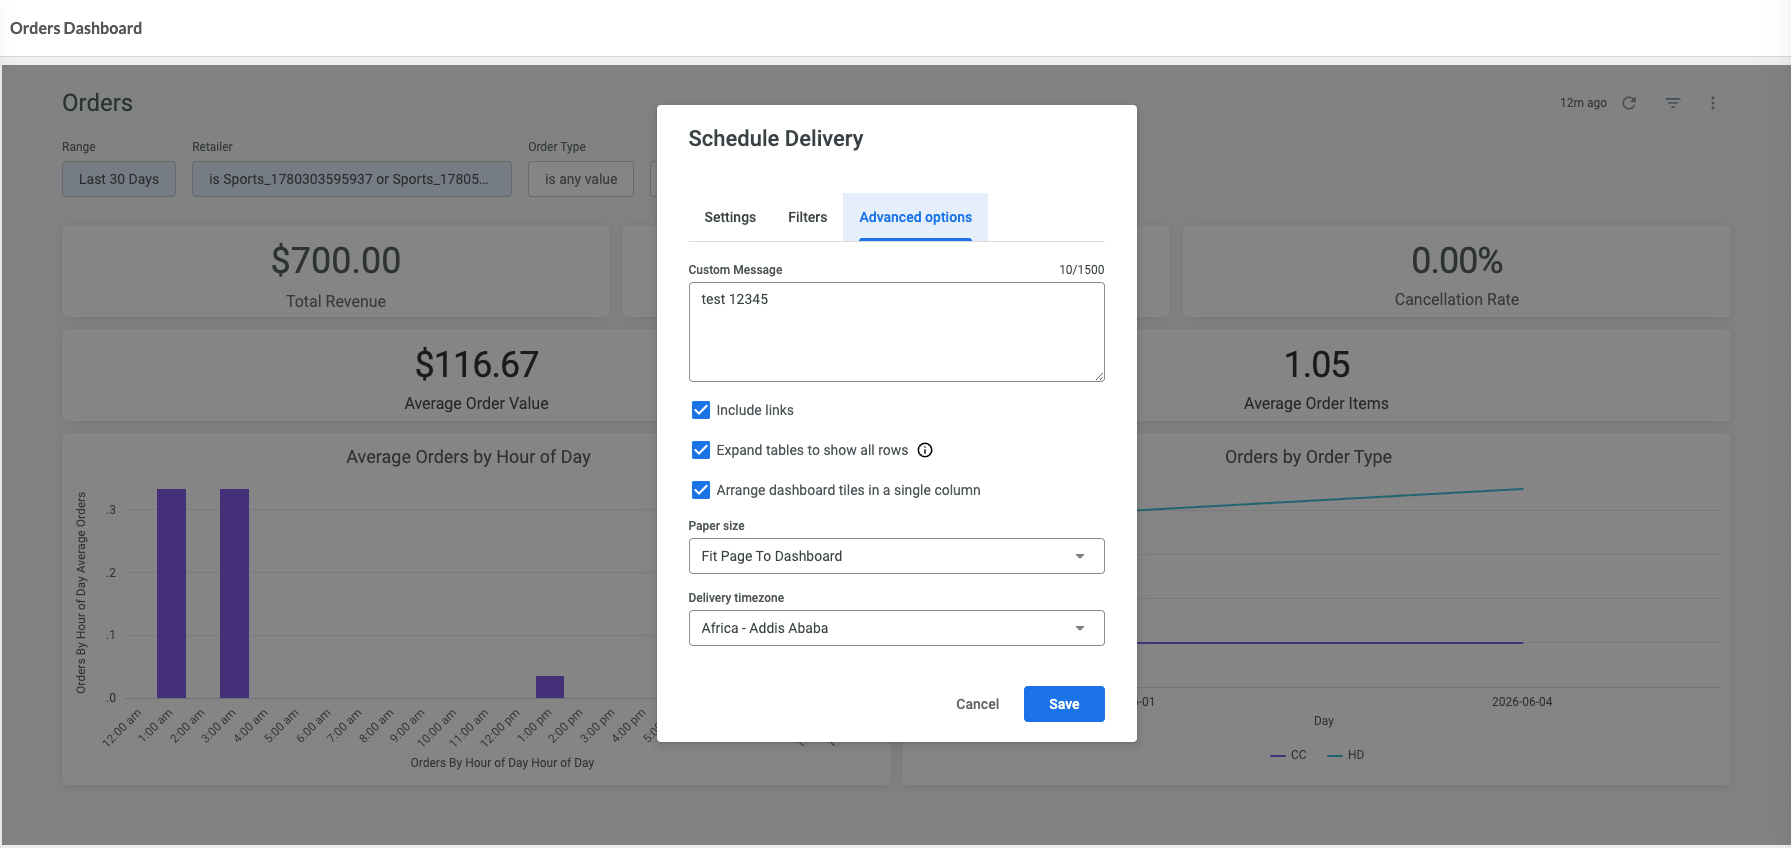
Save the schedule
Click Save to activate the schedule. Analytics Studio will automatically deliver the report according to the configured schedule.
Manage existing schedules
To view existing schedules, open the dashboard actions menu (⋮) and select Schedule delivery.From the schedule list, you can:
- send a report immediately using Send now
- edit a schedule
- duplicate a schedule
- delete a schedule
Result
Stakeholders automatically receive dashboard reports according to the configured schedule, helping them:
- monitor performance over time
- stay informed about important business metrics
- review dashboard data without manually opening Analytics Studio
