Docs
Authors:
Esma Tuzovic, Cille Schliebitz, Anita Gu
Changed on:
14 Apr 2025
This article will allow you to apply the practical knowledge you've acquired related to inventory in this knowledge track course.
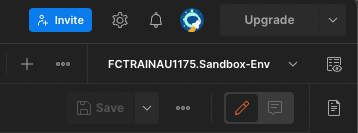
In this task, you will prepare your Postman environment for the following hands-on practical lab.
Note: You will need your Training Account Environment file which is shared via email on enrolment.
Follow the steps below carefully.
Lab Steps:
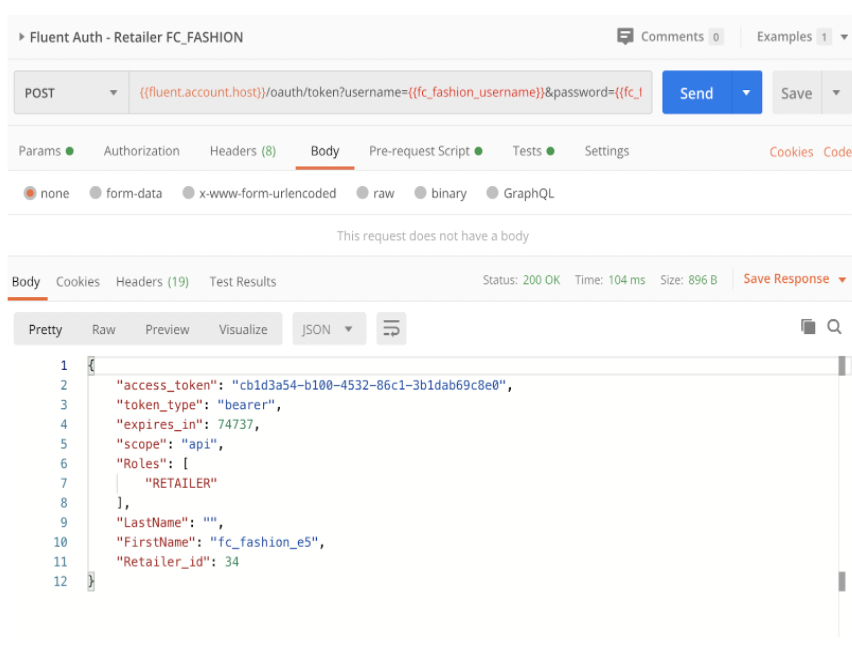
5. Open the Fluent Learning: FN-IN1 Labs > Authenticate FC_FASHION Retailer
6. Click on Fluent Auth - Retailer FC_Fashion and on the right panel, click on the blue SEND button on the top right
You should see a result like this:
7. You are now ready to work through the labs.
8. To complete this assignment, please copy and paste the auth response from postman into the submit response tab. This will complete this assignment and allow you to move to the next task.
In this lab, you will load an inventory file via the Fluent Batch API and learn how an inventory batch load gets processed by the Inventory Catalogue workflow.
The Workflow Engine will process the inventory batch events sent to the Inventory Catalogue workflow.
Subsequently, the Inventory Catalogue workflow will create or update the Inventory Position, the Last on Hand (LOH) quantity, calculate the SOH, and fire an event to notify the Virtual Catalogue workflow.
The Virtual Catalogue Workflow will then apply any relevant Controls (Buffers & Exclusions), calculate the ATS and create or update the Virtual Position.
Follow the steps below carefully.
Lab steps:
`https://[YOUR_ACCOUNT_ID].sandbox.apps.fluentcommerce.com/oms/``fluent.retailer.fc_fashion.user.username``fluent.retailer.fc_fashion.user.password`
`DEFAULT:1``F_HQ``F_SYD``F_NSYD``F_MEL``F_NBSYD``F_ESYD``F_NSSYD``F_SSYD``F_GFD``F_HQ``F_SYD``F_NSYD``F_MEL``F_HQ``F_SYD``F_NSYD``F_MEL`
`F_HQ``F_SYD``F_NSYD``F_MEL`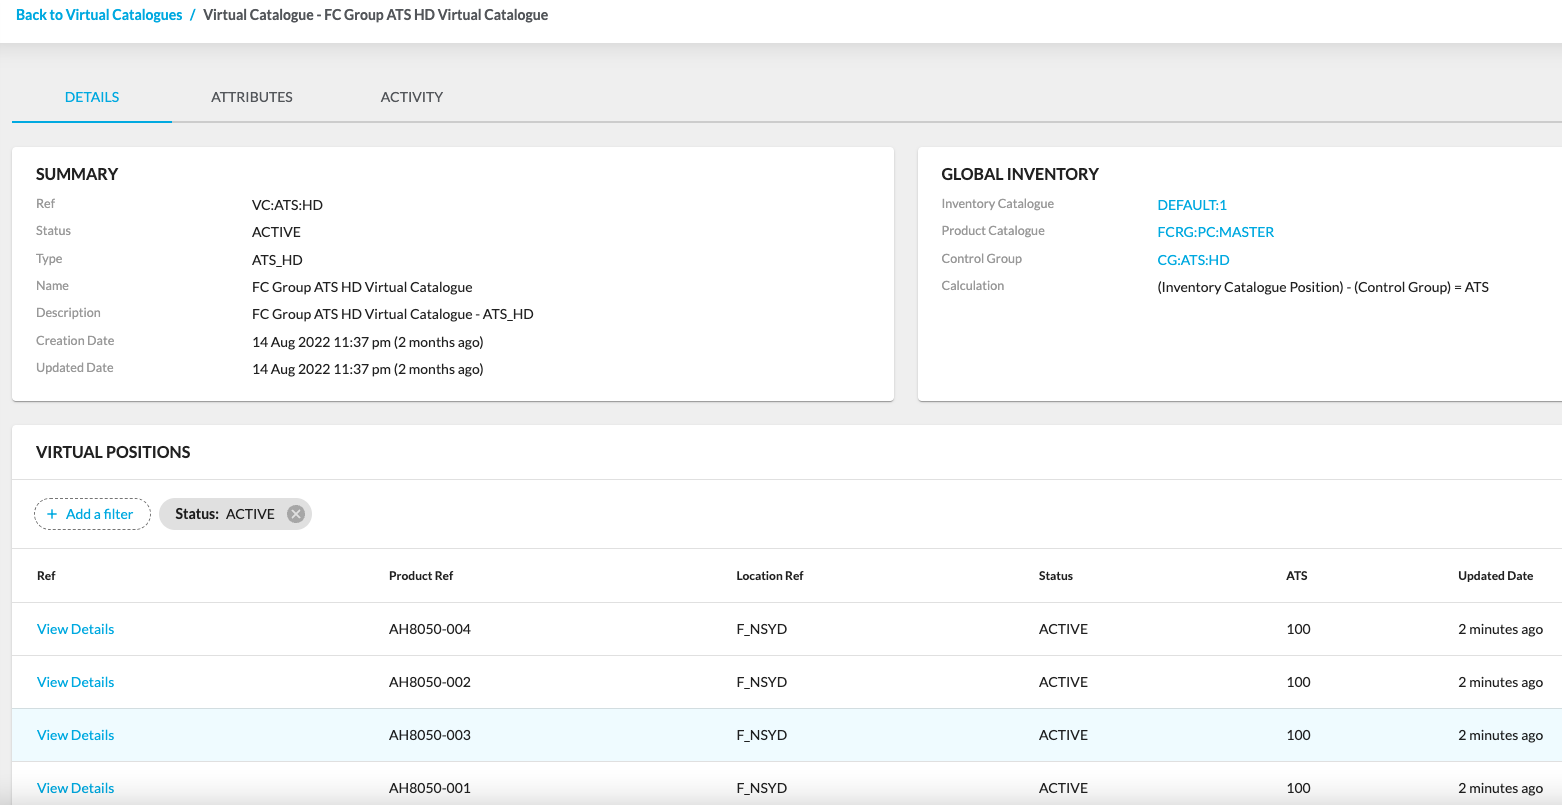
In this lab you will learn how to create and apply a new control of type QUANTITY_BUFFER (i.e. safety stock quantity) for one of the variants at one location (AH8050-004 @ F_NSYD), and see the impact on the ATS.
Follow the steps below carefully.
Lab steps:
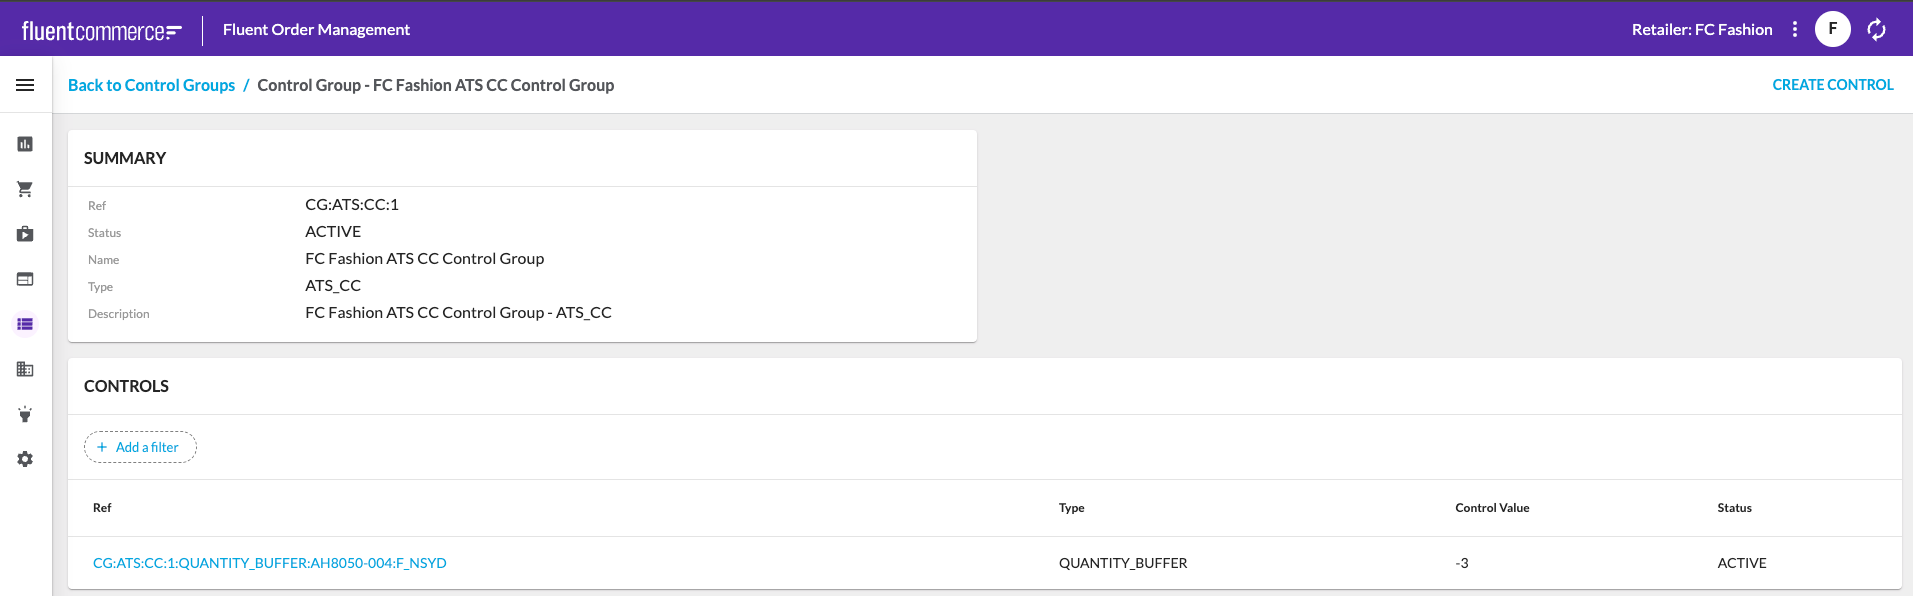
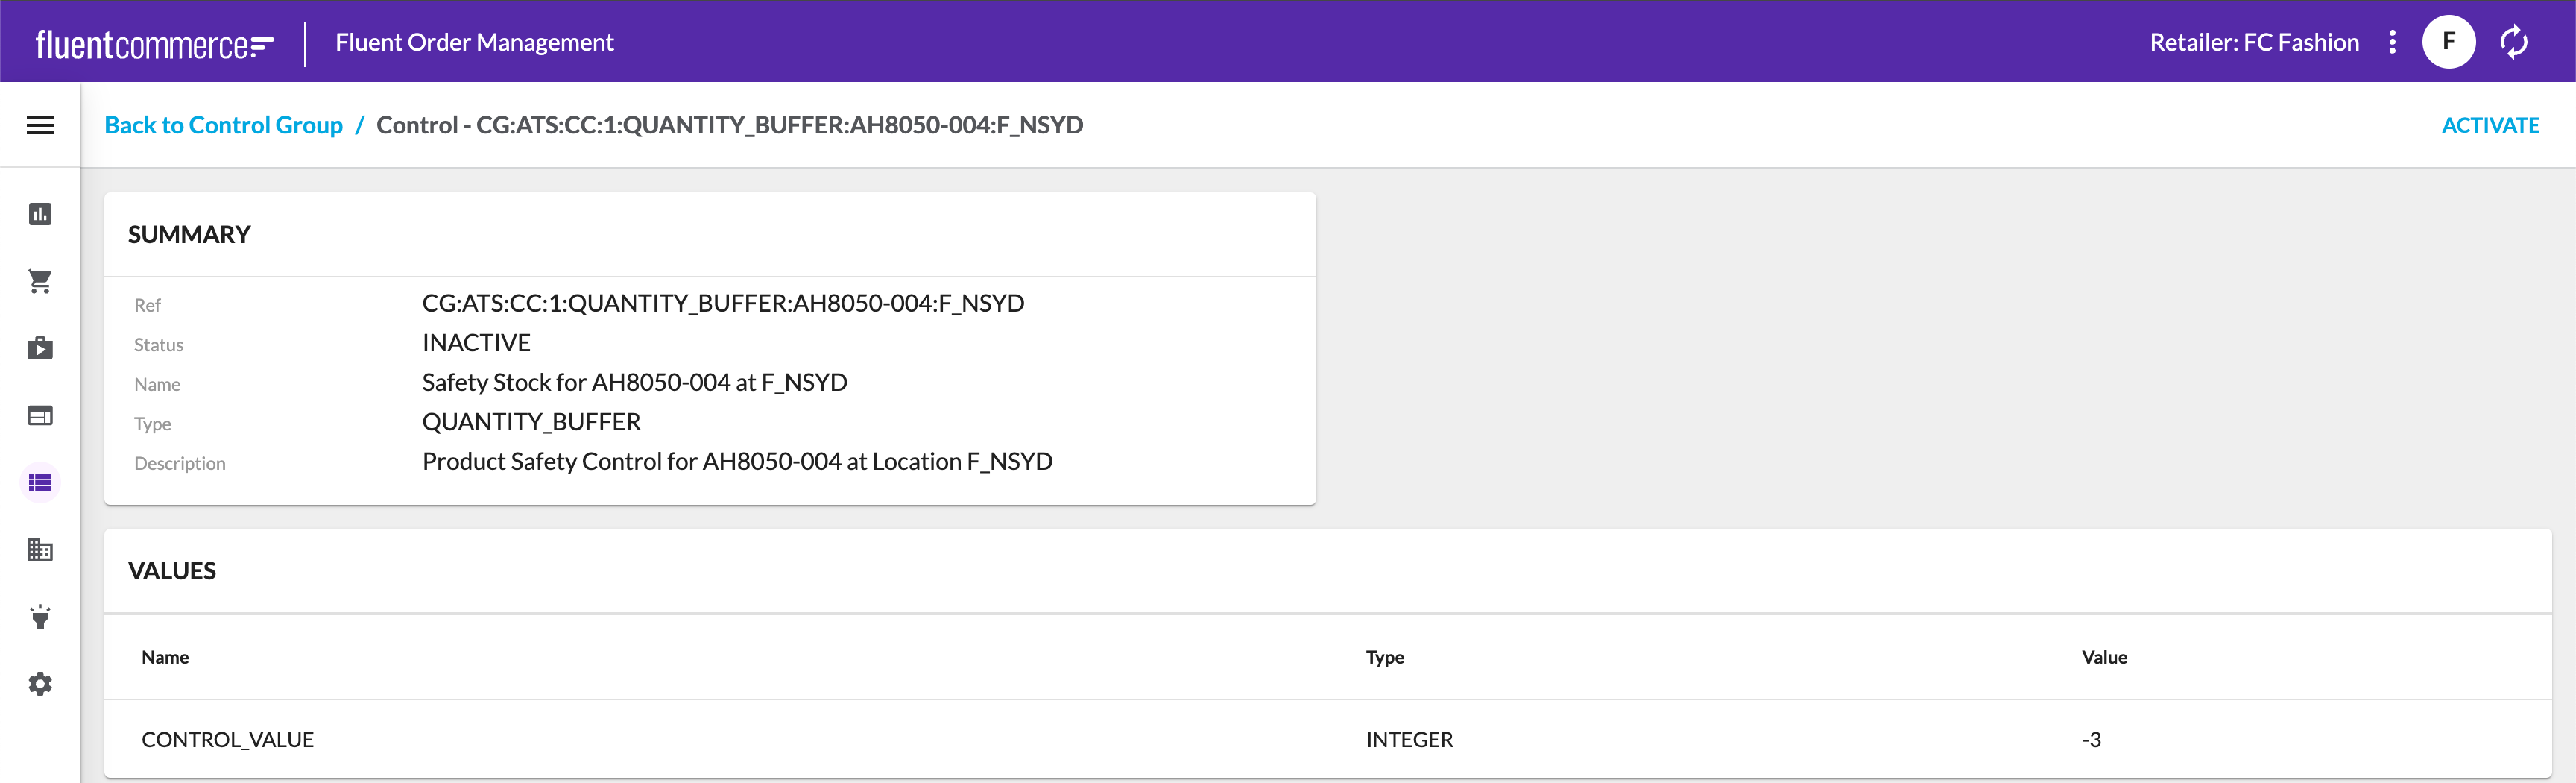
`CG:ATS:CC:1:QUANTITY_BUFFER:AH8050-004:F_NSYD``QUANTITY_BUFFER``Safety Stock for AH8050-004 at F_NSYD``CG:ATS:CC:1``Product Safety Control for AH8050-004 at Location F_NSYD``2``CONTROL_VALUE``CUSTOM``NUMBER``-3`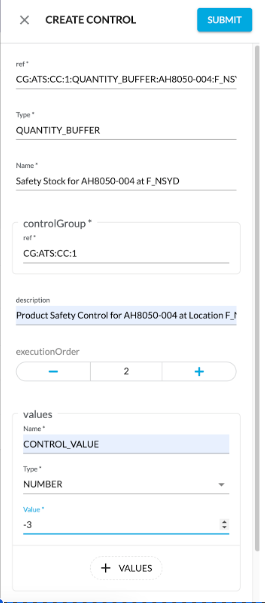
8. Click on the control you just created, then on the user action ACTIVATE. This will change the Control Status to ACTIVE
9. Now the control is fully active and will be applied to the ATS calculation next time there is an inventory update for the position(s) for which the control is applicable. Let’s simulate that by loading a new fresh inventory load:

Copyright © 2025 Fluent Retail Pty Ltd (trading as Fluent Commerce). All rights reserved. No materials on this docs.fluentcommerce.com site may be used in any way and/or for any purpose without prior written authorisation from Fluent Commerce. Current customers and partners shall use these materials strictly in accordance with the terms and conditions of their written agreements with Fluent Commerce or its affiliates.