Pack for Multi-Parcel Shipments
Essential knowledge
Intended Audience:
Business User
Author:
Yulia Andreyanova
Changed on:
27 Aug 2025
Overview
The Pack feature of the Fluent Store empowers Store Associates to efficiently manage the packing process for multi-parcel shipments. It allows them to allocate items to specific parcels, add new parcels as needed, set parcel dimensions and weight, remove parcels, and reject items that don't meet requirements. This feature ensures that each parcel is properly organized and labeled, giving Store Associates complete control over the packing process.Key points
- Store Associates can choose which fulfillment to pack next, optimizing the packing process based on operational needs.
- Fulfillments are organized into two tabs—Awaiting Pack and Packed Fulfillments—providing a clear overview of the packing stages.
- A badge displays the number of fulfillments awaiting packing, helping Associates manage their tasks efficiently.
- Store Associates can allocate items to specific parcels, add or remove parcels, set dimensions and weight, and reject items.
- The integrated barcode scanner speeds up the packing process by quickly and accurately identifying parcels and items.
Multi-Parcel Shipment Packing Process
Packing multi-parcel shipments in the Fluent Store involves three steps: choosing the next fulfillment to pack, completing the packing process, and confirming that the fulfillment was packed correctly.Selecting Fulfillment to pack next
Once a wave has been completed and all order items have been picked or rejected, the fulfillment appears in the Awaiting Pack tab on the Pack page, where it waits for packing for shipment or customer collection.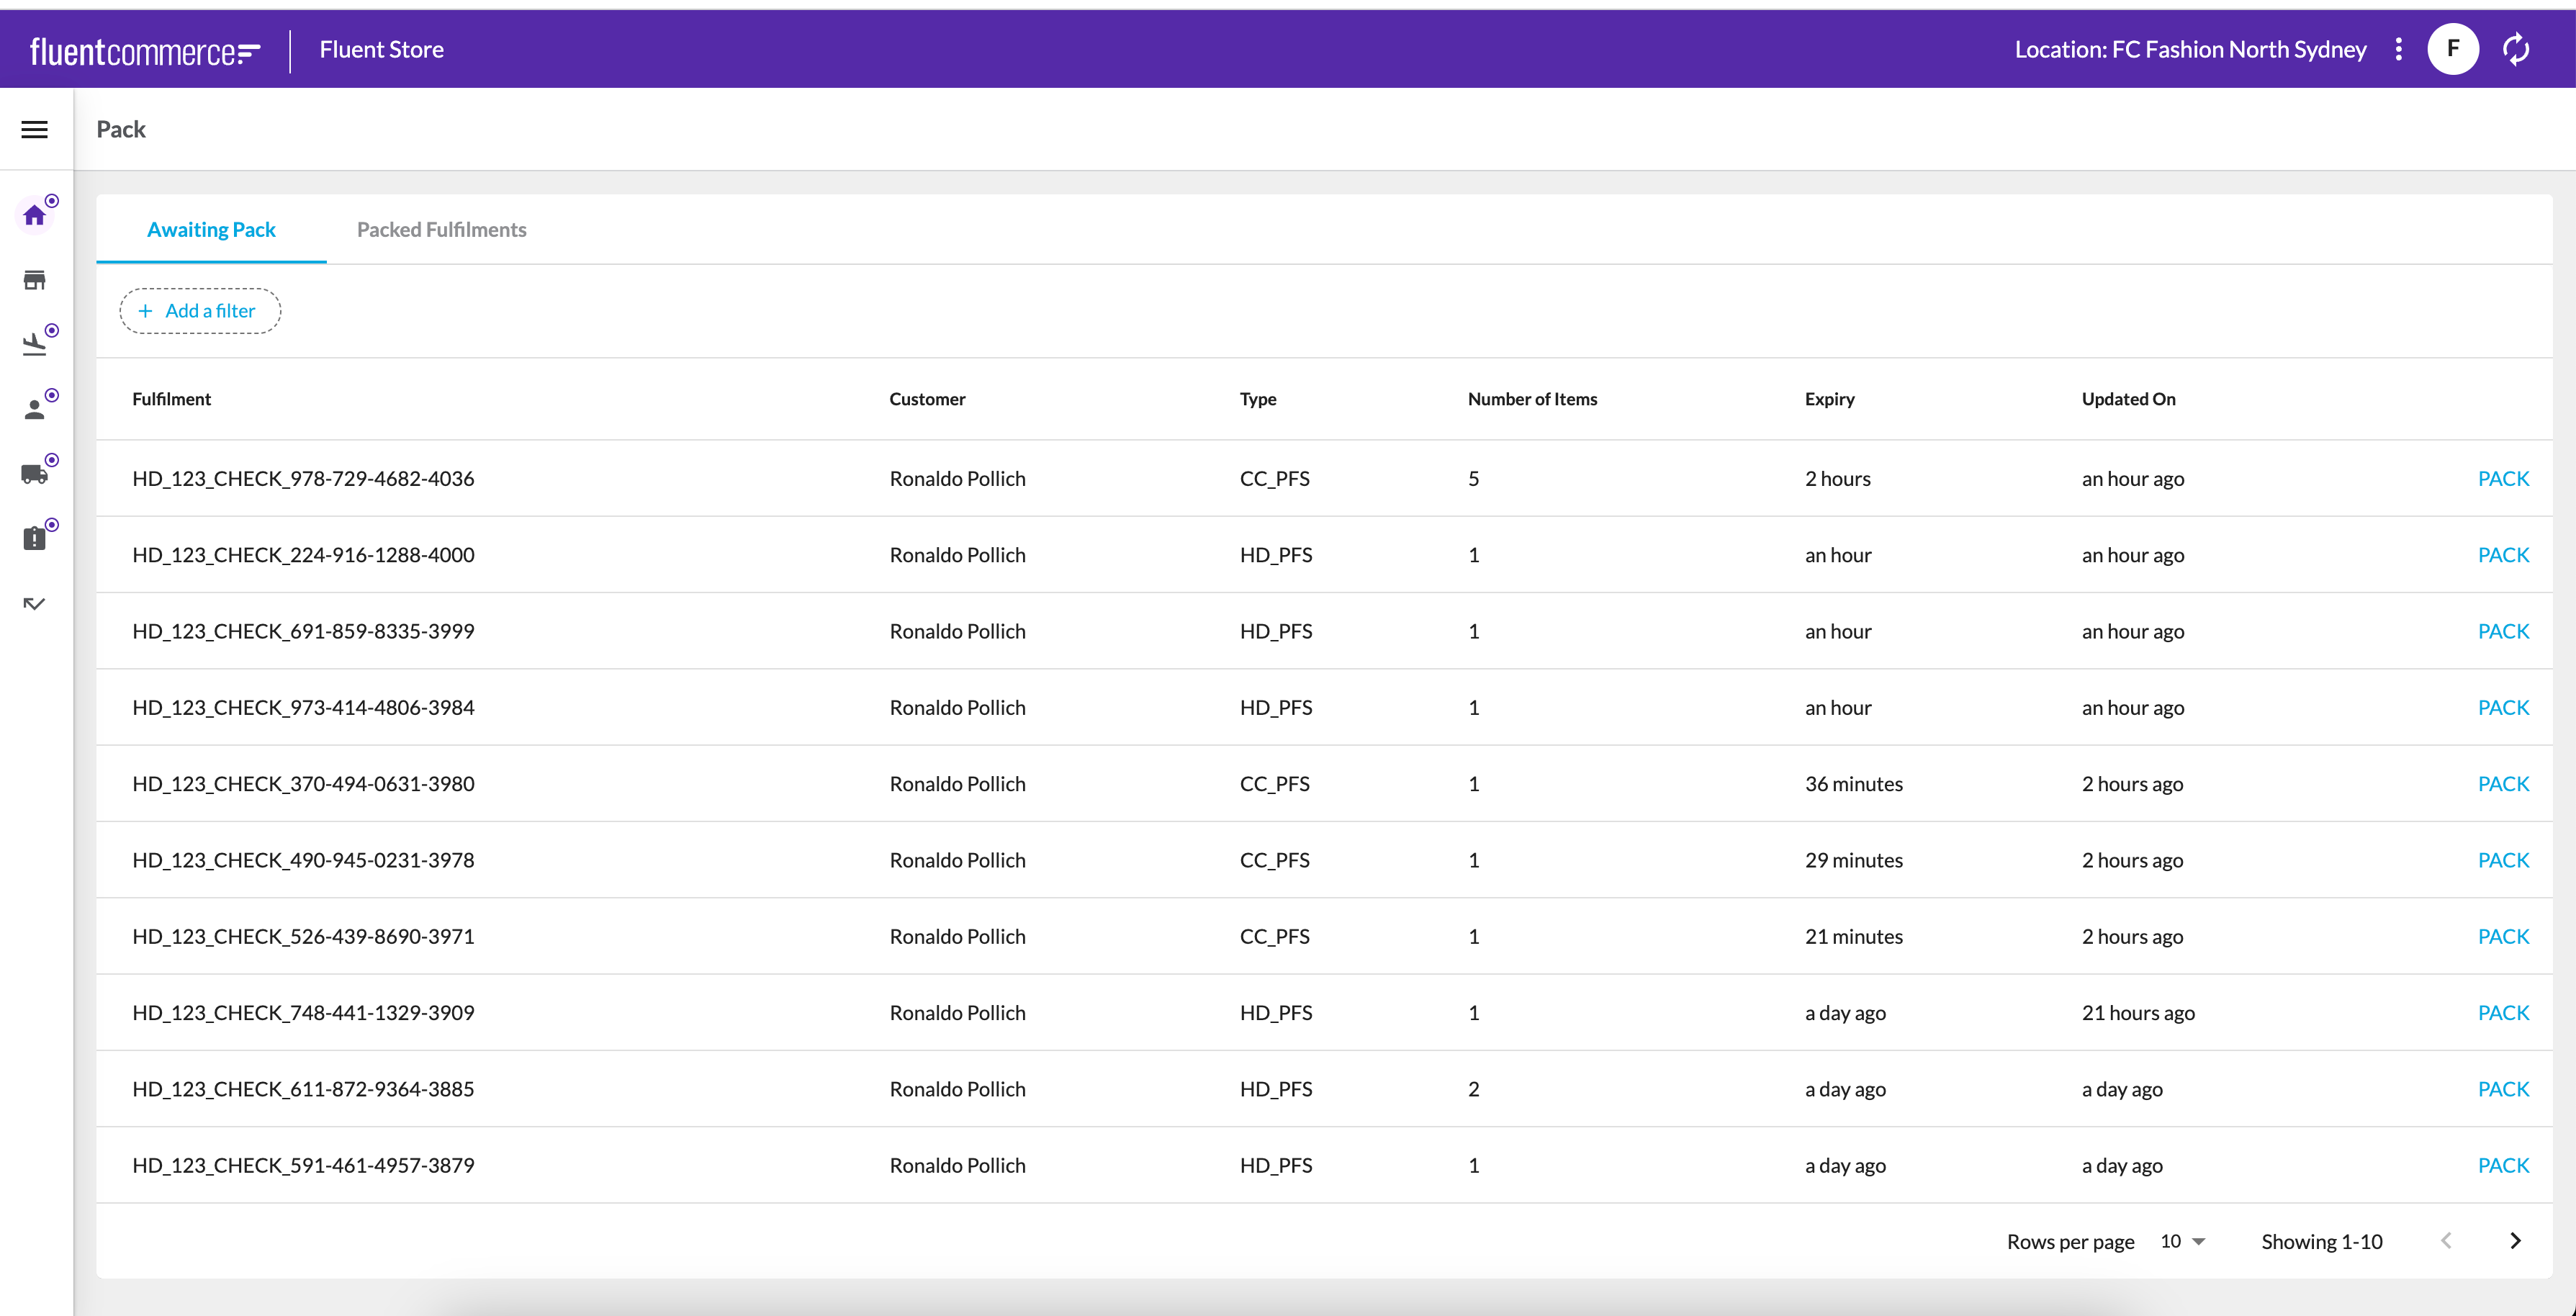 Clicking on the Pack button navigates to the Pack screen, where the packing of order items is undertaken.
Pack the Fulfillment
Below, you can see the current PACK process in Fluent Store:
Understanding the PACK
The Pack function allows users to pack items and assign them to specific parcels. It includes several key UI elements:- Three tables:
- Unpacked Items
- Parcels
- Rejected Items (only appears when at least one item is rejected).
- Scan field:
- Users can add a new parcel by scanning its barcode and begin scanning items into it.
- Items can be packed by scanning the product's variant reference or barcode/GTIN to assign it to the correct parcel.
- Quantity selector:
- Adjust quantities packed using the ‘+’ and ‘-’ buttons.
- Displays the packed amount and total amount.
- For large quantities, users can manually override the displayed amount.
Unpacked Items Table
This table shows product images, names, and references by default, helping the Store Associate identify each item. Action buttons (ADD and REJECT) allow users to pack the item into a parcel or reject it (with a reason). Once an item is packed or rejected, it disappears from the list.Parcels Table
- By default, one parcel is open.
- Users can choose a parcel type, with the Custom type set as the default.
- The Add Parcel button allows users to create additional parcels, which will expand automatically.
- If a parcel is deleted, it will collapse and be greyed out, and an undo icon will appear. Items from the deleted parcel are moved back to the Unpacked Items list.
- The Undo option restores deleted parcels and their items. However, if any other action is performed, the parcel is permanently removed.
Rejected Items Table
- Clicking REJECT in the Unpacked Items table opens a dialog where users must select a rejection reason.
- Confirming moves the item to the Rejected Items table while canceling closes the dialog without changes.
- The quantity of a rejected item can be increased but not beyond the fulfillment's total.
- Decreasing the quantity moves the item back to the Unpacked Items table.
Additional Notes
- The Confirm Parcel button is inactive until the Unpacked Items list is empty.
- Tables can be customized to show more information. Learn more in the Pack Field Component Configuration guide.
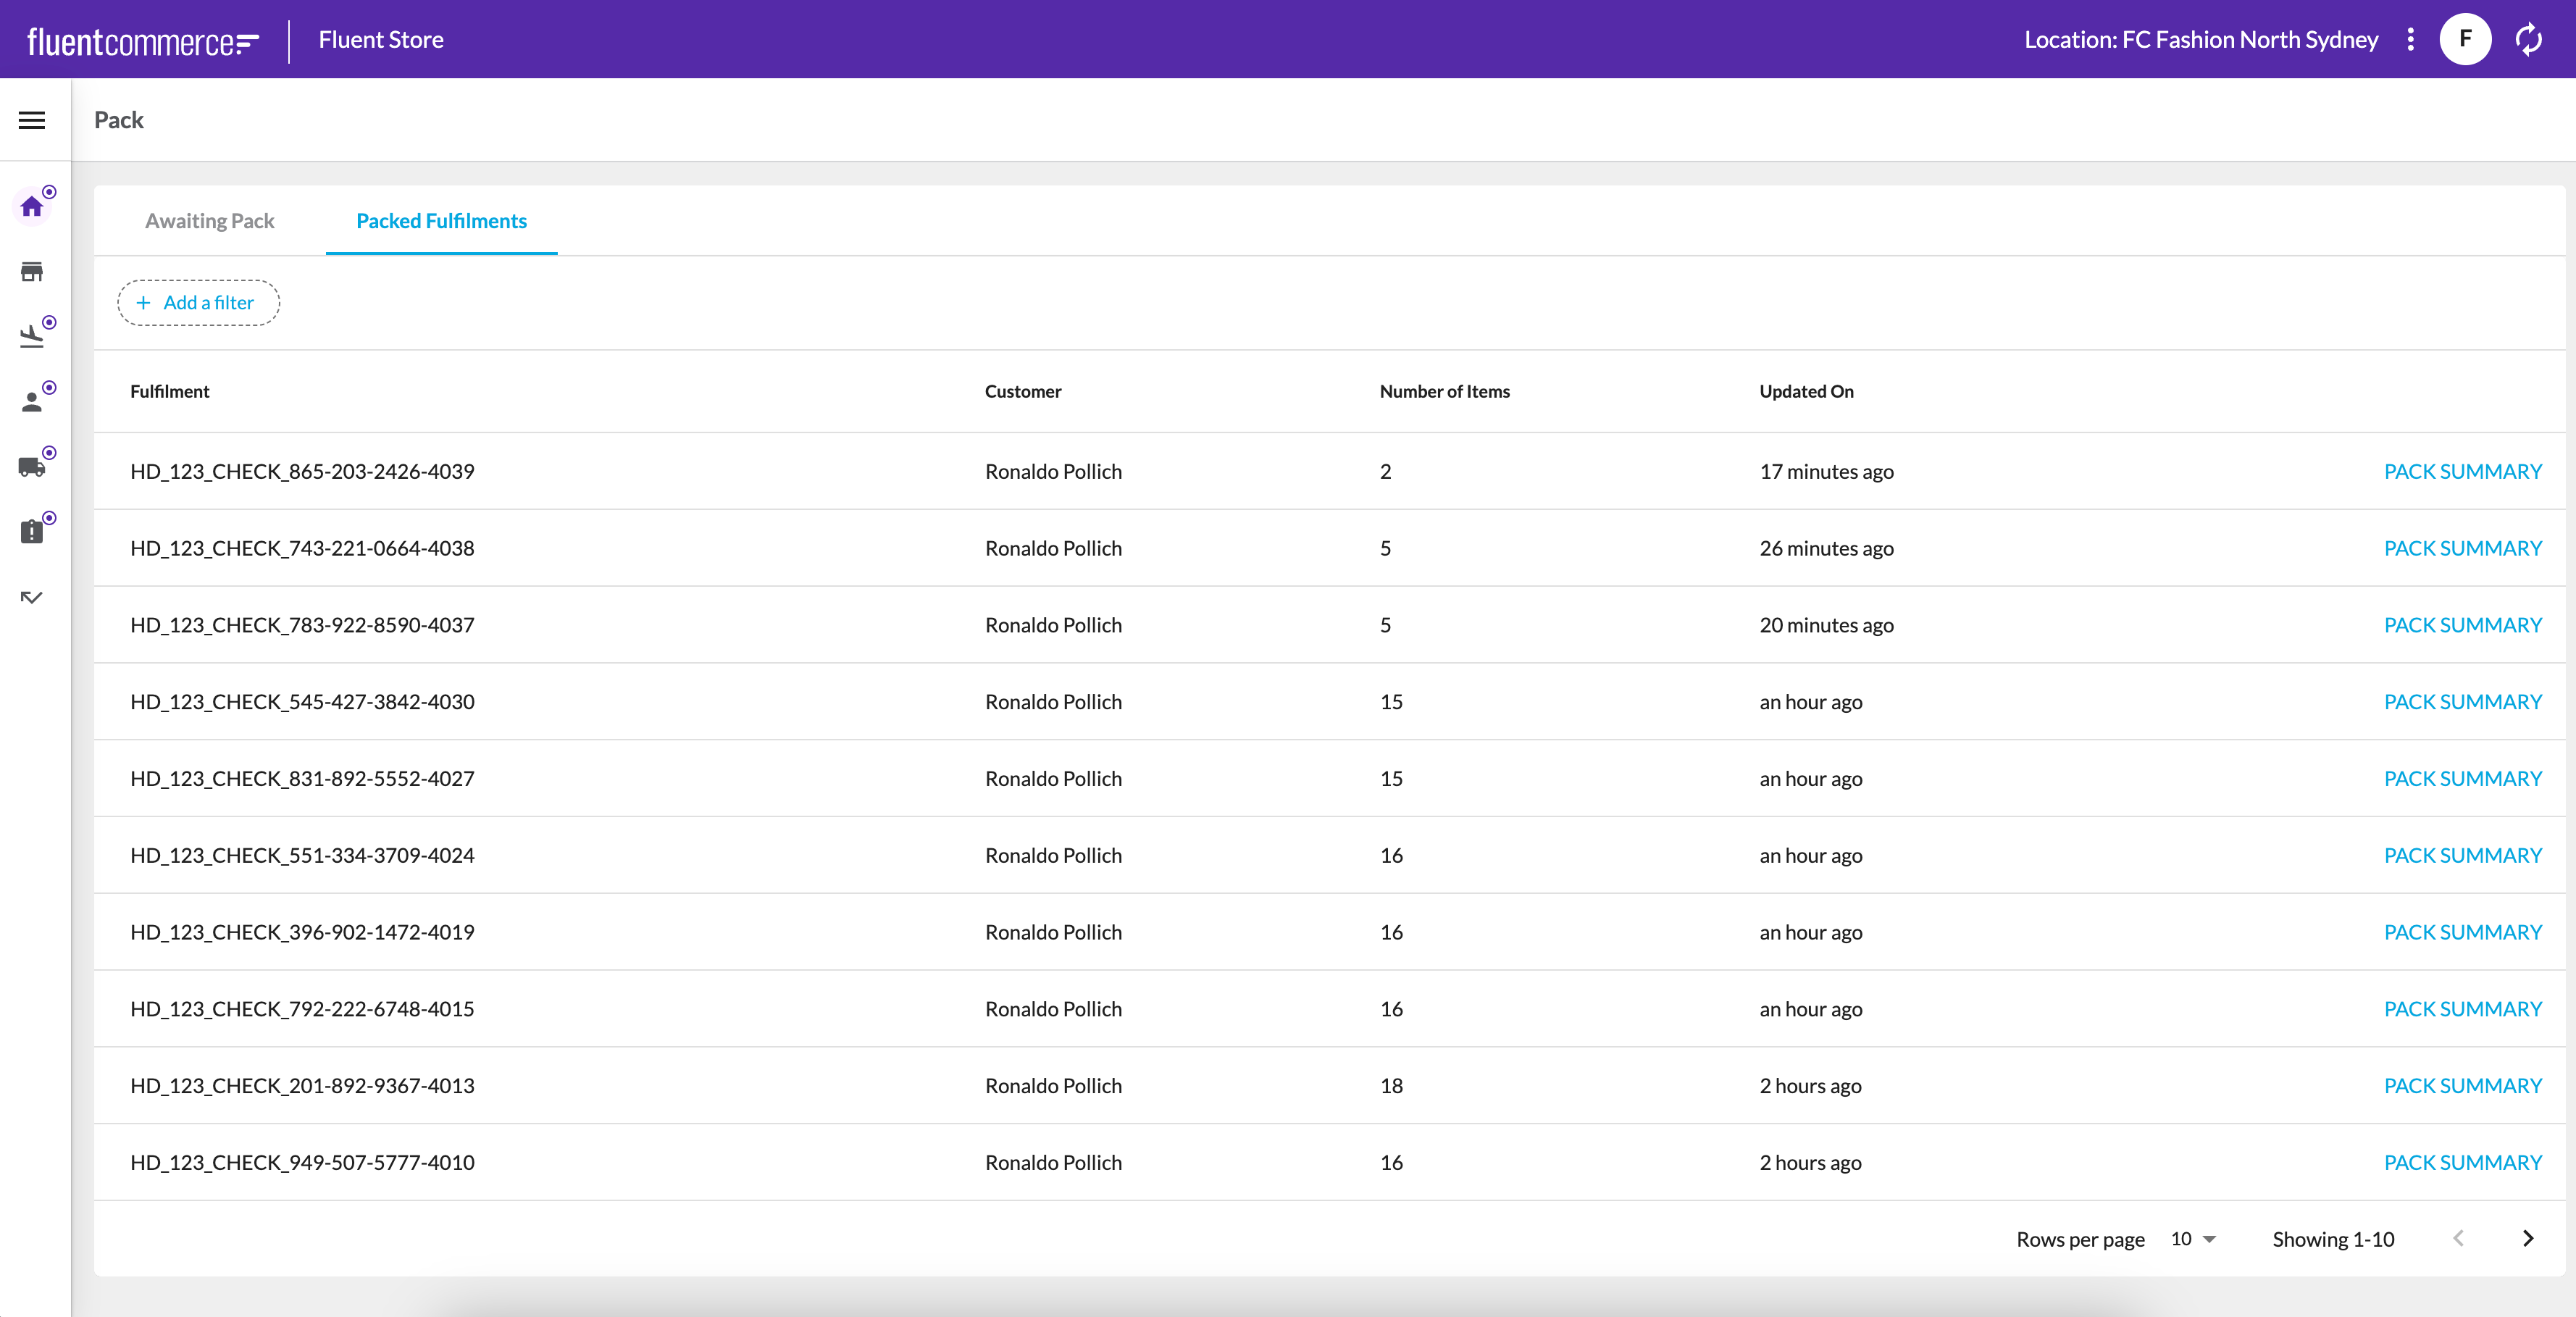
Fulfillment Summary Page
Once the parcels are confirmed, the user is navigated to the Fulfilment Summary page, which displays all the details of the recently packed fulfillment. Here, the Store Associate can print the pack slip and order label, view customer information, review the list of parcels and their packed items, and see any rejected items from the pick-and-pack process. If applicable, consignments are also listed.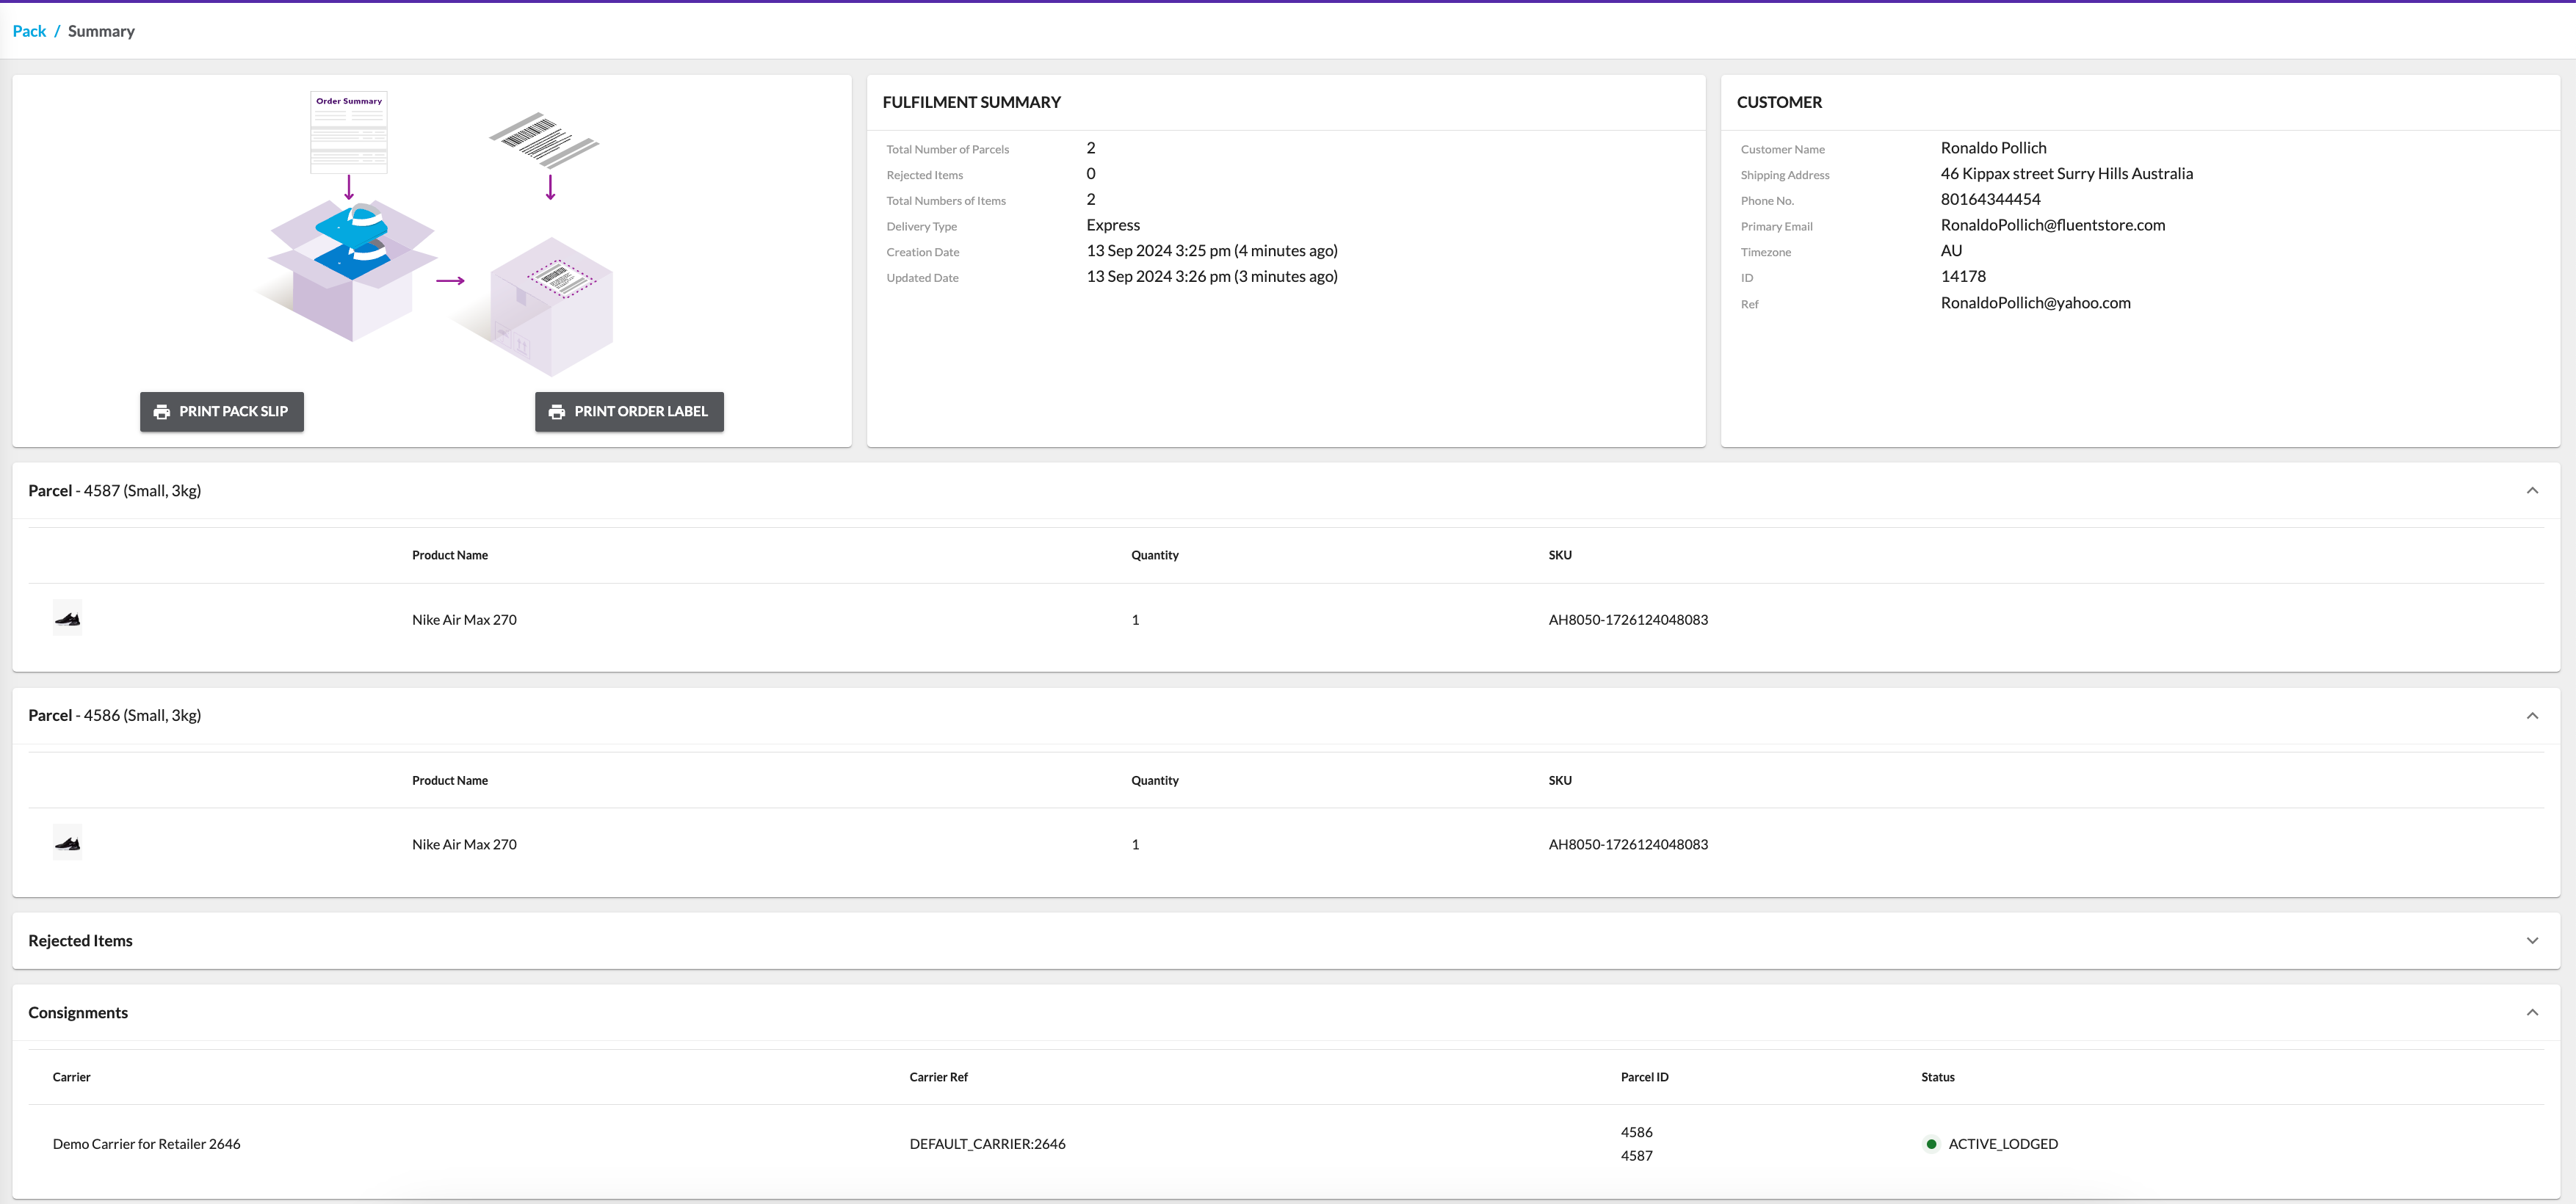 As long as the fulfillment is awaiting collection (either by the customer or carrier), the user can access its summary by clicking the Pack Summary button in the Packed Fulfilments tab. This is useful if the Store Associate needs to reprint the slip or label.