Getting Started Configuring Fluent OMS (webapps)
Essential knowledge
Intended Audience:
Technical User
Author:
Fluent Commerce
Changed on:
4 Apr 2025
Overview
The Fluent OMS module is pre-configured with certain standard functions that allow the interface to manage orders, product availability, inventory, and order fulfilment and serve as a starting point for your projects.The default UX templates are hosted on the platform, so there is no need to create the manifest settings yourself unless you need to customize the existing baseline configuration.Key points
- You can access the baseline Fluent OMS here (with your existing retailer login used in the Webapps OMS):
`https://<ACCOUNT_ID>.<ENVIRONMENT>.apps.fluentcommerce.com/oms` - The baseline manifest fragments will be loaded unless the UX framework finds any manifests previously configured in the Account settings.
- Modify the baseline Fluent OMS manifest by adding your own manifest to the Account Settings or add a completely new fragment by adding a new reference route to the manifest setting.
- Manifest documents are stored as a JSON Setting in the Account context.
- Edit manifest documents either manually via the Admin Console or the GraphQL Settings API.
Accessing the baseline Fluent OMS
The Fluent OMS app is available on the following URL:`https://<ACCOUNT_ID>.sandbox.apps.fluentcommerce.com/oms/`Enter your existing retailer username and password that you have been using to access the Webapps OMS.Additional Information- You will not be required to set up any additional users to access Fluent OMS.
- All the data available in the Admin Console will also be available in the Fluent OMS.
- You can customize the UI according to your business requirements using the OMX UX framework.
- All user actions in the Admin Console will be available in Fluent OMS.
- You can still access the Admin Console using the same credentials in a separate browser tab.
- The workflow modeler will remain in the Admin Console.
Before you start using Fluent OMS on your account in production, we would highly recommend the following actions:
- Migrate any custom elements from your ADMIN_CONSOLE_MANIFEST to the relevant manifest fragment in Fluent OMS. Here is a step-by-step guide to configure the missing elements in the manifest.
- Configure the mutation actions you would like to use that are not present in the default Fluent OMS. How to configure mutation actions.
- Test your workflow user actions along with the manifest.
Prerequisite
You must have an existing FluentCommerce Account with at least one Retailer setup to be able to configure Fluent OMS.Configuring Fluent OMS
Should you wish to tailor the Fluent OMS app for Client specific needs, you should override the default Fluent OMS template by adding your own manifest to the Account Settings.How to override a default manifest document
By default, the UX Framework will check to see if there are any manifests configured in the Account settings. If no settings exist, Fluent OMS will be loaded using the baseline manifests within the platform.The setting name for the main web app manifest file should match the following convention:`fc.mystique.manifest.<web-app-name>`Fragment manifest names are not enforced, however, typically use the following convention:
`fc.mystique.manifest.<web-app-name>.fragment.<fragment-name>`Should you wish to customize any part of the default Fluent OMS web app, you can override the relevant manifest by copying the base manifest fragment into an account setting, and then modify it.To access the baseline manifests, see the table below:
| Manifest Category | Available Template Links |
| OMS | OMS Manifest |
| Dashboards | Dashboards Fragment |
| Order Management | Order Management FragmentMixed Baskets Order Management Fragment |
| Availability | Availability Fragment |
| Products | Products Fragment |
| Inventory | Inventory Fragment |
| Unified View of Inventory | Unified View of Inventory Fragment |
| Stores | Stores Fragment |
| Insights | Insights Fragment |
| Admin | Admin Fragment |
Editing Manifest documents
It is recommended to use a text editor that provides JSON syntax highlighting and validation to modify the JSON values, before saving in an Account setting.Some suggested editors / IDEs include:- Sublime Text
- Visual Studio Code
- IntelliJ
Saving the manifests to your account
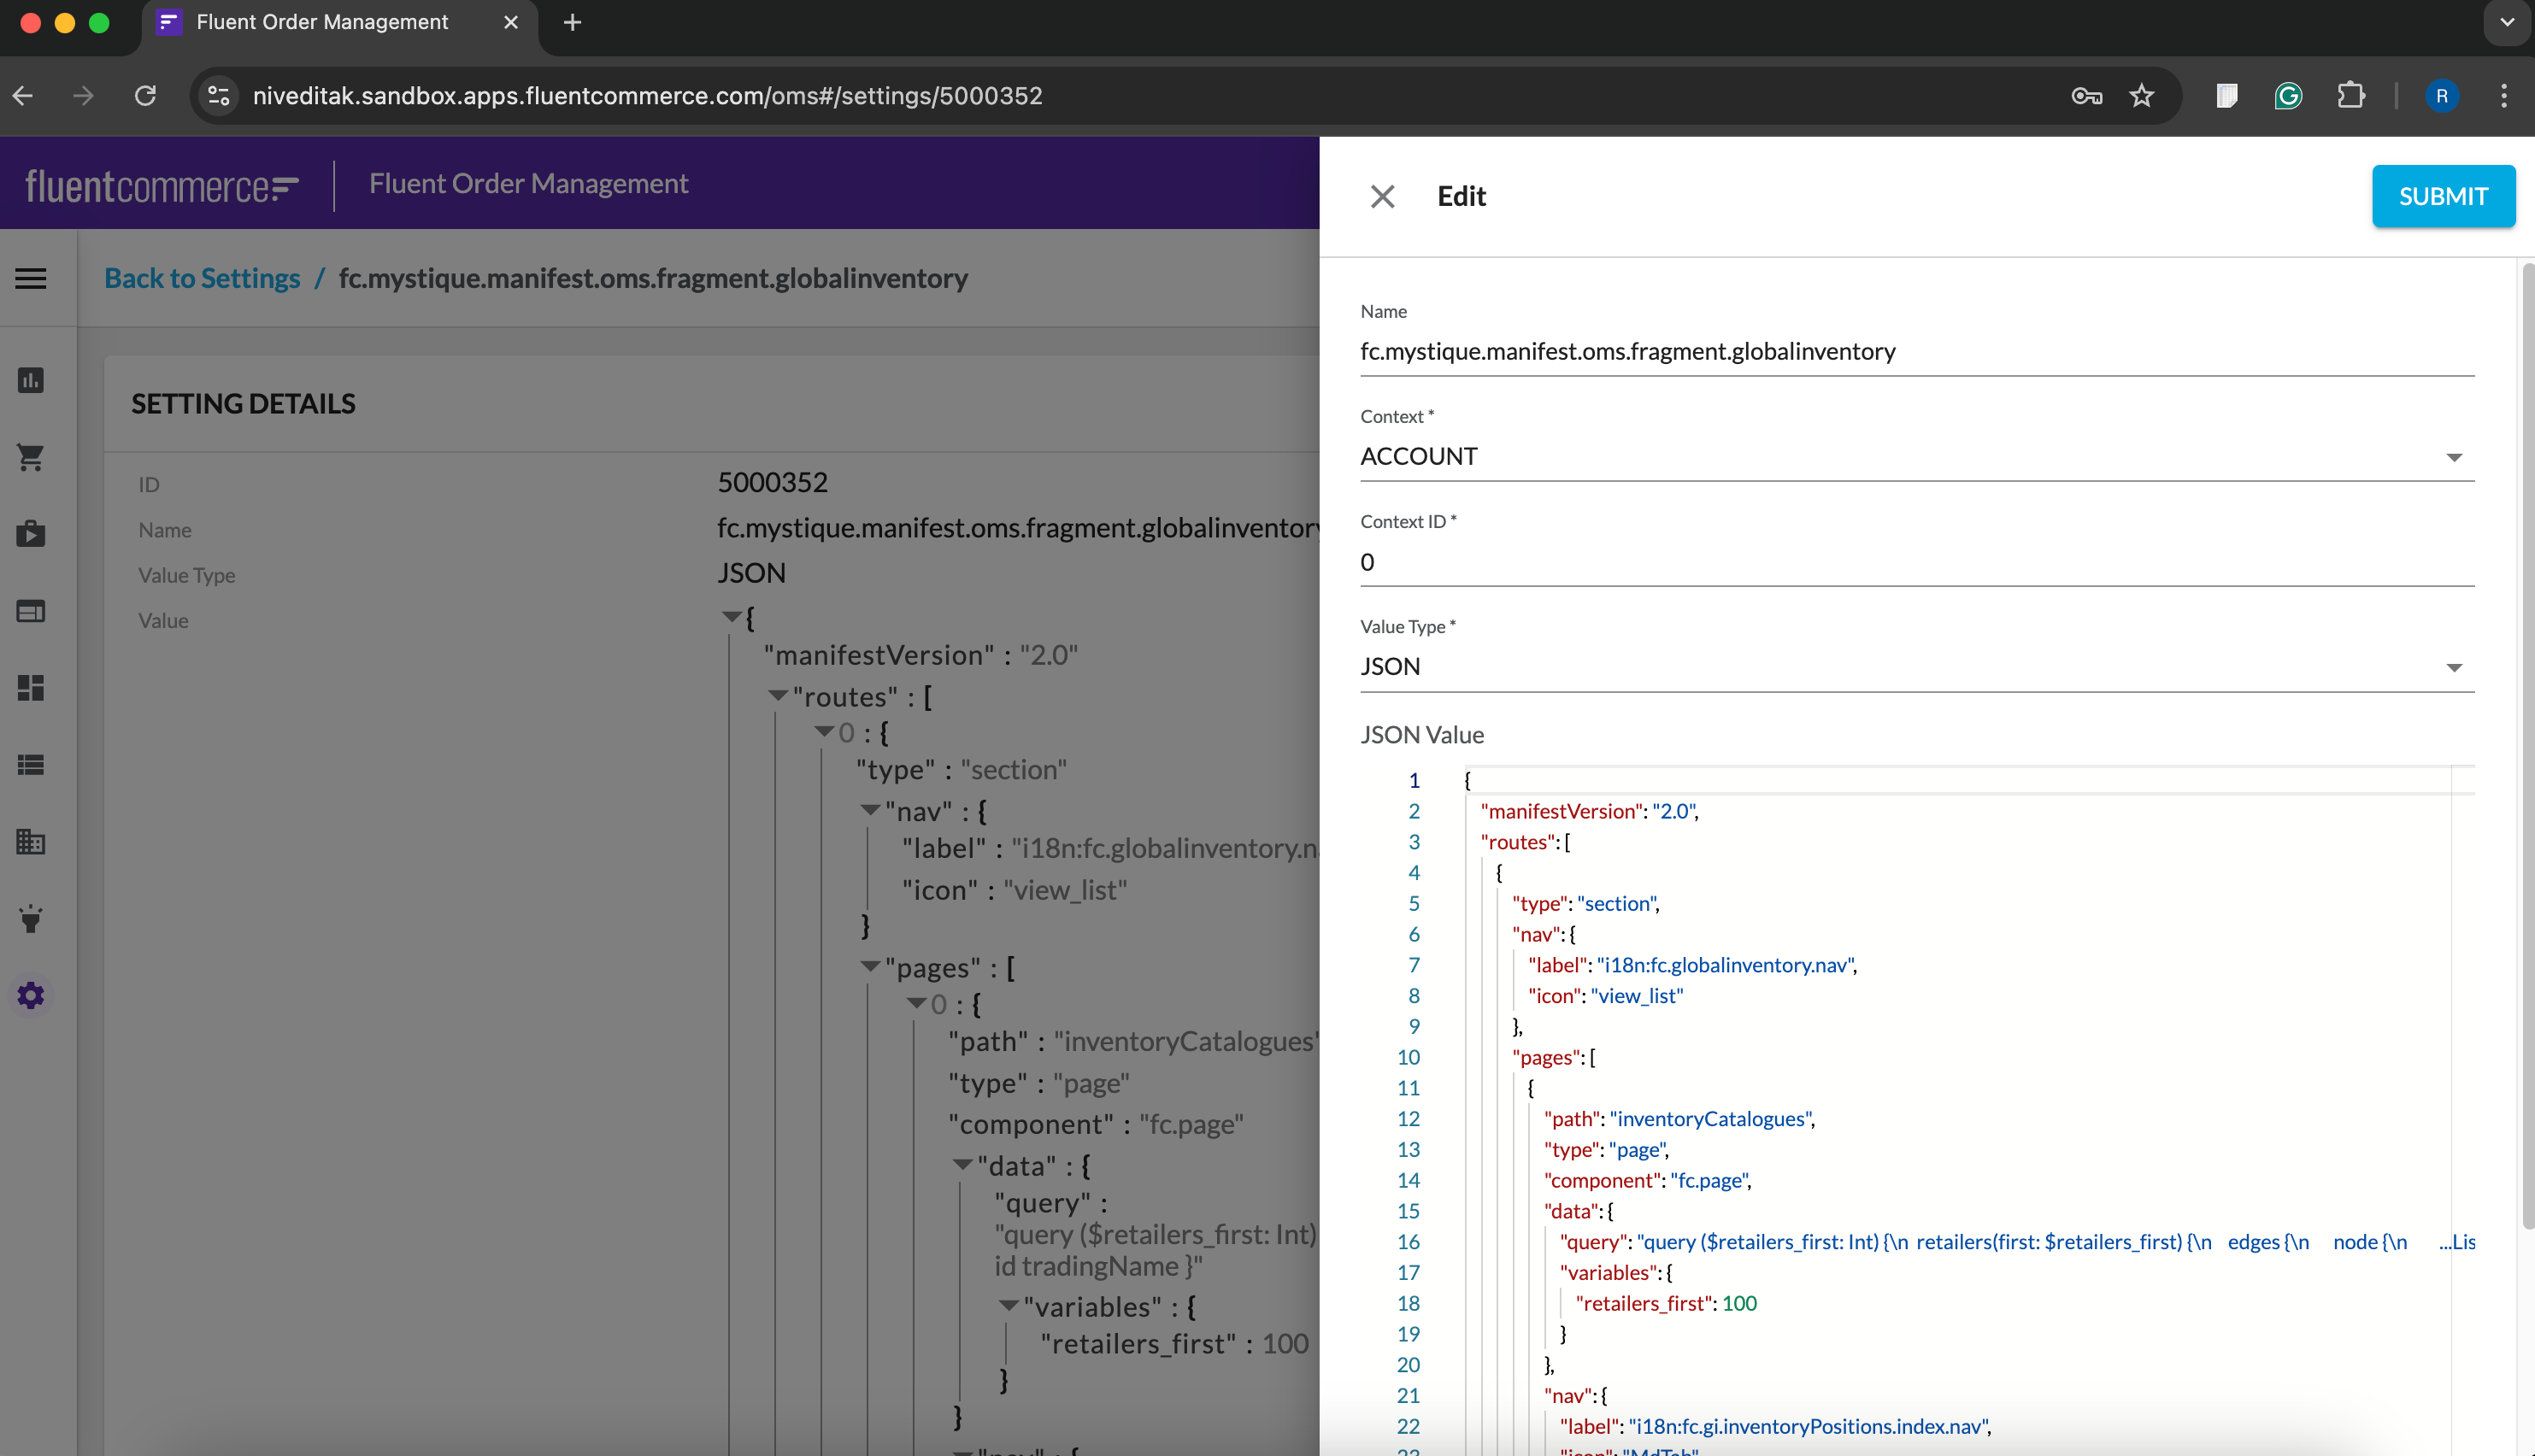
Manifest documents should be stored as a JSON Setting in the Account context. Settings can be created and updated in either of the following ways:- Manually via the Admin Console
- Via the GraphQL Settings API
| Field | Sample Value |
| Name | `fc.mystique.manifest.oms.fragment.dashboard` |
| Type | JSON |
| JSON Value | `{ ... <YOUR MANIFEST JSON HERE> ... }` |
| Context | ACCOUNT |
| Context ID | 0 |
 When loading the web app in the browser, the UX Framework identifies if there are any referenced manifest settings on the account, and overrides the baseline manifests to load your tailored configuration.