Using Predefined Values in Order Tag Filters
How-to Guide
Author:
Yulia Andreyanova
Changed on:
12 Dec 2025
Key Points
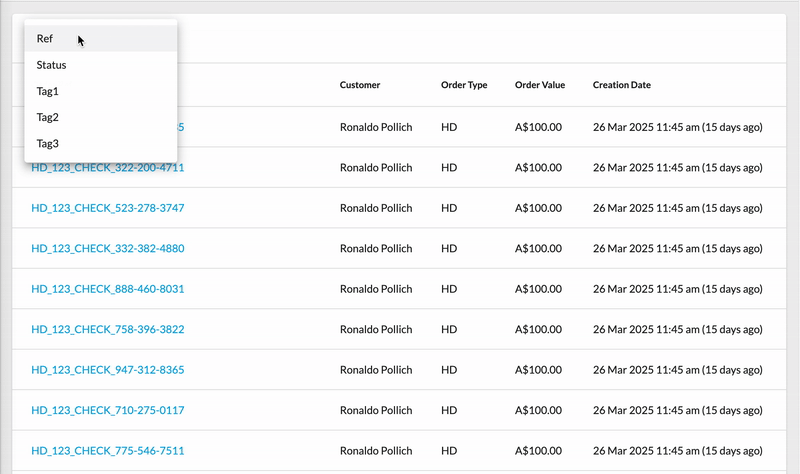
- The
`tag1`,`tag2`, and`tag3`filters allow users to filter orders based on an exact match of the entered value. - These filters can be configured to use predefined values instead of a text input field that is available out of the box, enhancing usability and consistency.
Prerequisites
Steps
 Prerequisites
Before configuring the filters, ensure the following prerequisites are met:
- The following mutations are enabled in the manifest:
`createSetting``updateSetting`
- The user has a role with the necessary permissions:
`SETTING_VIEW``SETTING_CREATE``SETTING_UPDATE`
Define Predefined Values
Identify the predefined values you want to use in the
`tag1`, `tag2`, and `tag3` filters. These tags help group and categorise orders based on specific attributes, making filtering more efficient and consistent.Common use cases for tags include grouping orders by:- Brands – Filter orders based on associated product brands.
- Regions – Organise orders by geographical locations.
- Sales Channels – Differentiate orders from various sales platforms (e.g., online store, marketplace, retail).
- Payment Methods – Categorise orders by the payment method used (e.g., credit card, PayPal, bank transfer).
- Purchase Order Reference – Track and filter orders using specific purchase order numbers.
Create a Setting at the Account/Retailer Level
To configure the filters, create a new setting at either the ACCOUNT or RETAILER level with the following details:
- Name: Use the pattern:
`fc.order.options.tag1``fc.order.options.tag2``fc.order.options.tag3`
- Context: Choose either ACCOUNT or RETAILER, based on your requirement.
- Context ID: Provide the corresponding context ID (e.g., the retailer's ID if using the RETAILER context).
- Value Type: Set this to JSON.
- Value: Enter the predefined options in JSON format as shown below:
Expected Outcome
Once configured, the
`tag1`, `tag2`, and `tag3` filters replace the text input with a predefined selection, ensuring accuracy and reducing input errors.