SCIM Connector Roles Configuration
How-to Guide
Author:
Fluent Commerce
Changed on:
9 Feb 2024
Key Points
- When an enterprise application needs to be configured in Azure, App roles need to be added on Azure Active Directory, and dynamic roles need to be set up on Fluent OMS.
- it’s possible to manage the roles individually or via Group management on Microsoft Entra.
Steps
App Roles Configuration
 Step 1
Go to Microsoft Azure portal.
Step 2
Select Enterprise applications then select your enterprise application.
Step 3
Select User and groups then Application Registration.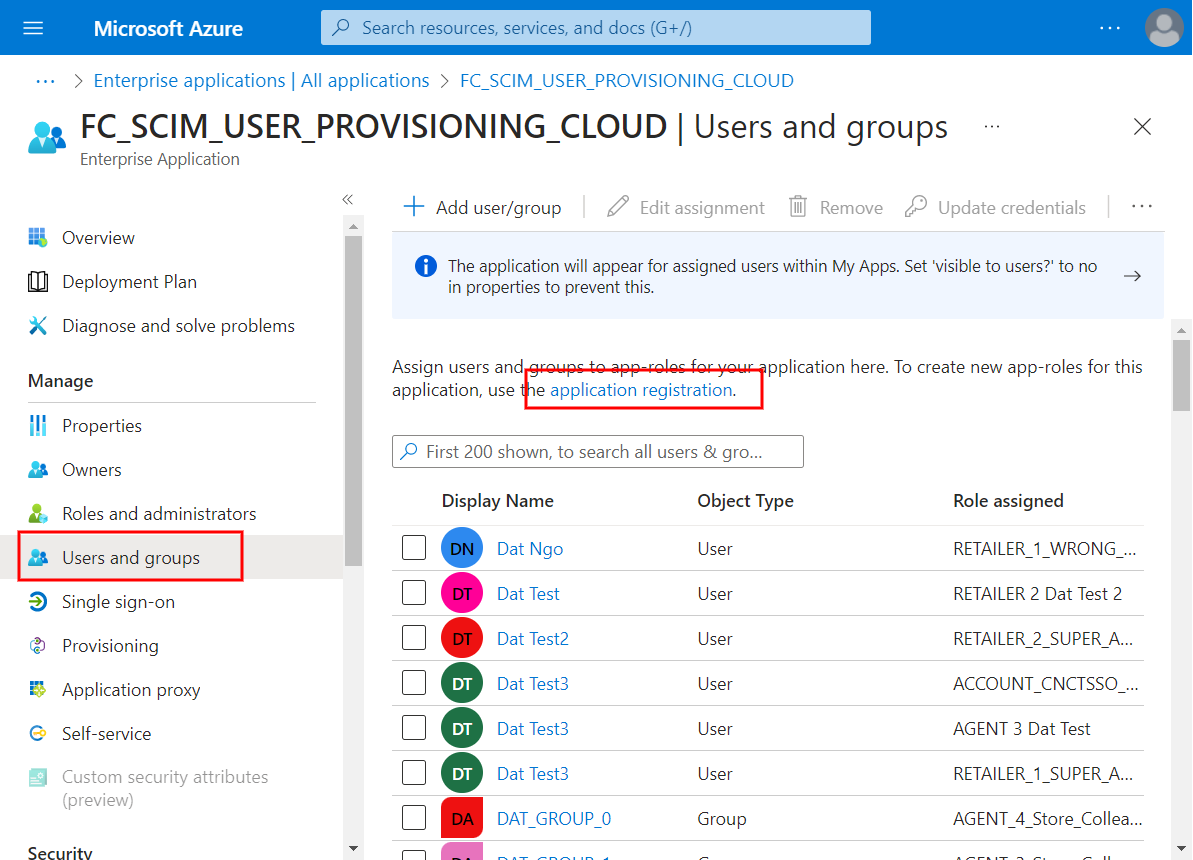
Step 4
Select Create app role CTA.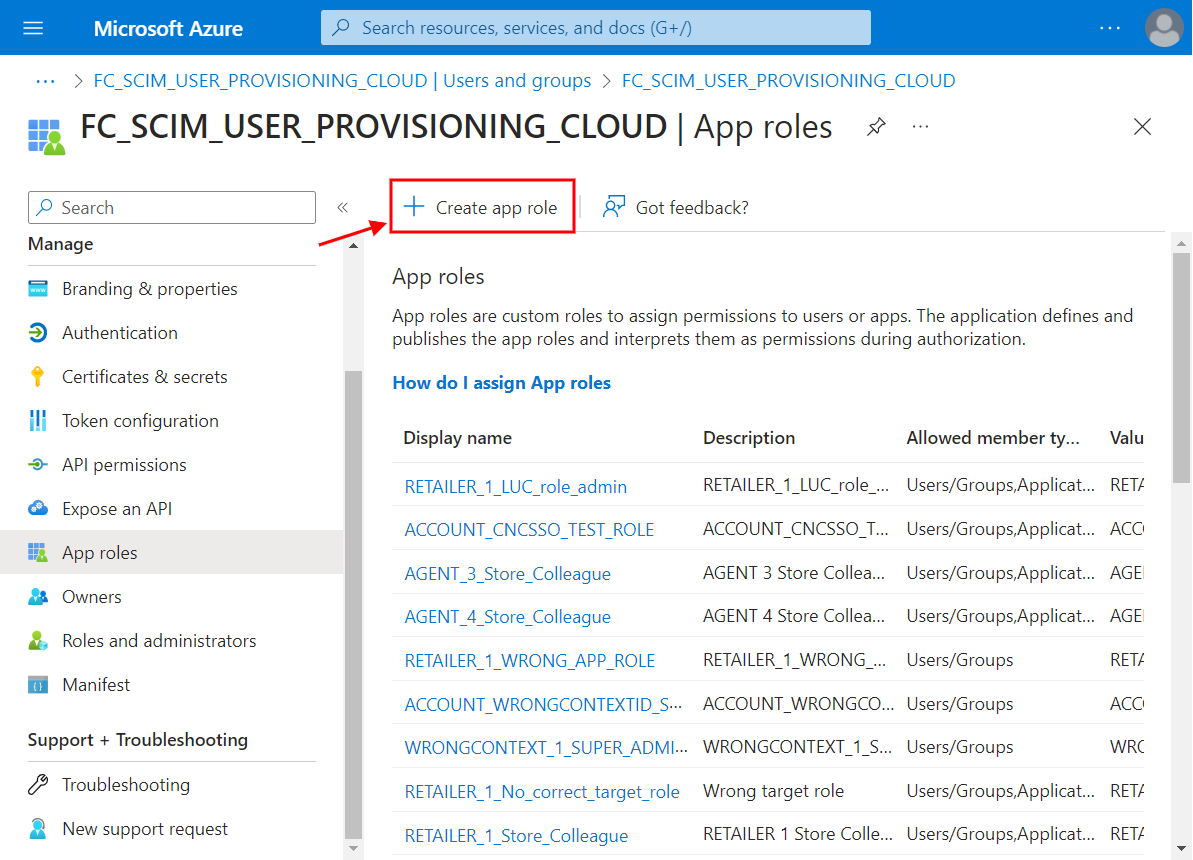
Step 5
Fill in the form and click Apply CTAPlease ensure the Value field in the form following the App role convention:
<FLUENT_CONTEXT_TYPE>_<FLUENT_CONTEXT_ID>_<FLUENT_ROLE_ID or IDP_LOGICAL_ROLE_ID>Note: The display name itself could be anything explanatory. It is the “value” which should follow the pattern.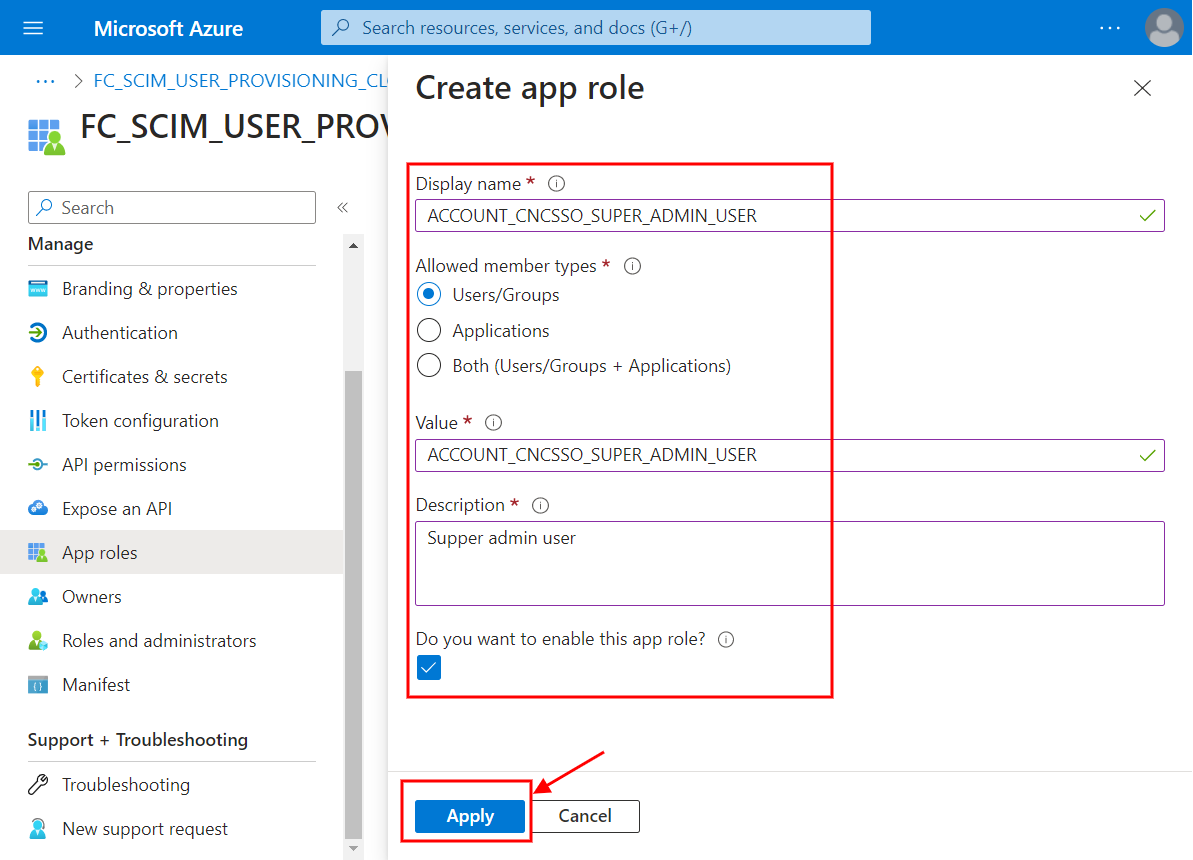
<FLUENT_CONTEXT_TYPE>_<FLUENT_CONTEXT_ID>_<FLUENT_ROLE_ID or IDP_LOGICAL_ROLE_ID>Note: The display name itself could be anything explanatory. It is the “value” which should follow the pattern.
Step 6
Review the role which has just been created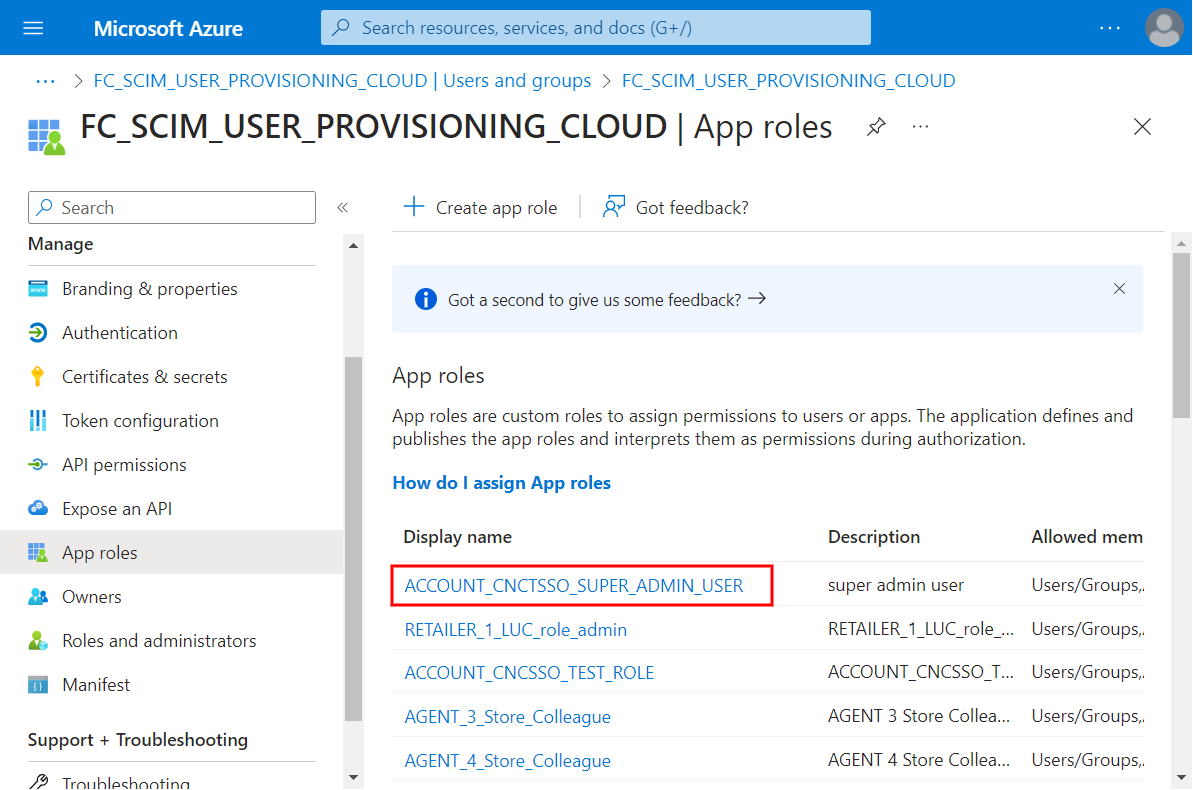
Dynamic Roles Configuration
Step 1
Go to Settings in OMS, find and open the key
`fc.connect.scim-connector.provisioning.pipeline.config`Step 2
Make sure to configure inside rules: the elements below: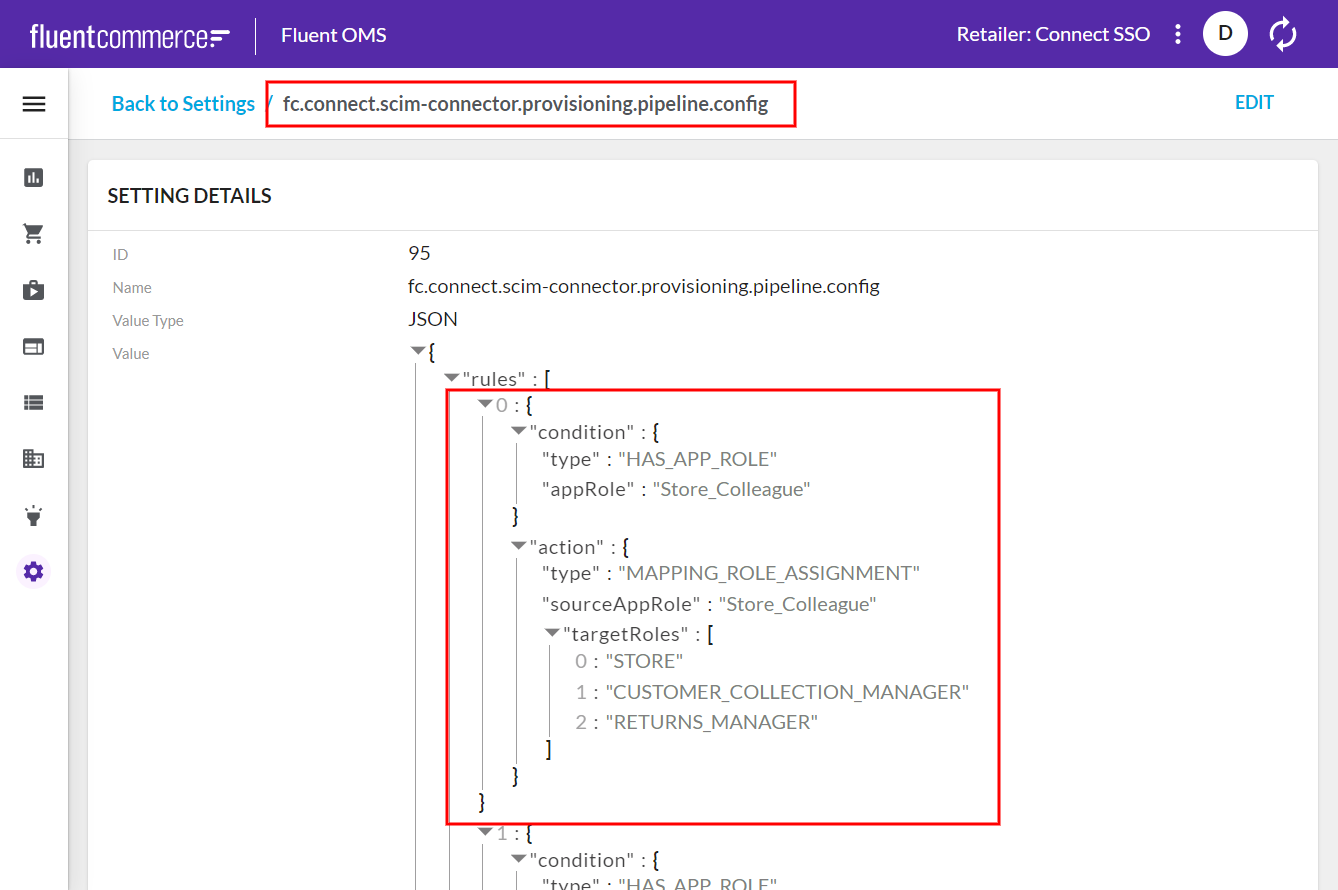
`"condition"`: a fixed text`"type": "HAS_APP_ROLE"`: a fixed text`"appRole"`: is the IDP Logical role defined in App Roles Configuration section that will be translated from.`action`: a fixed text`"type": "MAPPING_ROLE_ASSIGNMENT"`: a fixed text`"sourceAppRole"`: is the IDP Logical role defined in App Roles Configuration that will be translated from.`"targetRoles"`: is a list of Fluent roles defined in OMS > Admin > Settings > Roles & Permissions that will be translated to.
User Management
Step 1
How to manage a user Add or delete users - Microsoft Entra
Step 2
How to assign roles to user Manage Azure AD user roles - Microsoft Entra
Step 3
How to provision on-demand Provision a user or group on demand using the Azure Active Directory provisioning service - Microsoft Entra
Group Management
Step 1
How to manage a group How to manage groups - Microsoft Entra
Step 2
How to assign roles to groups: The same steps of “How to assign roles to the user,” but instead of selecting users, you can select the groups and continue assigning roles to them.
Step 3
How to provision a group: Fluent SCIM connector does not support provisioning groups