Fluent OMS session timeout configuration for SSO users with Azure as an external IDP
How-to Guide
Author:
Yulia Andreyanova
Changed on:
25 Mar 2024
Key Points
- The article offers a step-by-step configuration for setting up Fluent OMS session timeout specifically tailored for Single Sign-On (SSO) users.
- It focuses on configuring session timeout within Fluent OMS while utilizing Azure as the external Identity Provider (IDP).
Prerequisites
Steps
 Create a New Conditional Access Policy
1. Access the Microsoft Azure portal on Microsoft Azure. Navigate to Enterprise applications, then All applications, and select your application. From there, proceed to Conditional Access and initiate the creation of a new policy.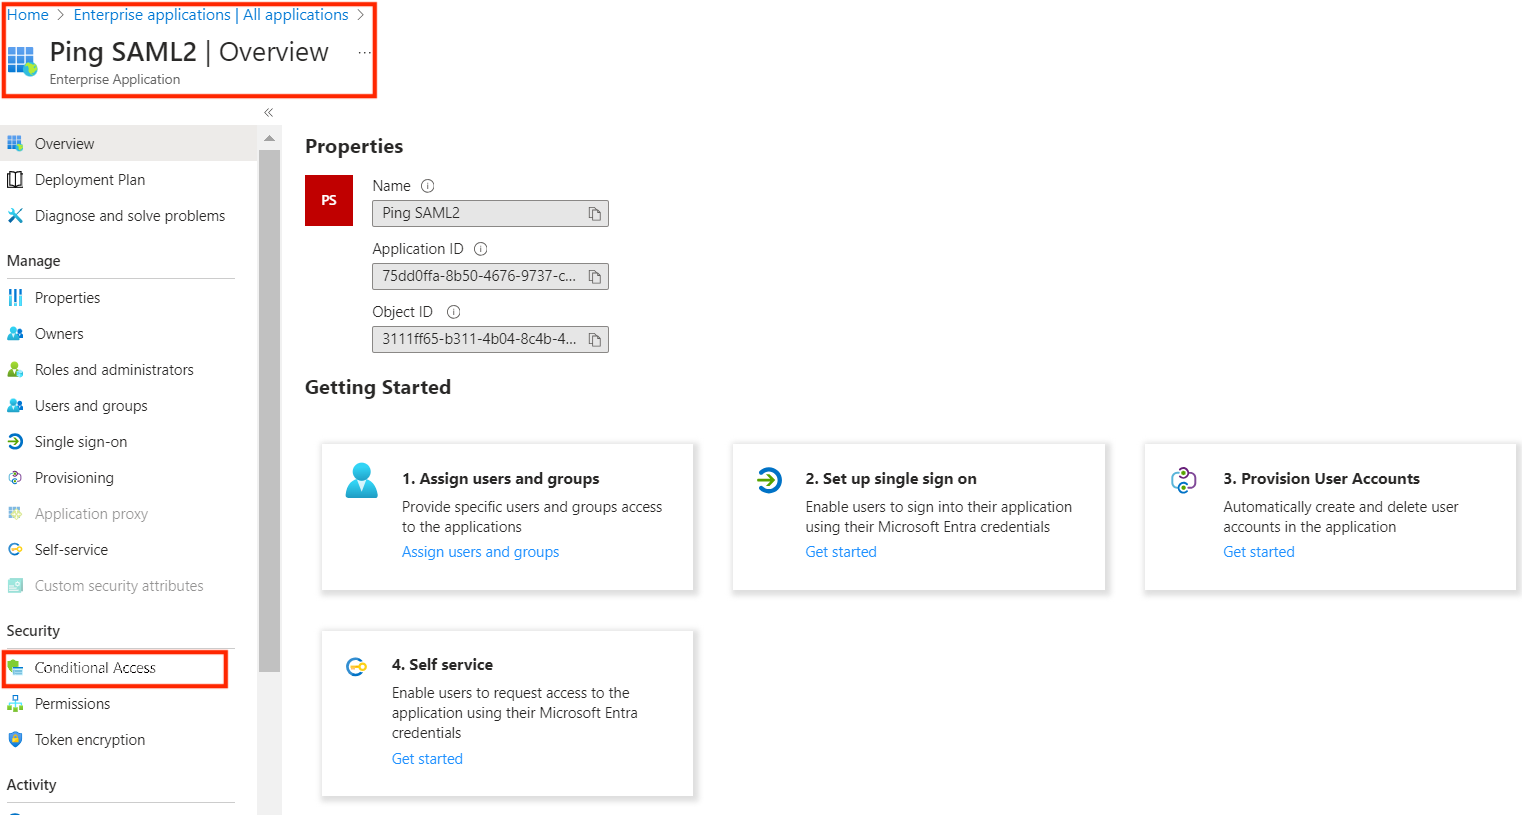
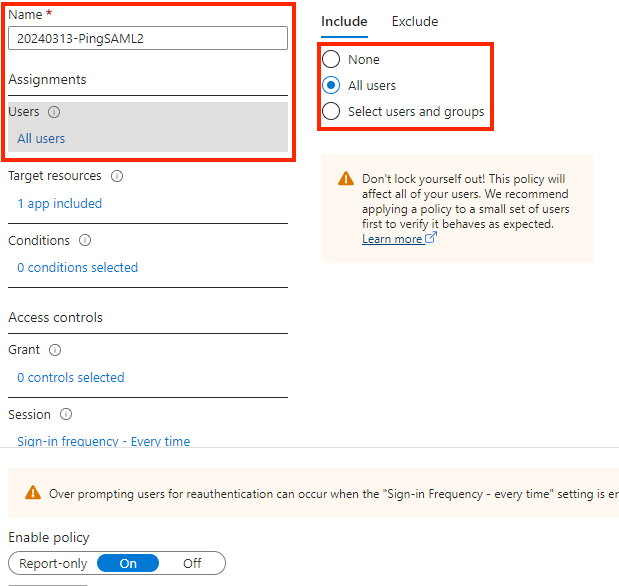
2. Define Policy Name and Allocate Users in the User Section.
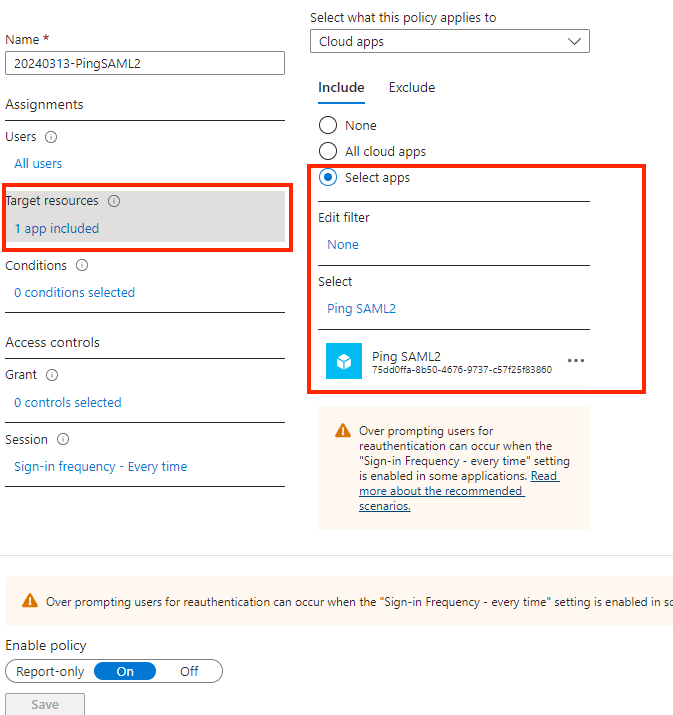
 3. Choose the application from the Target resources section.
 4. Configure session parameters: In the Session section, choose Sign-in frequency as Every time.
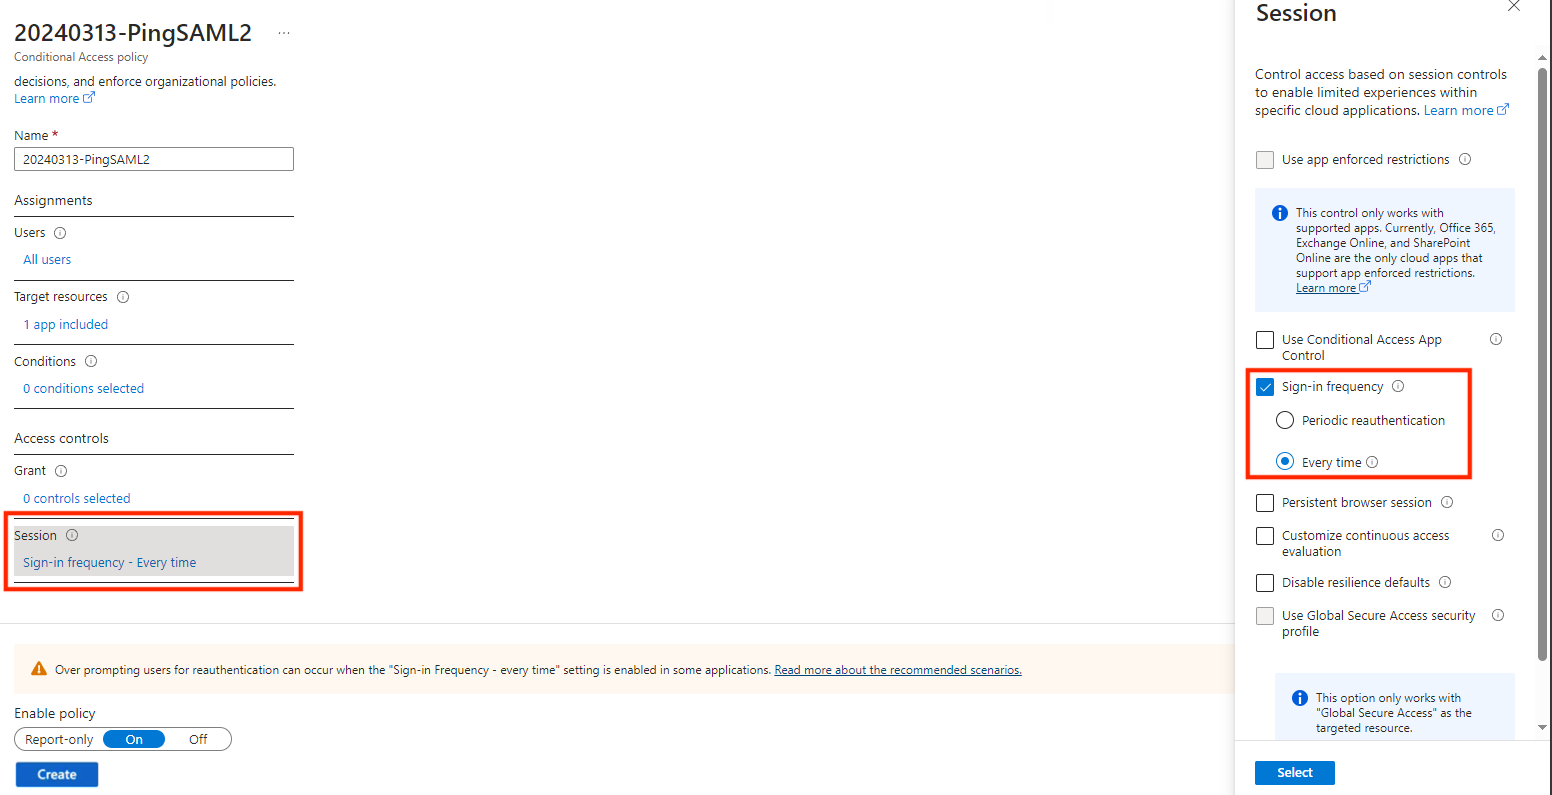 5. Deploy Conditional Access policy: select On and proceed with Create.
2. Define Policy Name and Allocate Users in the User Section.
3. Choose the application from the Target resources section.4. Configure session parameters: In the Session section, choose Sign-in frequency as Every time.5. Deploy Conditional Access policy: select On and proceed with Create.Configure the Access token time to live in Ping Identity
1. Go to the Applications menu and then select the Resources sub-menu.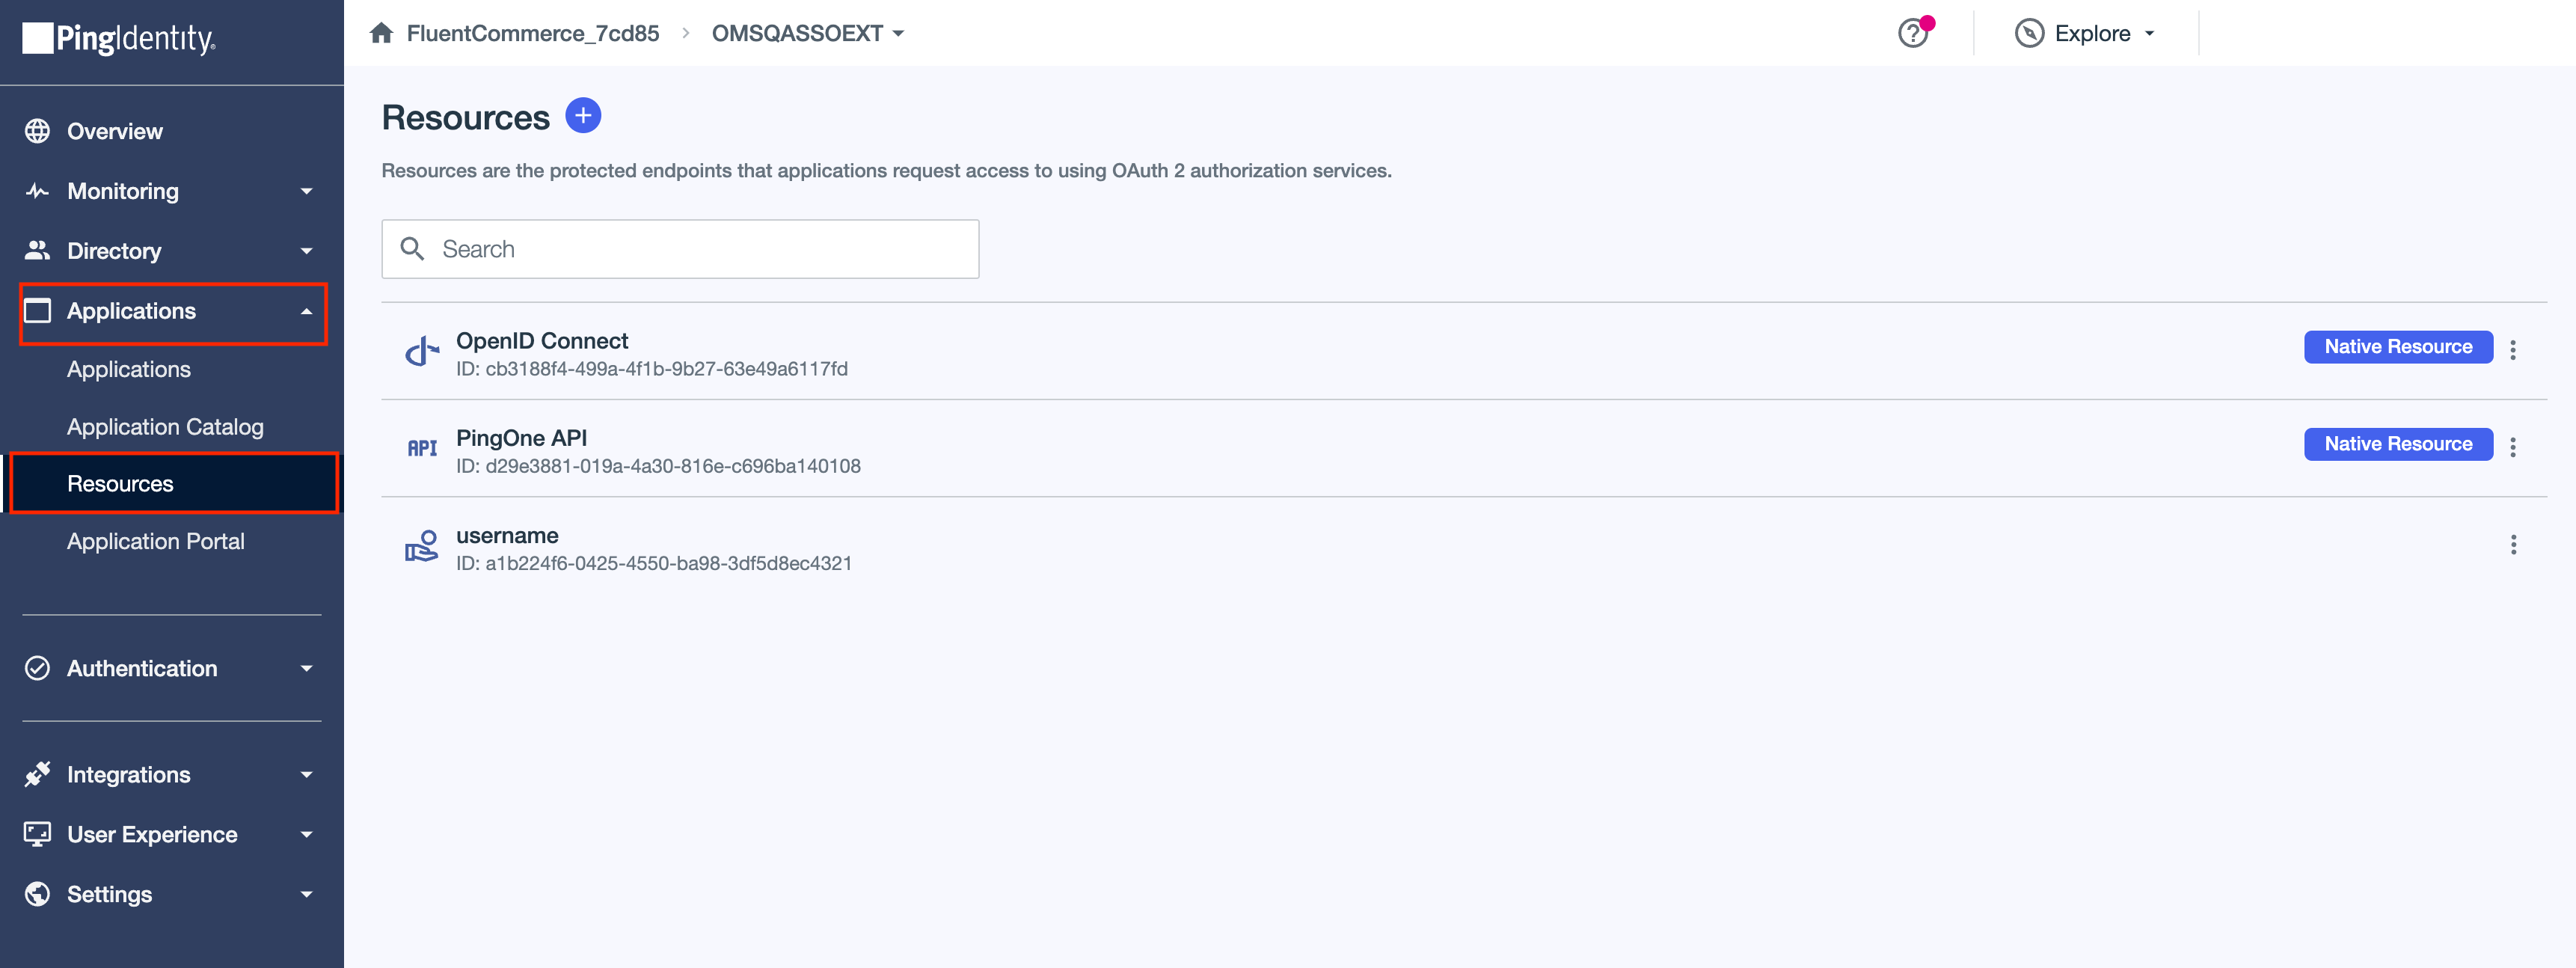 2. Edit the username Resource.
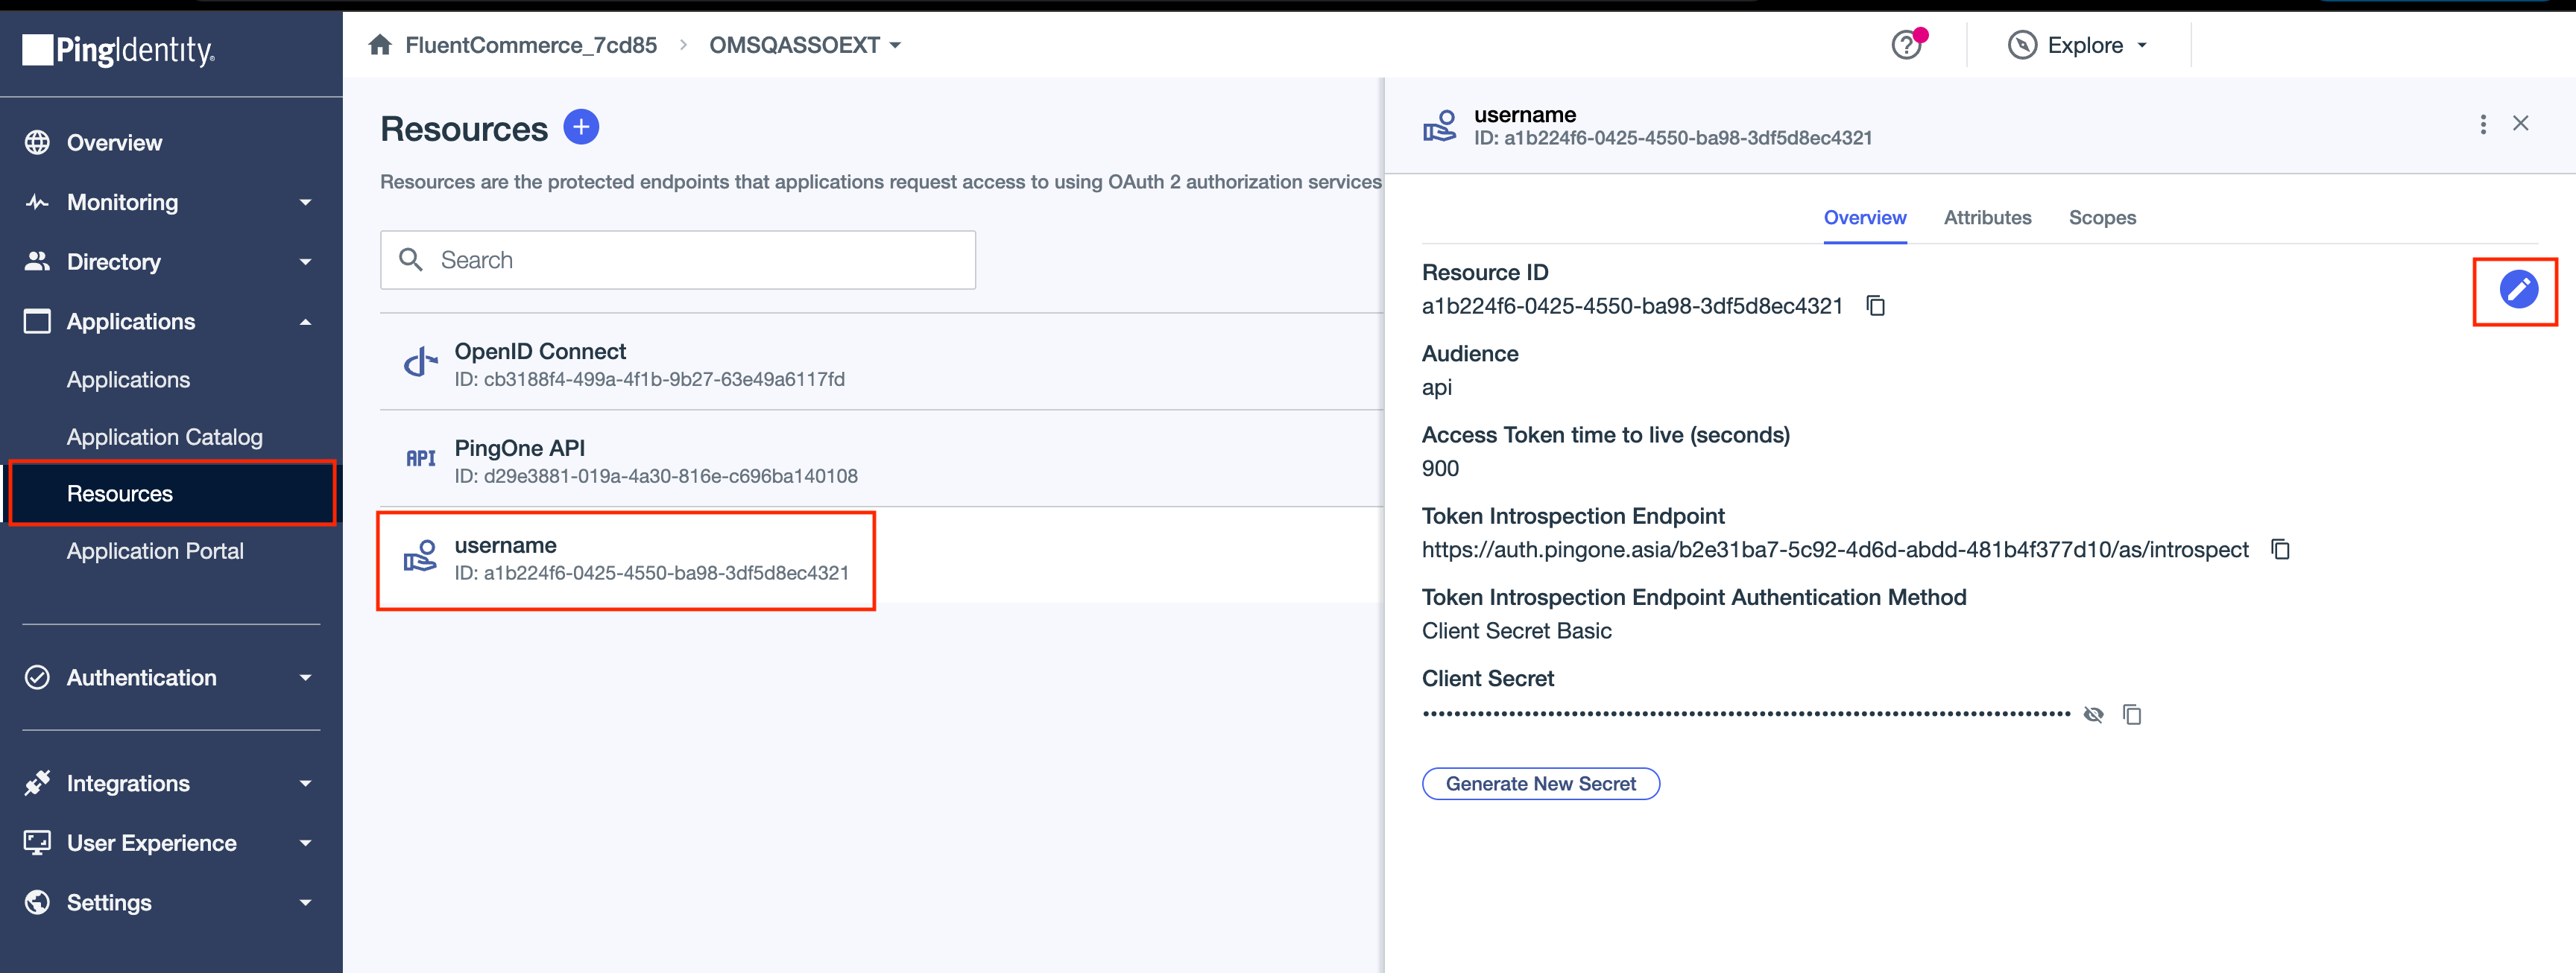 3. Specify the token expiry time value (in seconds) in the "Access token time to live (seconds)" field, then click Save to apply the changes.
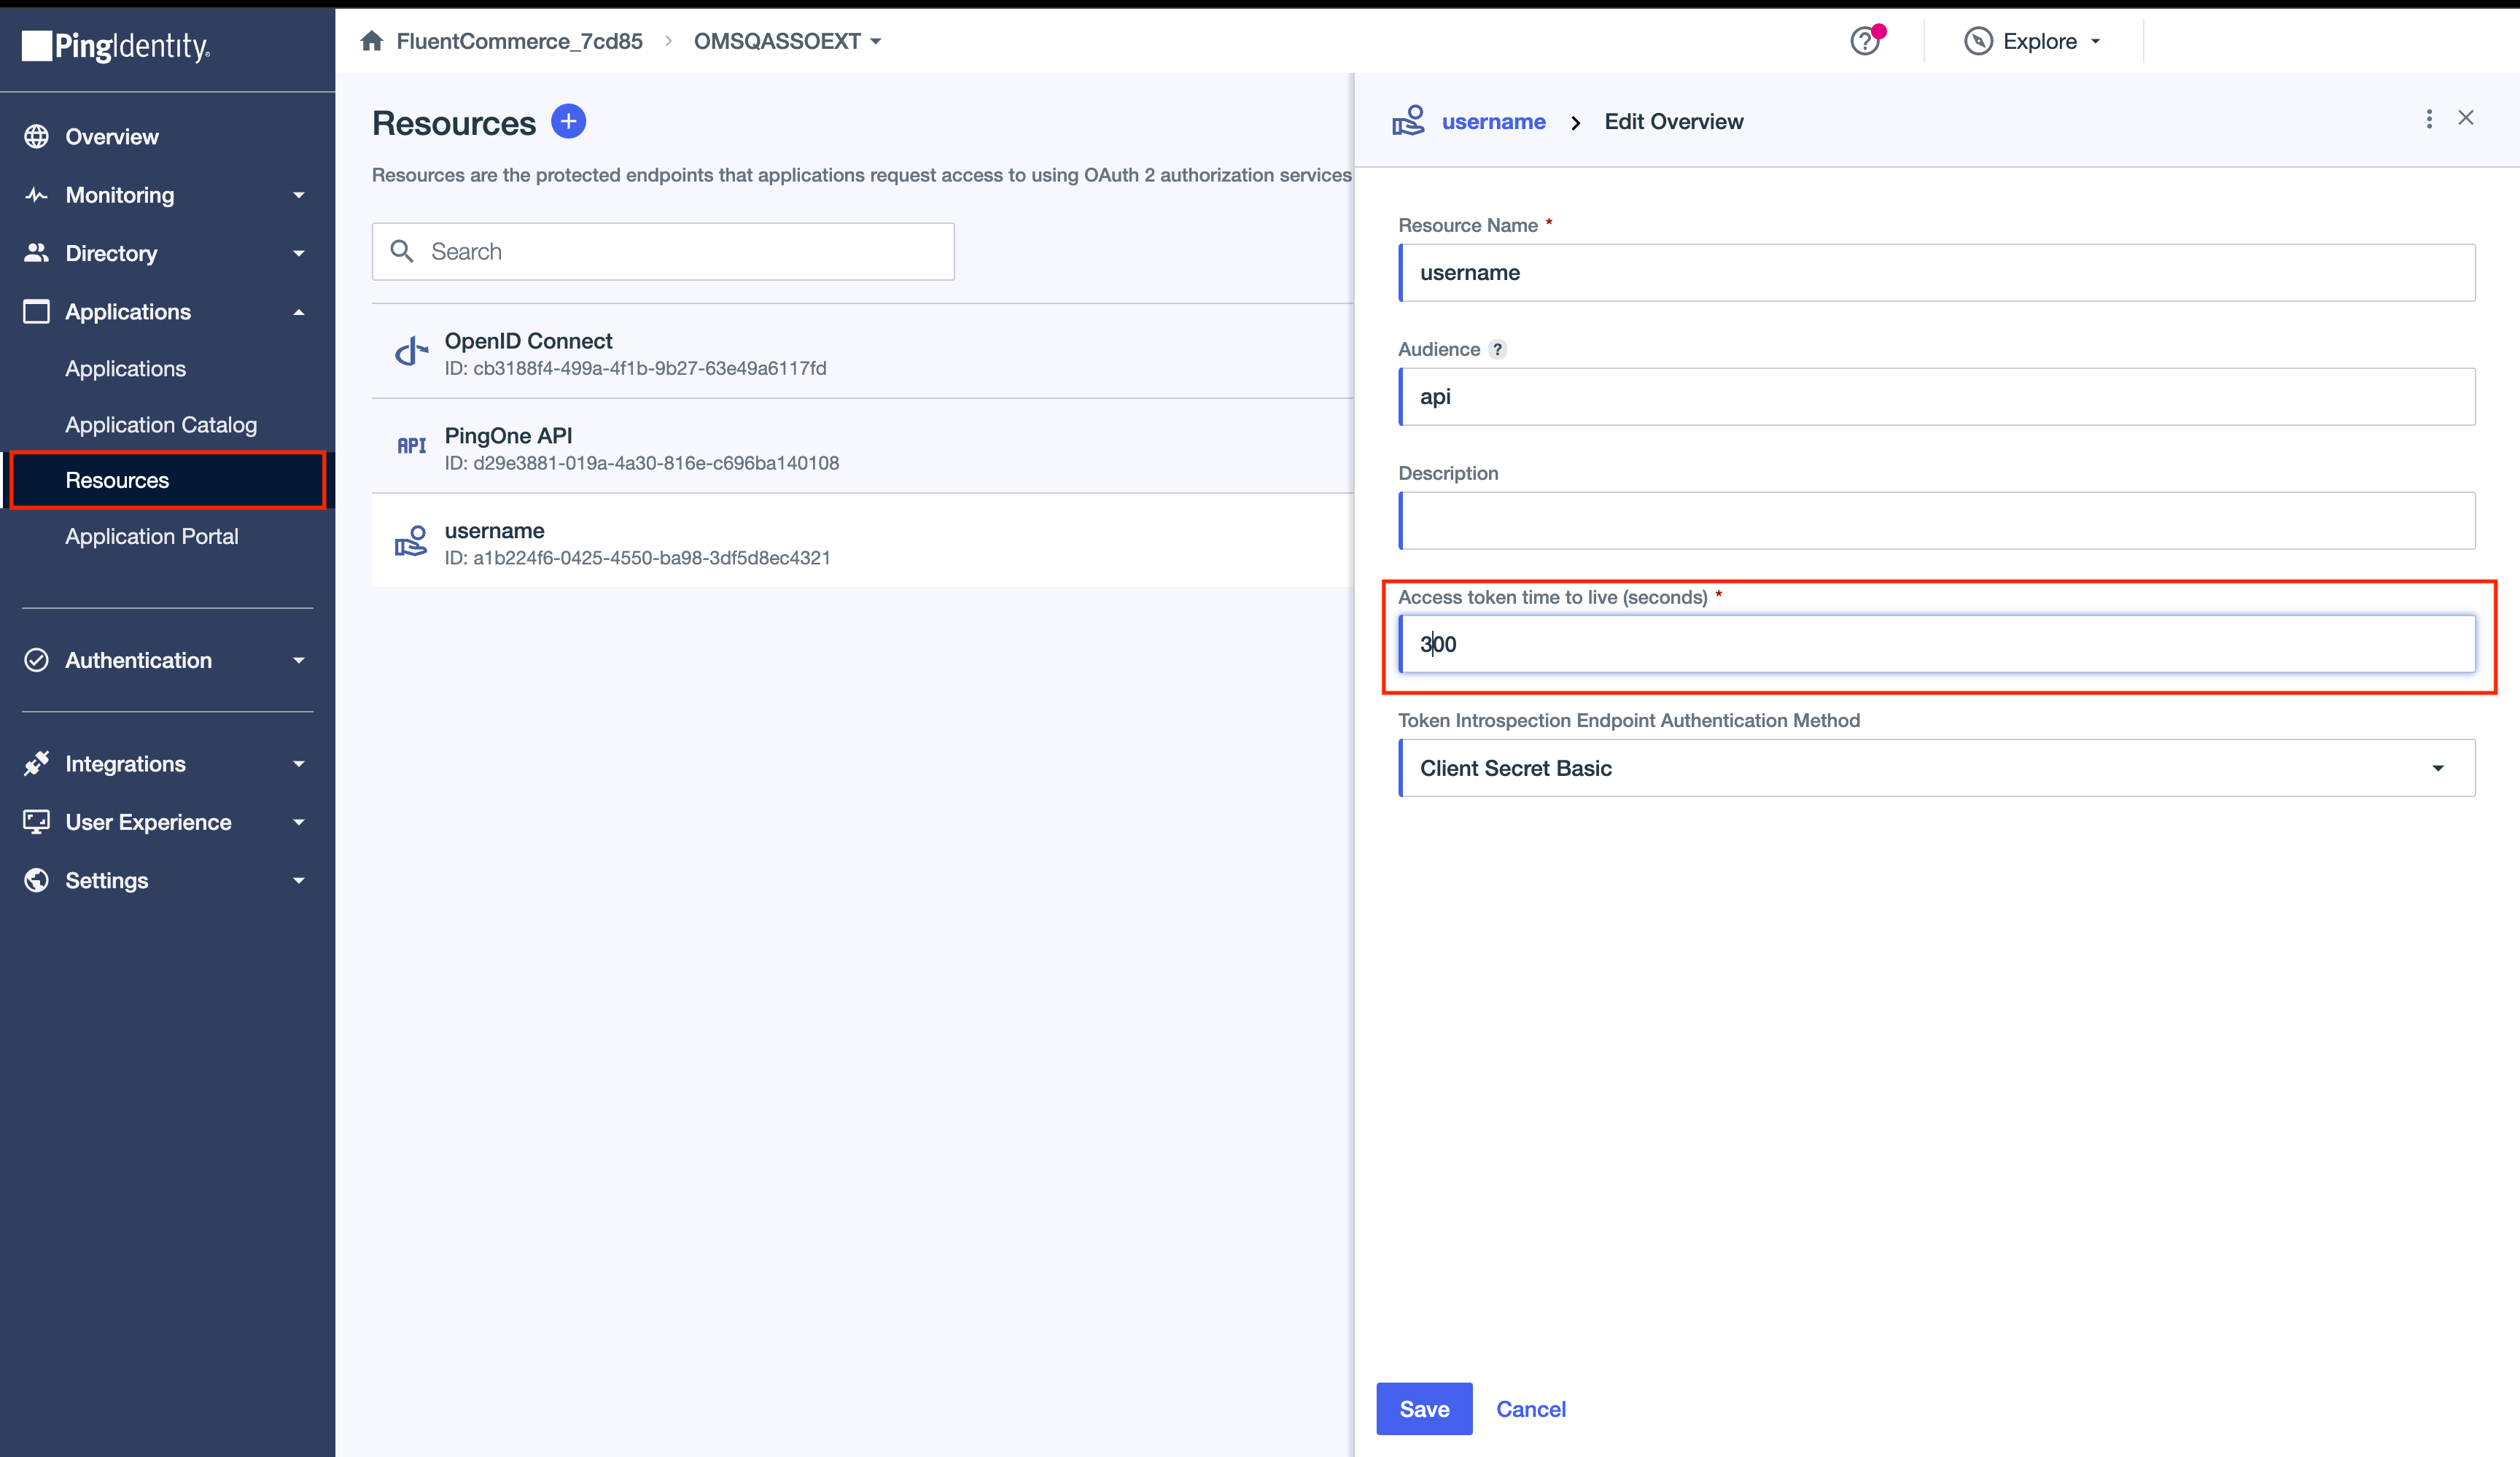
2. Edit the username Resource.3. Specify the token expiry time value (in seconds) in the "Access token time to live (seconds)" field, then click Save to apply the changes.Configure the Authentication Policy in Ping Identity
1. Go to the Authentication menu and then select the Authentication sub-menu. 2. Edit the Authentication Policy.
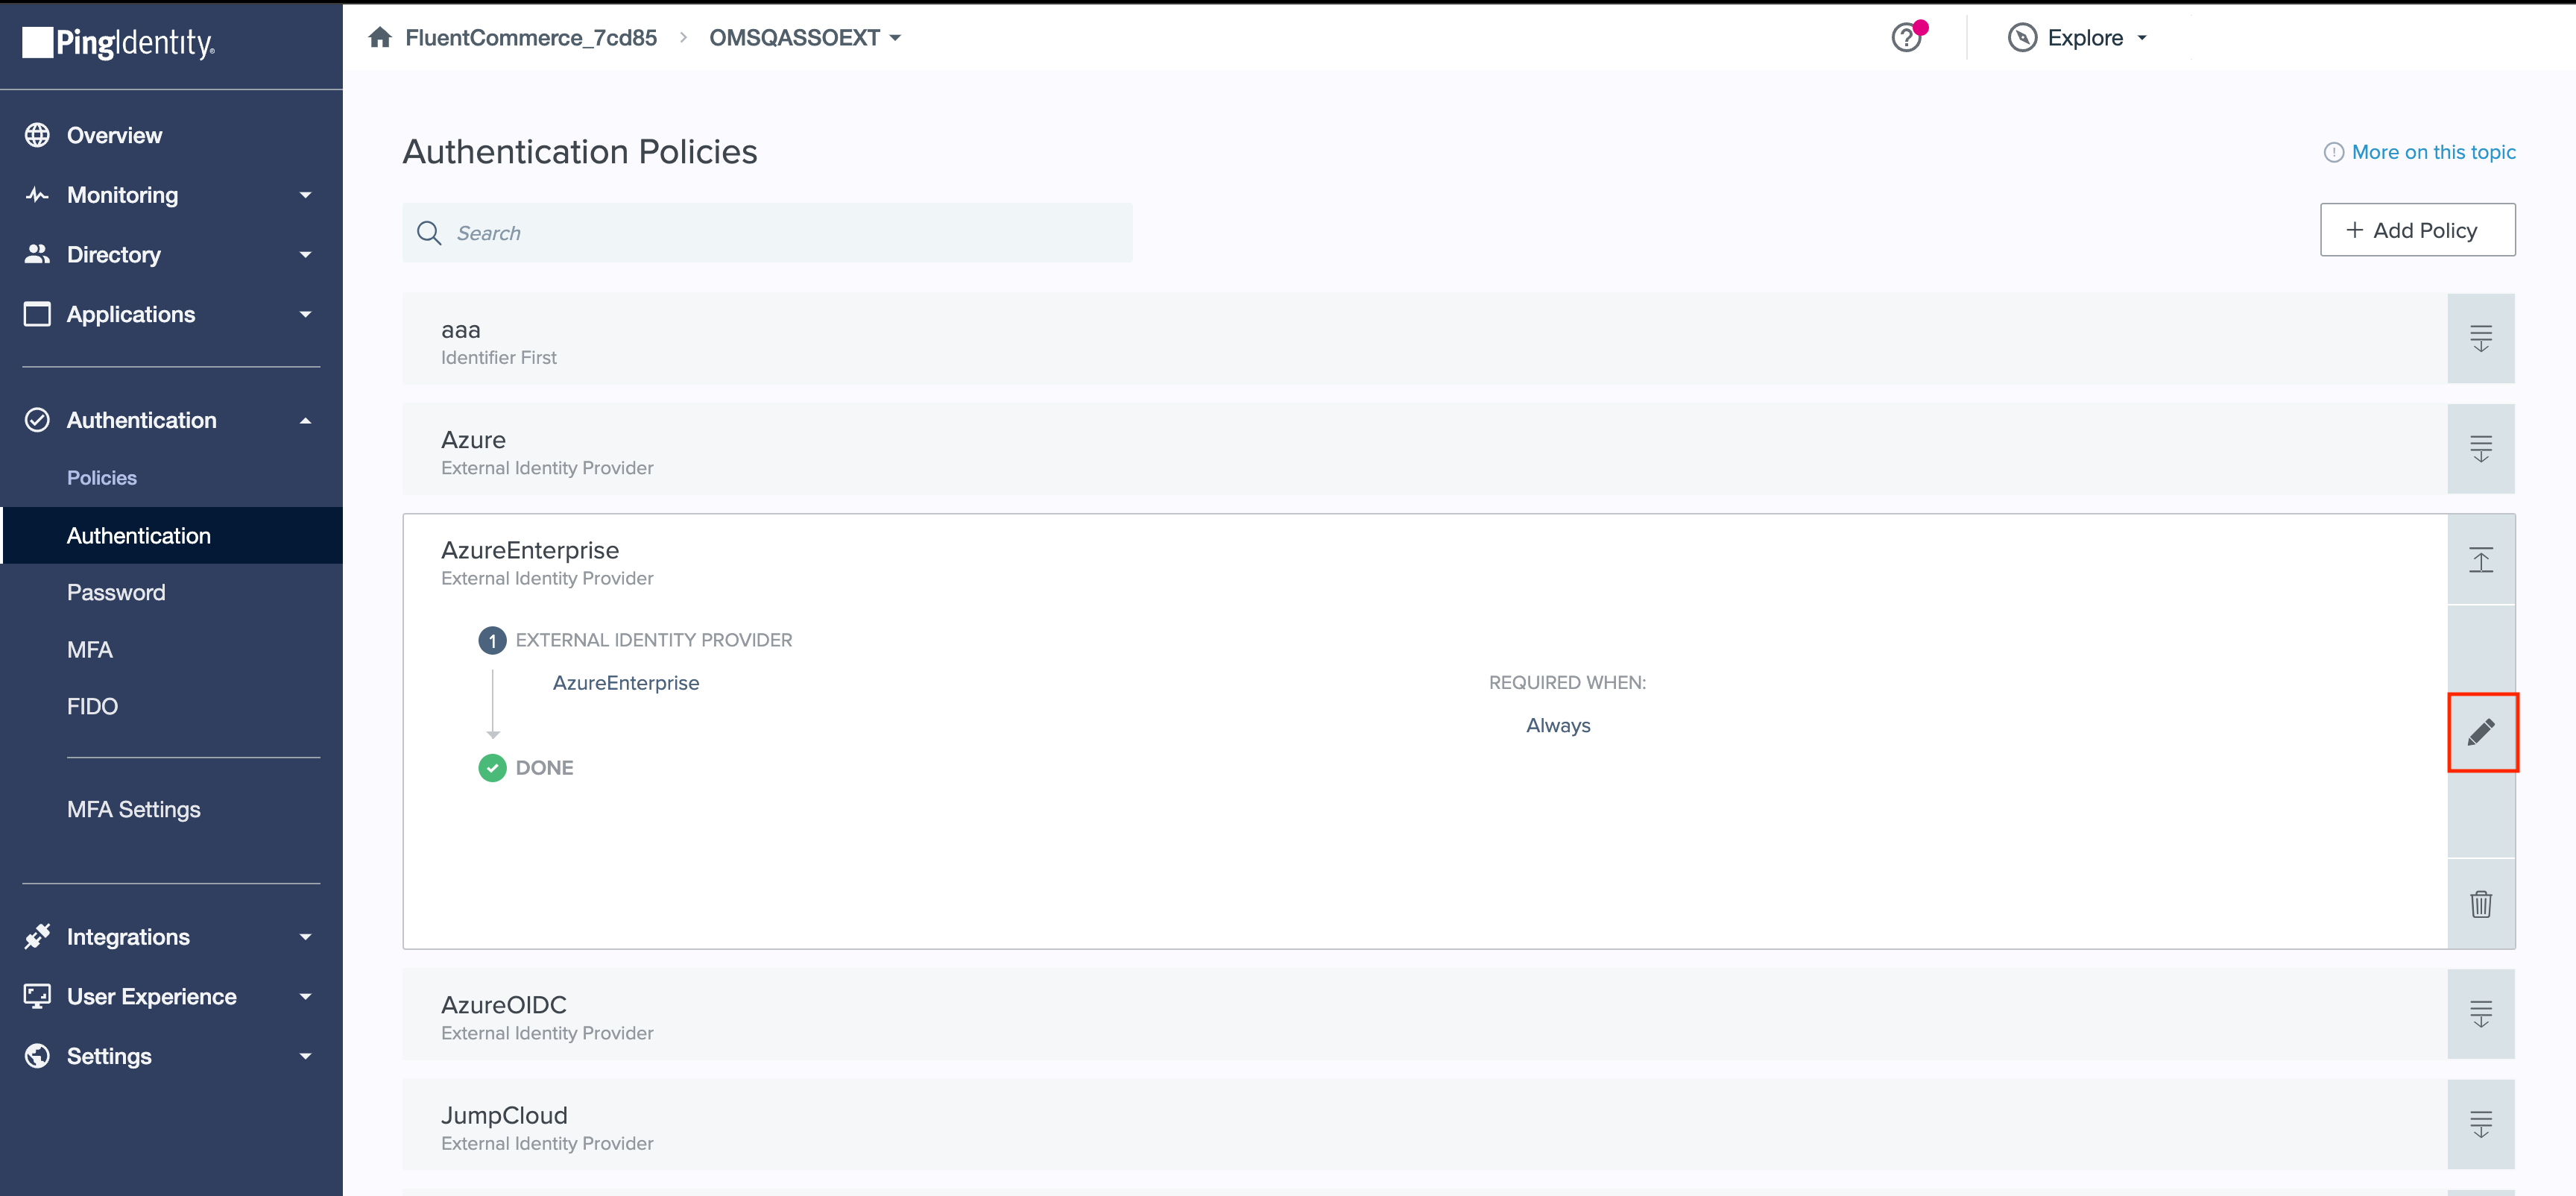 3. Modify the login time for "Last sign-on older than…" and then save by clicking the Save button.
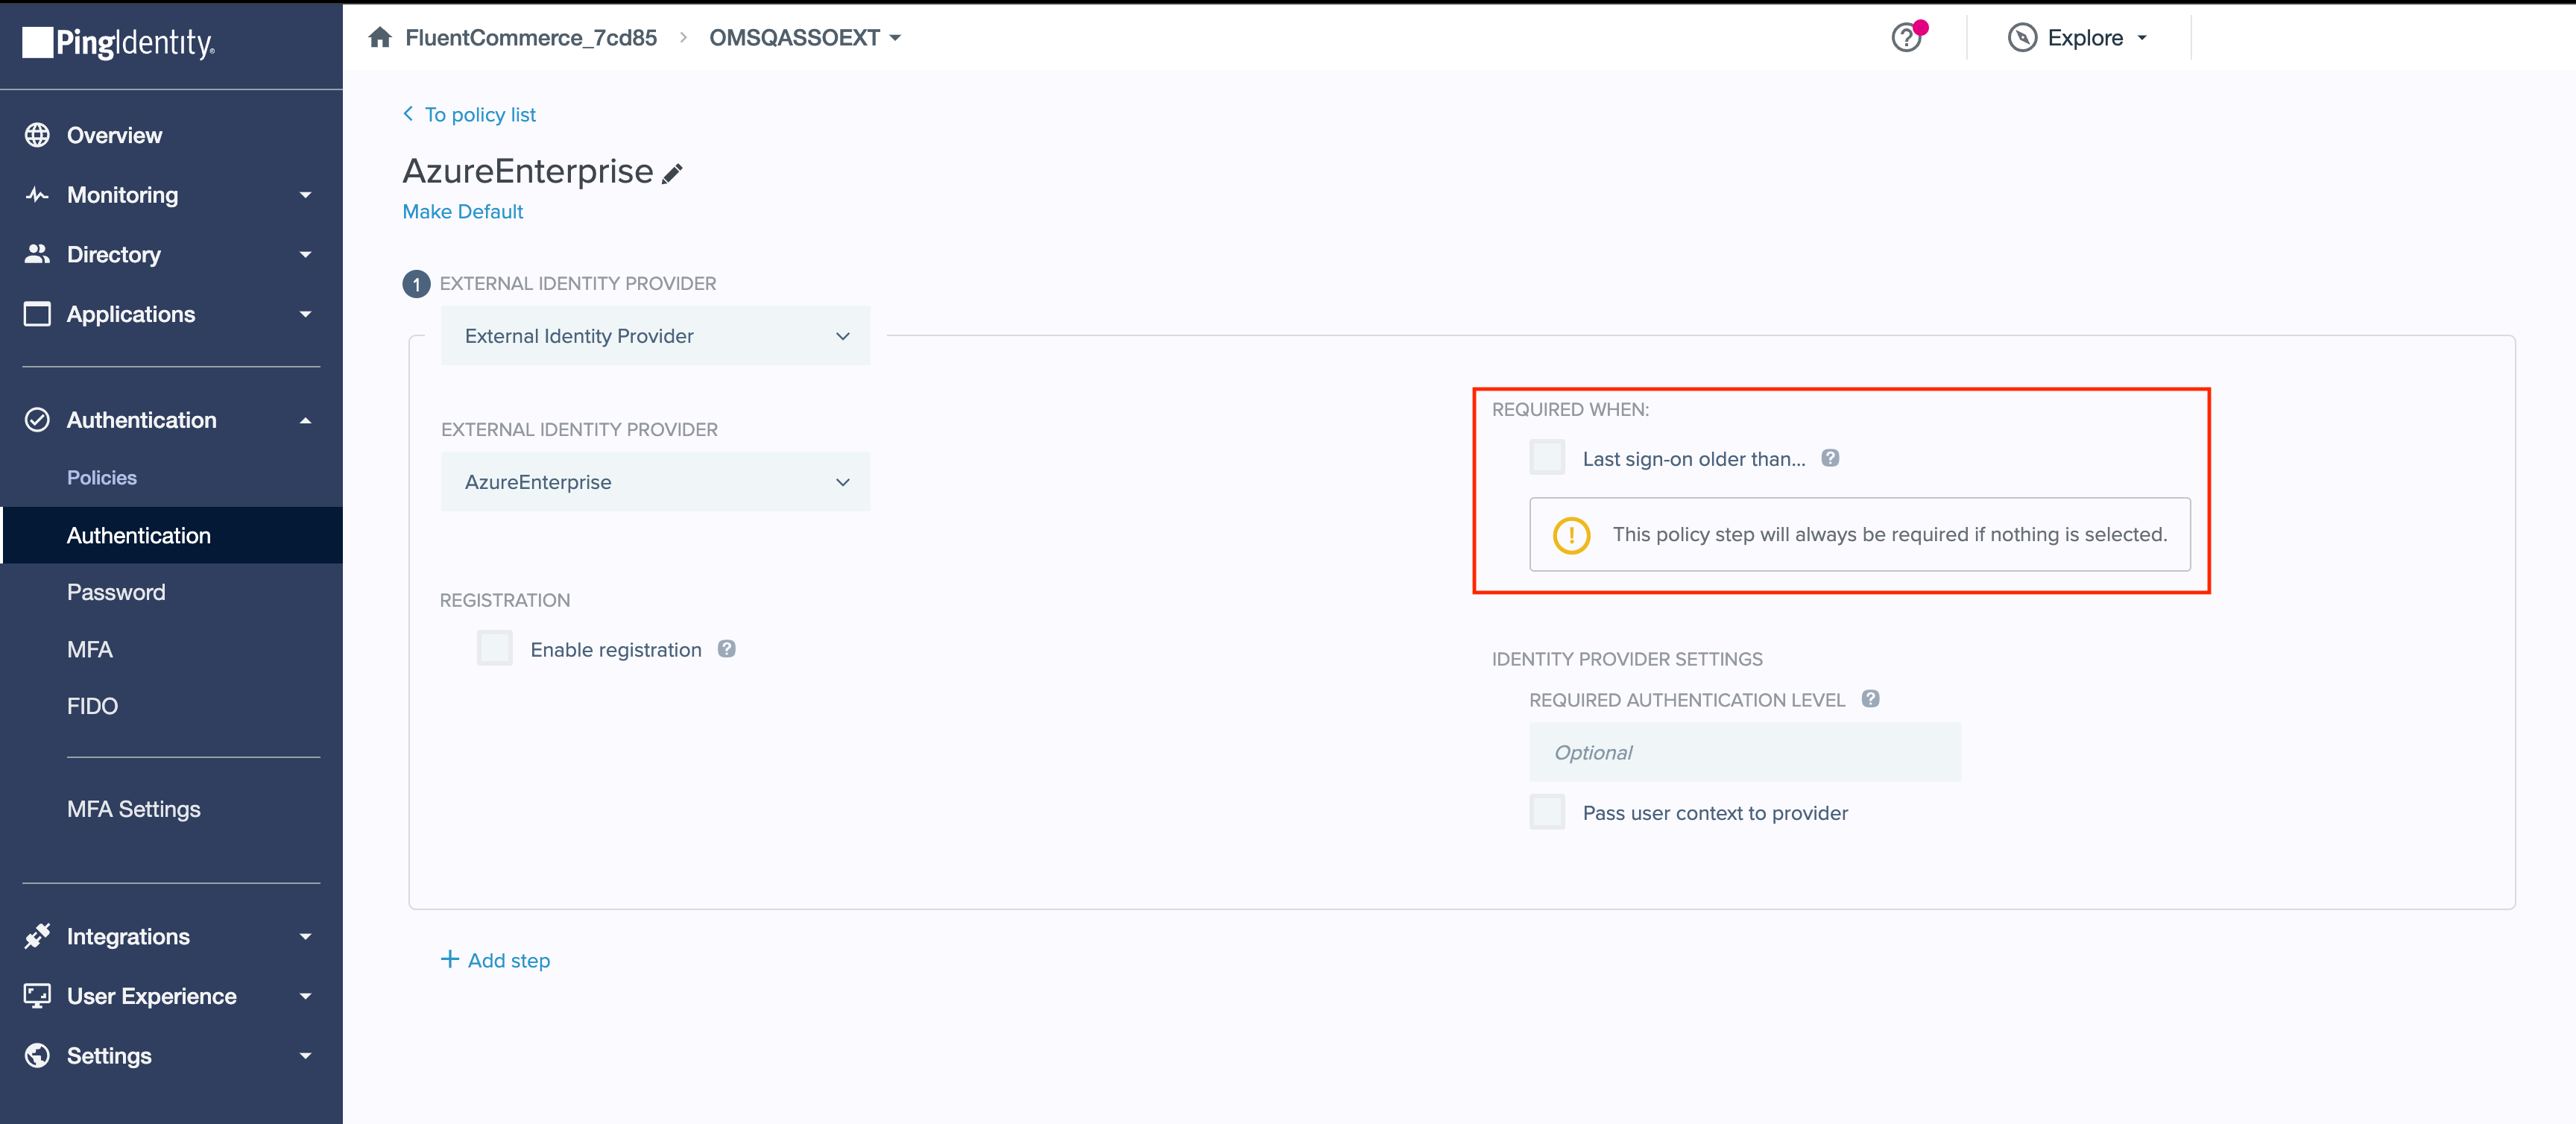
2. Edit the Authentication Policy.3. Modify the login time for "Last sign-on older than…" and then save by clicking the Save button.