Create a Simple List Page in OMS Webapp
Authors:
Randy Chan, Anita Gu
Changed on:
21 May 2025
Key Points
- A simple guide to creating an OMS webapp page from scratch
Steps
What to Expect
This is a tutorial on how to create a list page on OMS. It also contains some code templates that can be used for future reference. Here are the steps to create an OMS list page:
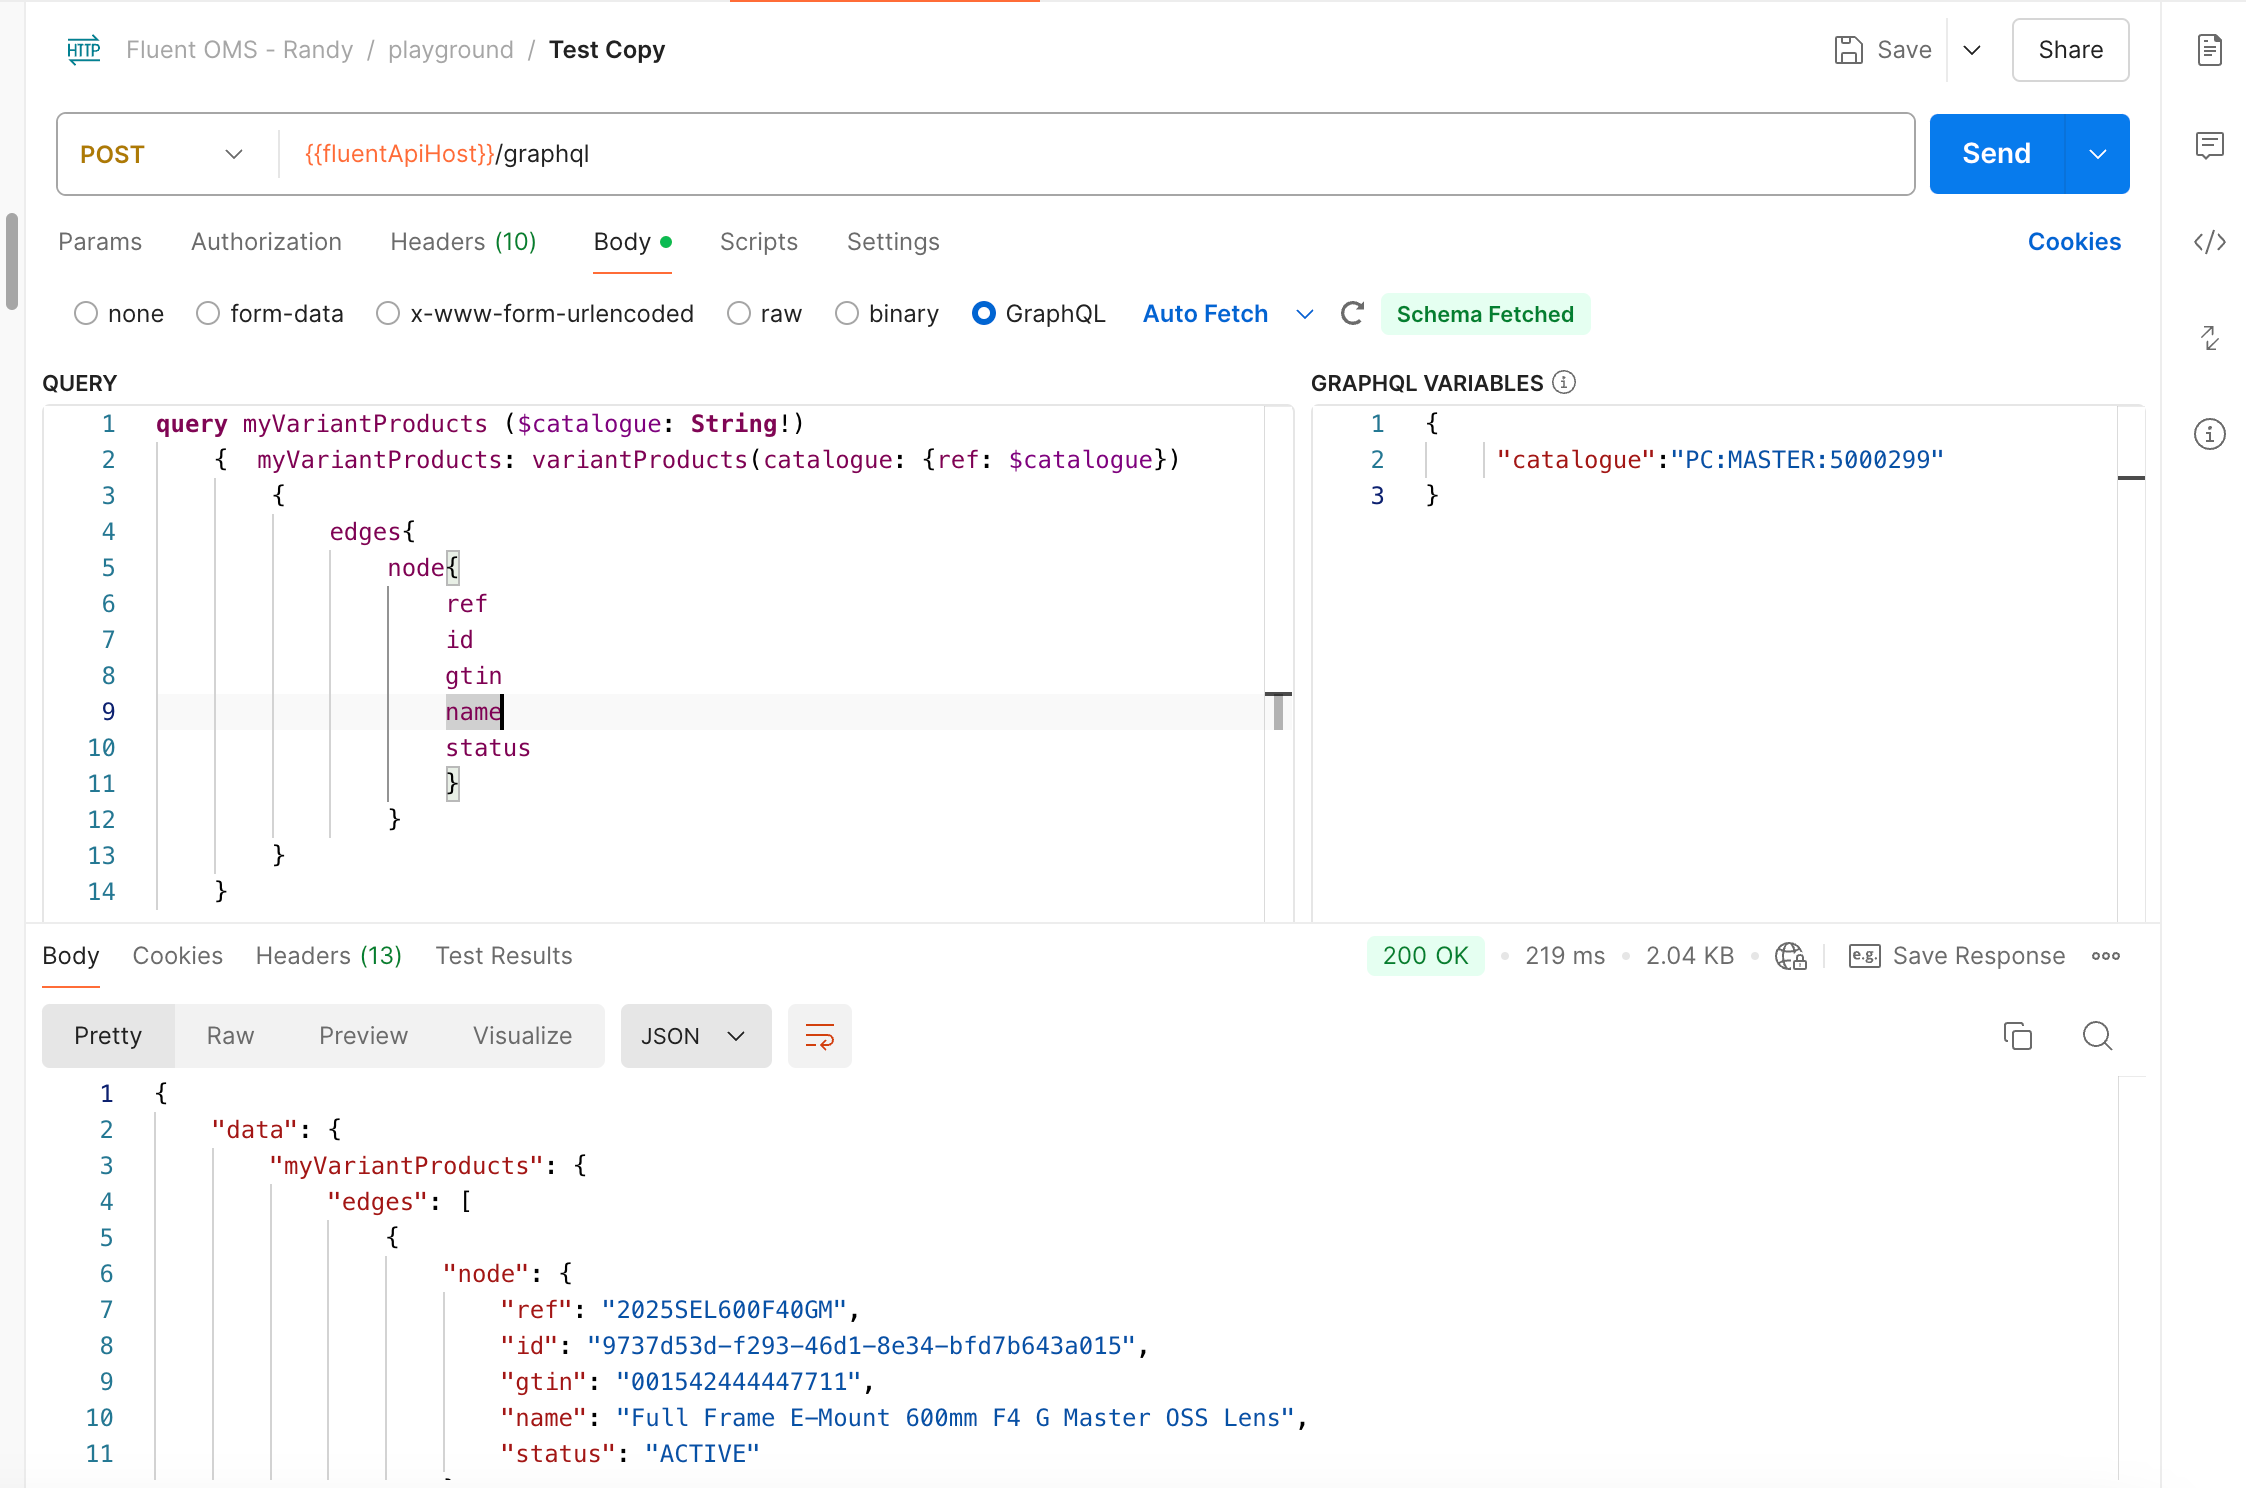
- Build the GraphQL query and make sure it returns a result;
- Creating a new empty page;
- Configure the fc.list;
- Building a new manifest setting;
- Update language setting to display the labels;
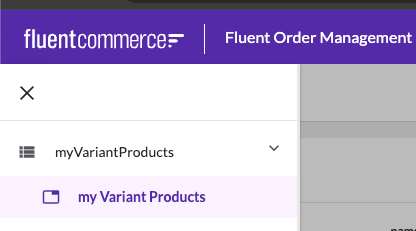
- Add a new reference in the manifest route (left navigator panel);
Step 1: Build the GraphQL query and make sure it returns a result
1POST: {{fluentApiHost}}/graphql
2
3
4Variables:
5{
6 "catalogue":"PC:MASTER:5000299"
7}
8
9Query:
10query myVariantProducts ($catalogue: String!)
11 { myVariantProducts: variantProducts(catalogue: {ref: $catalogue})
12 {
13 edges{
14 node{
15 ref
16 id
17 gtin
18 name
19 status
20 }
21 }
22 }
23 }
24

Step 2: Creating a new empty page
Below is a template for creating a new empty page.
1{
2 "manifestVersion": "2.0",
3 "routes": [
4 {
5 "type": "section",
6 "nav": {
7 "label": "{{replace:label}}",
8 "icon": "view_list"
9 },
10 "pages": [
11 {
12 "path": "{{replace:pathName}}",
13 "type": "page",
14 "component": "fc.page",
15 "nav": {
16 "label": "{{replace:navlabel}}",
17 "icon": "MdTab"
18 },
19 "props": {
20 "title": "{{replace:pageTitle}}"
21 },
22 "descendants": [
23
24 ]
25 }
26 ]
27 }
28 ]
29}
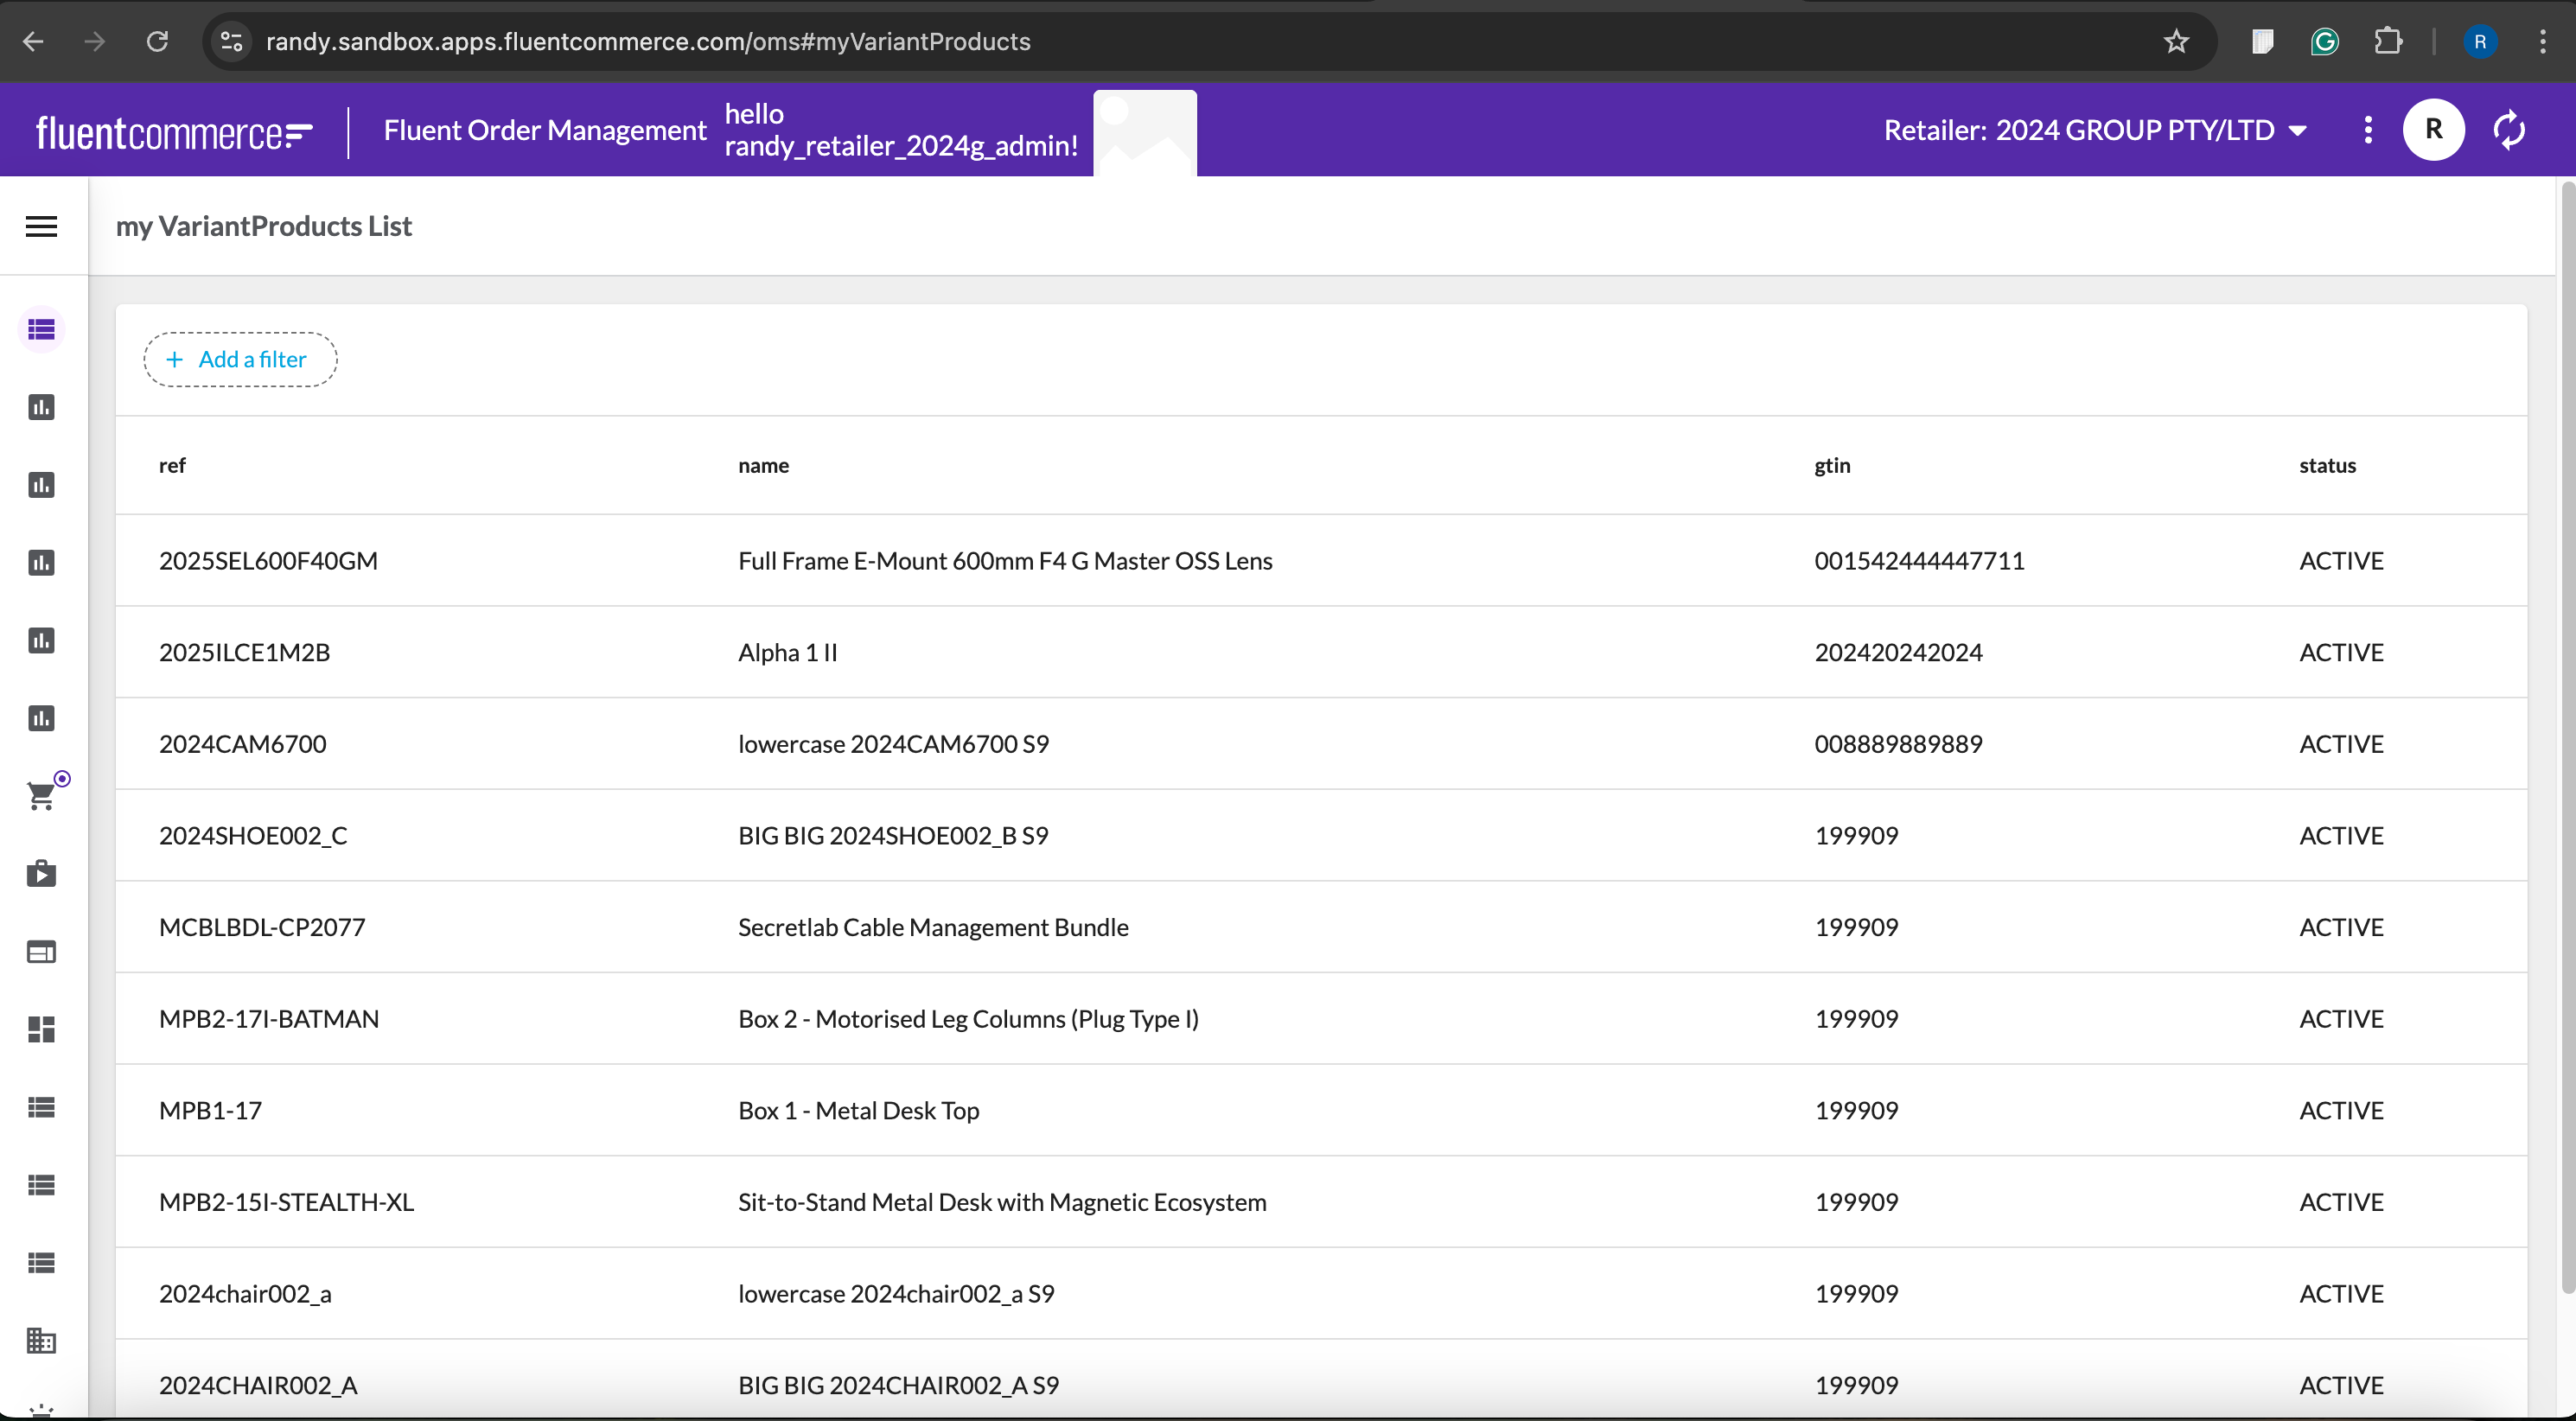
Step 3: Configure the fc.list
For the fc.list, there are two parts to cover.
1. Page Query
1"data": {
2 "query": "query myVariantProducts ($catalogue: String!) { myVariantProducts: variantProducts(catalogue: {ref: $catalogue}){ edges{ node{ attributes { name value type} ref id gtin name status } } }}",
3 "variables": {
4 "catalogue": "PC:MASTER:{{activeRetailer.id}}"
5 }
6},
2. the `fc.list`
component in the Page's descendants section.
1"component": "fc.list",
2 "props": {
3 "dataSource": "myVariantProducts",
4 "filter": {
5 "enabled": true,
6 "exclude": [
7 "workflowRef",
8 "workflowVersion"
9 ]
10 },
11 "attributes": [
12 {
13 "label": "i18n:fc.myVariantProducts.index.list.column.ref.heading",
14 "template": "{{node.ref}}"
15 },
16 {
17 "label": "i18n:fc.myVariantProducts.index.list.column.name.heading",
18 "template": "{{node.name}}"
19 },
20 {
21 "label": "i18n:fc.myVariantProducts.index.list.column.gtin.heading",
22 "template": "{{node.gtin}}"
23 },
24 {
25 "label": "i18n:fc.myVariantProducts.index.list.column.status.heading",
26 "template": "{{node.status}}"
27 }
28 ]
29 }
30}
Step 4: Building a new manifest setting
The next step is to build a new :
Name: `fc.mystique.manifest.oms.fragment.myVariantProducts`
Context:
Context ID: 0
Value Type: JSON
JSON Value:
1{
2 "manifestVersion": "2.0",
3 "routes": [
4 {
5 "type": "section",
6 "nav": {
7 "label": "i18n:fc.myVariantProducts.nav",
8 "icon": "view_list"
9 },
10 "pages": [
11 {
12 "path": "myVariantProducts",
13 "type": "page",
14 "component": "fc.page",
15 "data": {
16 "query": "query myVariantProducts ($catalogue: String!) { myVariantProducts: variantProducts(catalogue: {ref: $catalogue}){ edges{ node{ attributes { name value type} ref id gtin name status } } }}",
17 "variables": {
18 "catalogue": "PC:MASTER:{{activeRetailer.id}}"
19 }
20 },
21 "nav": {
22 "label": "i18n:fc.myVariantProducts.index.nav",
23 "icon": "MdTab"
24 },
25 "props": {
26 "title": "my VariantProducts List"
27 },
28 "descendants": [
29 {
30 "component": "fc.list",
31 "props": {
32 "dataSource": "myVariantProducts",
33 "filter": {
34 "enabled": true,
35 "exclude": [
36 "workflowRef",
37 "workflowVersion"
38 ]
39 },
40 "attributes": [
41 {
42 "label": "i18n:fc.myVariantProducts.index.list.column.ref.heading",
43 "template": "{{node.ref}}"
44 },
45 {
46 "label": "i18n:fc.myVariantProducts.index.list.column.name.heading",
47 "template": "{{node.name}}"
48 },
49 {
50 "label": "i18n:fc.myVariantProducts.index.list.column.gtin.heading",
51 "template": "{{node.gtin}}"
52 },
53 {
54 "label": "i18n:fc.myVariantProducts.index.list.column.status.heading",
55 "template": "{{node.status}}"
56 }
57 ]
58 }
59 }
60 ]
61 }
62 ]
63 }
64 ]
65}
Step 5: Update the Language Setting
Next, go to the Language and change the values accordingly.
1"fc.myVariantProducts.nav": "myVariantProducts",
2"fc.myVariantProducts.index.nav": "my Variant Products",
3"fc.myVariantProducts.index.title": "my VariantProducts List",
4"fc.myVariantProducts.index.list.column.ref.heading": "ref",
5"fc.myVariantProducts.index.list.column.id.heading": "id",
6"fc.myVariantProducts.index.list.column.gtin.heading": "gtin",
7"fc.myVariantProducts.index.list.column.name.heading": "name",
8"fc.myVariantProducts.index.list.column.status.heading": "status",
Step 6: Adding a new reference in the manifest route
Except as otherwise stated in the Extend Knowledge Content site policy, the content on this page is licensed under the Creative Commons Attribution 4.0 Licence, and any code samples that appear on this page are licensed under the Apache 2.0 Licence, unless any code sample forms part of the Fluent Order Management Platform code. Neither of these licences apply to any content on any other page that can be reached via a link on this page unless otherwise specified on that other page. If you wish to use any of the Extend Knowledge Content, you must do so in compliance with the licenses referred to above and the Extend Knowledge Content site policy, including attribution in the manner set out on this page.