Platform Support Process
Essential knowledge
Intended Audience:
Technical User
Author:
Fluent Commerce
Changed on:
4 Sept 2025
Overview
Platform Support ProcessKey points
- Service Desk Incident Creation
- Review Ticket
Fluent Commerce provides two tiers of support services: Enterprise and Professional. For more information on each tier see the respective Service Level Agreement pages:
 The following table describes the ticket types and their purpose:
 2. Select the issue type
  The following table describes the Issue Types and their purpose:
3. Update the issue start and end date time 4. Provide a summary of the Incident
 5. Provide a description of the Incident - Detailed description of the issue. Please provide as much information as possible.
 6. Order Impact Severity – Please select an appropriate severity rating based on the Severity Definitions in the Enterprise Service Level Documentation7. Business Impact Description – Please provide details of how this issue impacts the business operations, what processes are impacted by this issue, and customer impact.
 8. Lists of Orders impacted and Justifications about the issue against the platform.
 10. Exception Event ID / Audit Event (Examples) – Please paste the relevant exception details. If easier, these can also be attached as a file in the section below.
 11. Other Information – Any other supporting information that will be of benefit in the understanding, triaging, and resolution of this issue
Service Desk Incident Creation
The login credentials for the support portal are provided in the onboarding email from Fluent Commerce. The following steps explain the process of creating and renewing tickets within the Fluent Commerce support portal.Step 1: Access portal
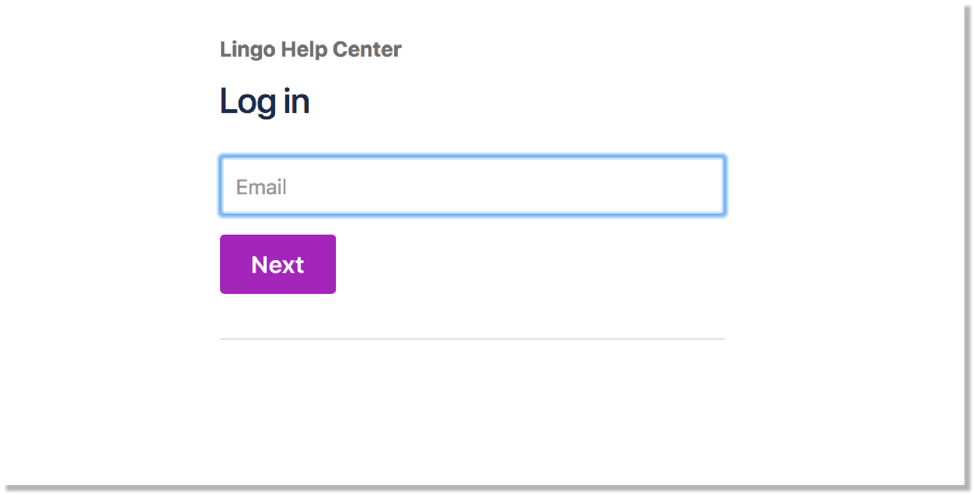
To access the Fluent Commerce support portal home page, click https://support.fluentcommerce.com/ and enter the email address.
Step 2: Ticket type
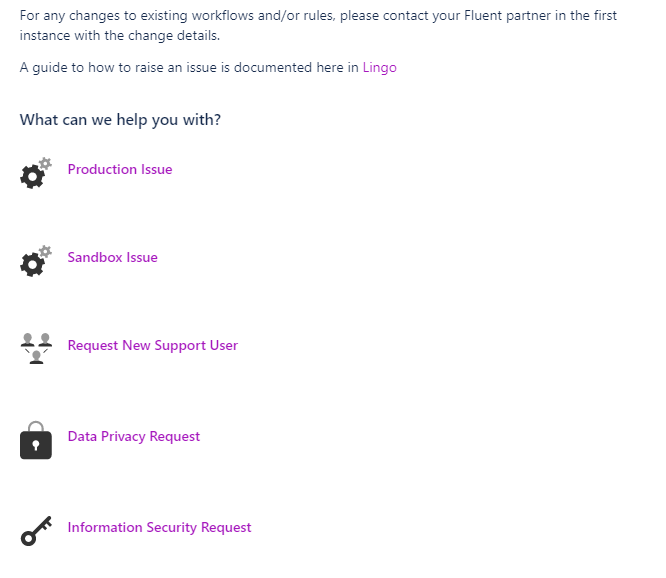
Select the type of ticket based on the issue or request you want to report. The following table describes the ticket types and their purpose:
| Ticket Type | Description |
| Production issue | Issues related to the Production environment |
| Sandbox issue | Issues related to the Sandbox environment |
| Request New Support User | To request a new user access to the Fluent Support Portal |
| Information Security Request | Request to review any Information Security documents/processes. |
| Data Privacy Request | Data Privacy requests to be actioned. |
Step 3. Production issue: Required Information
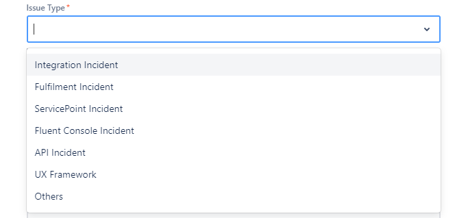
Fill in the following information:1. Account ID/Retailer ID - Account ID or list of all retailer IDs impacted by this issue (if multiple retailers, please add them all in a comma “,” separated list) 2. Select the issue type
  The following table describes the Issue Types and their purpose:
 | Ticket Type | Description |
| Integration Issue | External system issues |
| ServicePoint Incident | Issues with the in-store app |
| Fluent Console Incident | Issues related to orders and fulfillments on the console |
| Fulfillment Incident | Order and fulfillment-related issues |
| API Incident | REST/GraphQL API-related issues |
| UX Framework | UX Framework-related issues |
| Others | Any other |
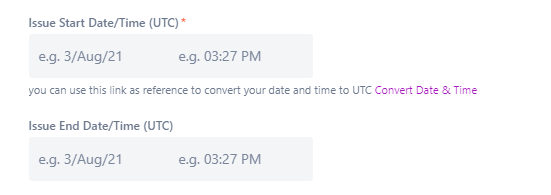
- Issue Start Date/Time (UTC) – Date and Time when the issue started.
- Issue End Date/Time (UTC) – End Date and Time.
 4. Provide a summary of the Incident
 5. Provide a description of the Incident - Detailed description of the issue. Please provide as much information as possible.
 6. Order Impact Severity – Please select an appropriate severity rating based on the Severity Definitions in the Enterprise Service Level Documentation7. Business Impact Description – Please provide details of how this issue impacts the business operations, what processes are impacted by this issue, and customer impact.
 8. Lists of Orders impacted and Justifications about the issue against the platform.
- List of Orders Impacted – Please provide a list of orders impacted by this issue, whether by supplying the Fluent ID or the entity reference, e.g., Customer Order Reference. If you only supply examples, please also include an estimate of the overall number impacted.
- Platform issue justification – Provide us details of your investigations undertaken so far and why you believe the issue is a platform issue rather than rule/workflow related. If this information is not provided, the ticket will be assigned back to the reporter to fill out. This information will also be used to review the severity classification of the issue.
 10. Exception Event ID / Audit Event (Examples) – Please paste the relevant exception details. If easier, these can also be attached as a file in the section below.
 11. Other Information – Any other supporting information that will be of benefit in the understanding, triaging, and resolution of this issue
Step 4 - Attach files and screenshots
Please ensure to upload all the files related to Custom code, GraphQL details, audit logs, screenshots of the issue, and all supporting docs are expected to be attached here. For any missing details, we may assign the ticket back to you for more info.
Step 5- Ticket submission
To submit the ticket, click Create. A ticket number is created and sent to the email address used to access the support portal.The ticket reference number can be located in the My Request area within the JIRA account. The incident count increases each time a new incident is reported.Review Ticket
The login credentials for the support portal are provided in the onboarding email from Fluent Commerce. Follow these steps to review the ticket.- To access the Fluent Commerce support portal home page, click http://support.fluentretail.com and enter the email address.
- To view tickets that have been raised, click My Requests.
- Select the ticket reference number you want to update. Add additional comments to the ticket to provide information that may help the support team resolve the incident faster.
- To update the ticket after adding the comment, click Add.
