Pick an Order
How-to Guide
Author:
Fluent Commerce
Changed on:
13 Dec 2023
Key Points
- Selecting fulfilments to add to a wave and create wave
- Generating standard or custom pick list
- (Optional) Scanning items to pick via the ENFORCE_BARCODE_SCAN setting.
Steps
 Selecting fulfilments to add to a wave and create wave
This is done by setting a prioritisation logic. Most commonly, fulfilment are added to a wave based on their expiration date and time. The fulfilment about to expire first, gets priority at the time of wave creation. Some other logics include:
- Prioritise fulfilment by type, where fulfilments from a Click& Collect order get prioritised over the fulfilment from a home delivery order.
- Prioritise fulfilments based on delivery types. fulfilment with a 1 hour delivery are prioritised over express and express delivery is prioritised over standard. In such scenario, a hierarchy of delivery types is preset.
Generating standard or custom pick list
The pick list has items to be picked for a particular wave. The items are not displayed per fulfilment but per wave. If an item belongs to two different fulfilment in a wave, the item will only be listed once in the pick list with a total quantity required across the entire wave.There are two variations of the pick list:1. Default pick list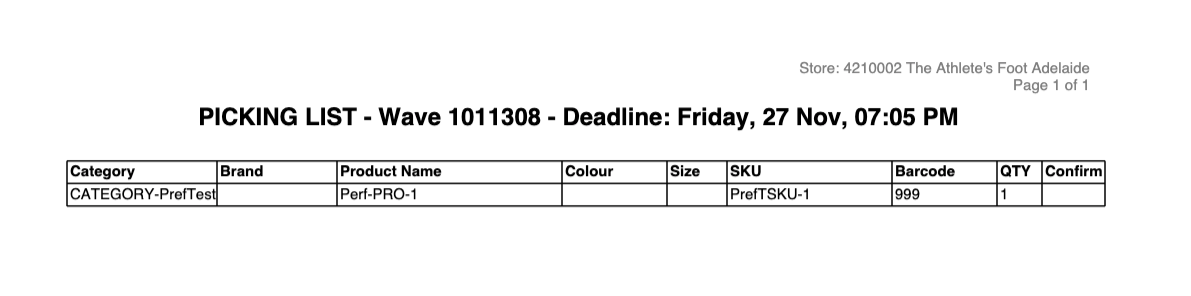 2. Custom pick listThis functionality is only for wave rubixified clients. The custom template is stored in the PICK_N_PACK_CUSTOM_PICK_LIST retailer setting.. For more information about the setting, see . The default value stored in the DEFAULT_INVENTORY_CATALOGUE retailer setting is used to retrieve inventory data used in the custom template. The user (the locRef for the Store) must also have
2. Custom pick listThis functionality is only for wave rubixified clients. The custom template is stored in the PICK_N_PACK_CUSTOM_PICK_LIST retailer setting.. For more information about the setting, see . The default value stored in the DEFAULT_INVENTORY_CATALOGUE retailer setting is used to retrieve inventory data used in the custom template. The user (the locRef for the Store) must also have `GRAPHQL_VIEW` permission for GQL queries on the ACCOUNT and RETAILER level so that they can read from the inventory catalogue. Make a PUT grant API call to endpoint `http://<ACCOUNT_ID>.sandbox.api.fluentretail.com/api/v4.1/user/<locRef>/grant` with the following payload:Example PayloadAPI endpoint: .sandbox.api.fluentretail.com/api/v4.1/settings/retailer/1/PICK_N_PACK_CUSTOM_PICK_LISTMethod: PUT Authorization: Retailer Token(Optional) Scanning items to pick via the ENFORCE_BARCODE_SCAN setting.
This feature allows you to scan the barcode of the item on the picking screen. Ensure that the Variant Product (SKU) has a valid barcode.If you are using the REST API to create product variants, the barcode is provided as the SKU attribute as shown below:If you are using GraphQL, the barcode is provided as a value to the GTIN field of the Variant Product(SKU).After you scan the barcode, the item counter is incremented on the pick screen. After scanning the items for a wave, the user clicks the CONFIRM ITEMS button to confirm that items are picked. At this step, the following changes are executed in the background:
- RESERVED quantities of an item are converted to SALES.
- Picked items are allocated to fulfilment in the wave.