Assign Articles to Storage Areas
How-to Guide
Author:
Fluent Commerce
Changed on:
13 Dec 2023
Key Points
- This guide shows you how to assign an article to a Storage Area as part of the Scan to Storage Area feature of the baseline Fluent Store web app
- Prerequisites
- Step-by-step guide
Steps
 Who is this guide for?
This guide is aimed at Store Staff personas, including Store Managers and Store Assistants.
Prerequisites
- Fluent Store is enabled
- The Scan to Storage Area feature is enabled
- The Store user is logged in to Fluent Store at the relevant location
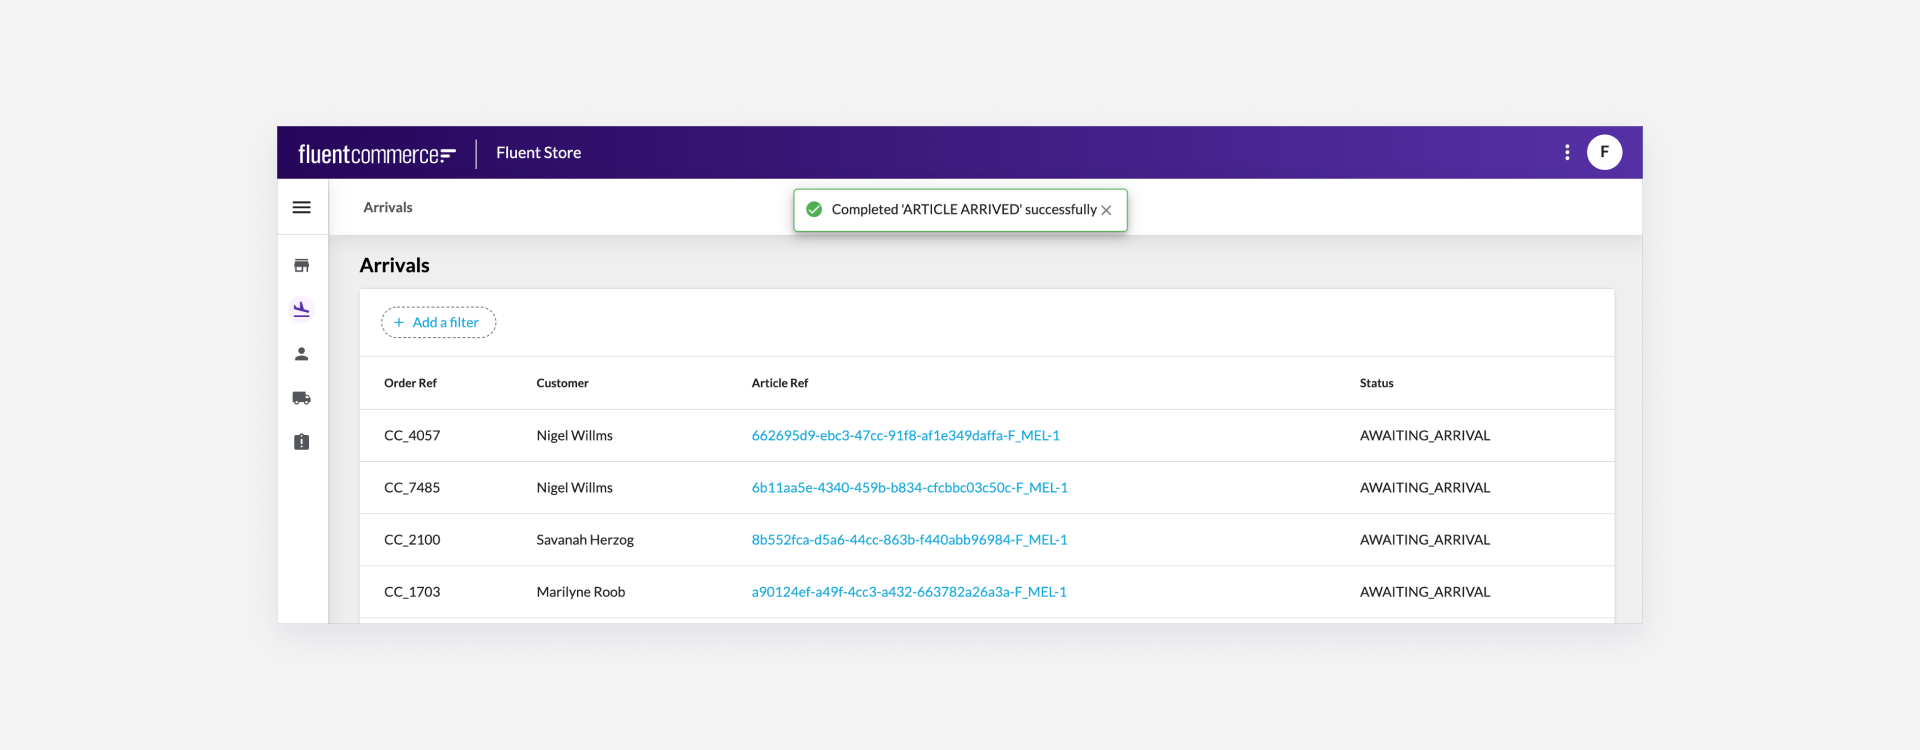
Step 1: View all Arrivals
When an article is signaled for arrival at the store, it will show up in the Arrivals screen.To view all arrivals, simply click on the 'Arrivals' menu item on the left navigation bar.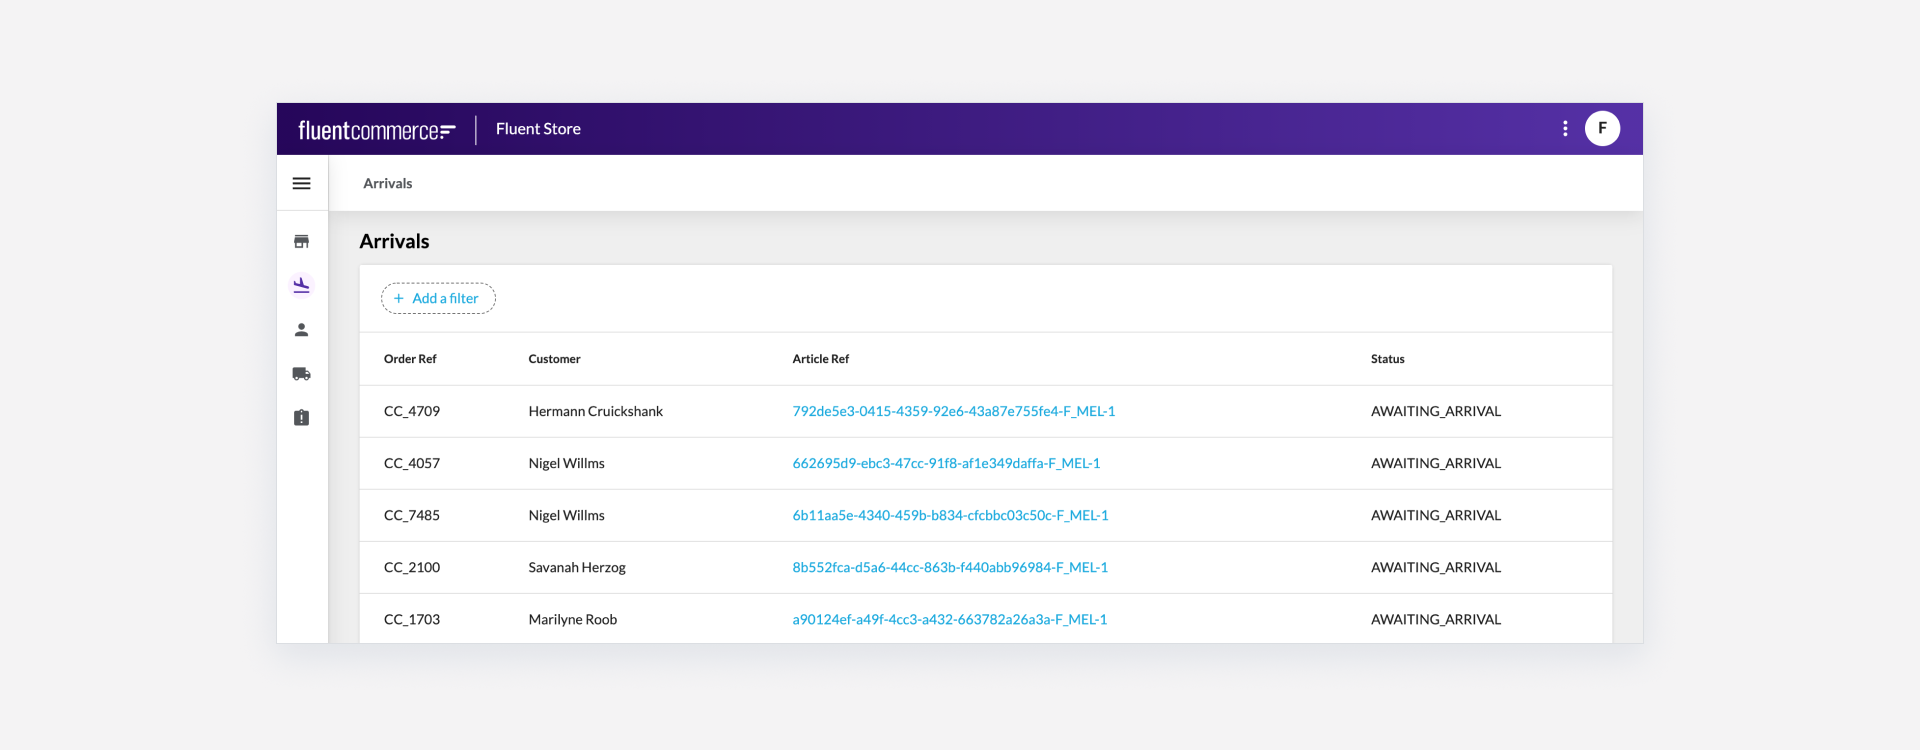
Step 2: Locate the relevant Article
If there are many articles in the list, you can use the filter function to locate the specific article you are after.In order to locate the relevant article, use the Filters on the Article List: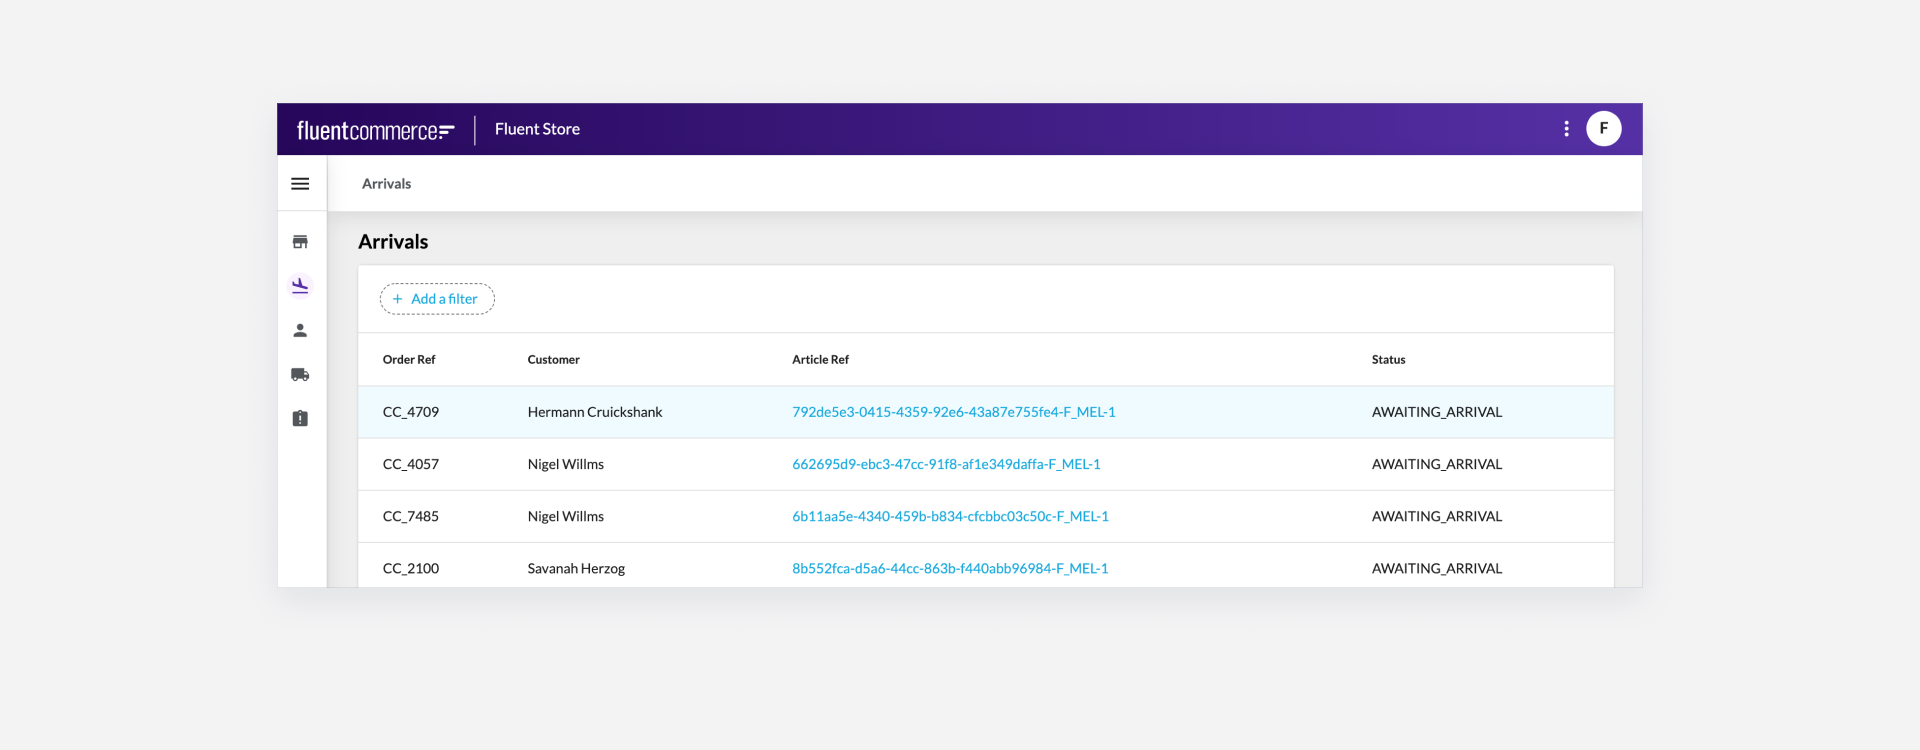
- Click "+ Add a filter"
- Select the field you want to search on, for example: 'OrderRef'
- Type in the value, and hit enter.
Step 3: Mark Article as arrived
Once you've located the correct Article, select it to view the Article details screen.On the top right-hand side, click on the "Mark as Arrived" button to open the Scan to Storage Area drawer.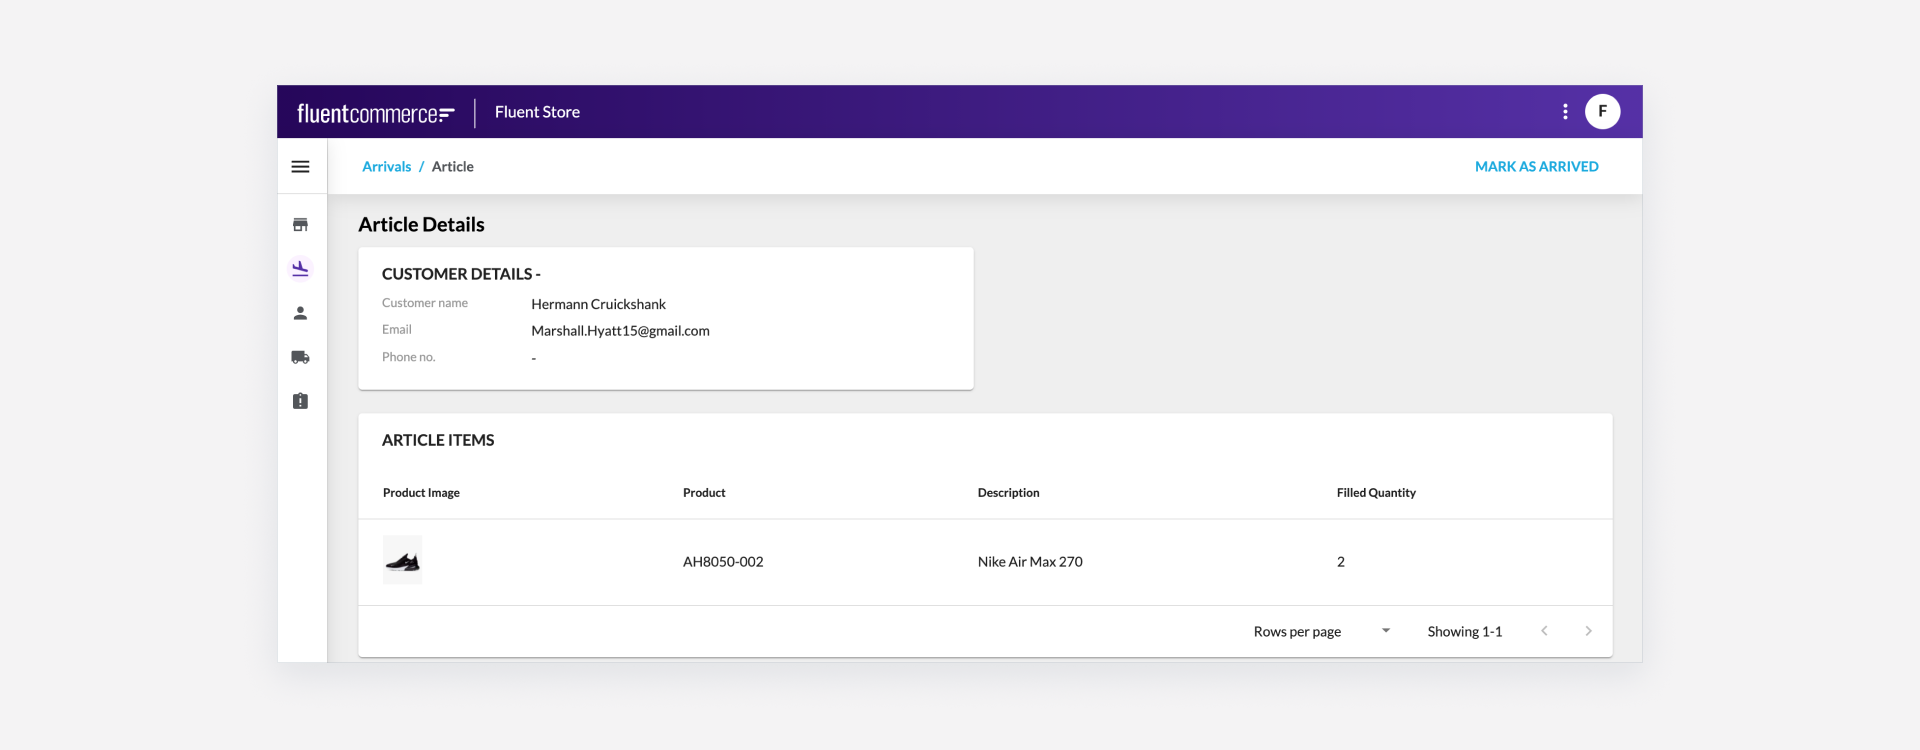 Next, scan the Storage Area code, or manually select the Storage Area from the dropdown list. Click the Submit button on the top right-hand side to mark the Article as Arrived, and assign the Storage Area.
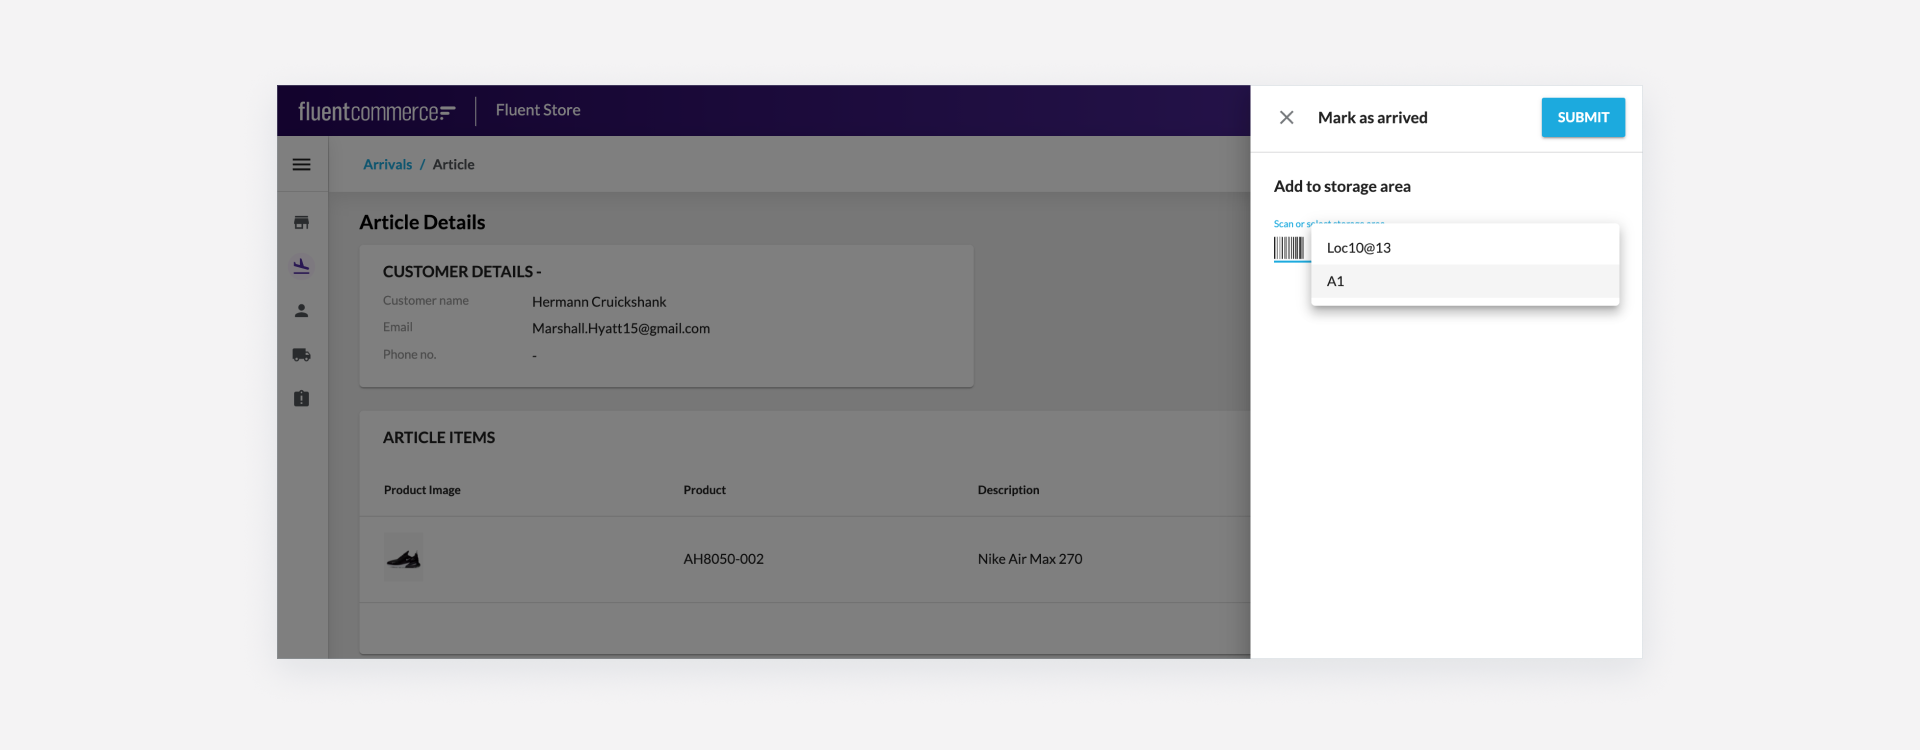
Next, scan the Storage Area code, or manually select the Storage Area from the dropdown list. Click the Submit button on the top right-hand side to mark the Article as Arrived, and assign the Storage Area.Step 4: Confirmation
Once the storage area is selected and submitted, the user receives a feedback message as they are redirected to the Arrivals list page.