Fluent Commerce Logo
Docs
Sign In

Adding a Rule to your Workflow

How-to Guide

Author:

Fluent Commerce staff

Changed on:

30 Jan 2024

Key Points

  • Working with Rules
  • Adding a Rule via the UI
  • Adding a Rule via the Workflow JSON

Steps

Step arrow right iconAdding a Rule to your Workflow

Working with Rules

Rules are the fundamental building block of Workflows. They are the "Lego pieces" of business logic that can be pieced together in various combinations to achieve the desired outcomes.

Rules in most cases require specific input parameters in order to execute their intended logic. These will be displayed in the UI, or added as 

`props`
 in the WorkflowJson, and provide a mechanism with which to capture the values. Where possible in the UI, these will be data type relevant. For example, the Change State Rule provides a drop-down selector presenting all valid States for the current workflow.

The Rules in a Ruleset will be executed in the order displayed in the UI or appear in the Workflow JSON, from top to bottom.

Adding a Rule via the UI

No alt provided

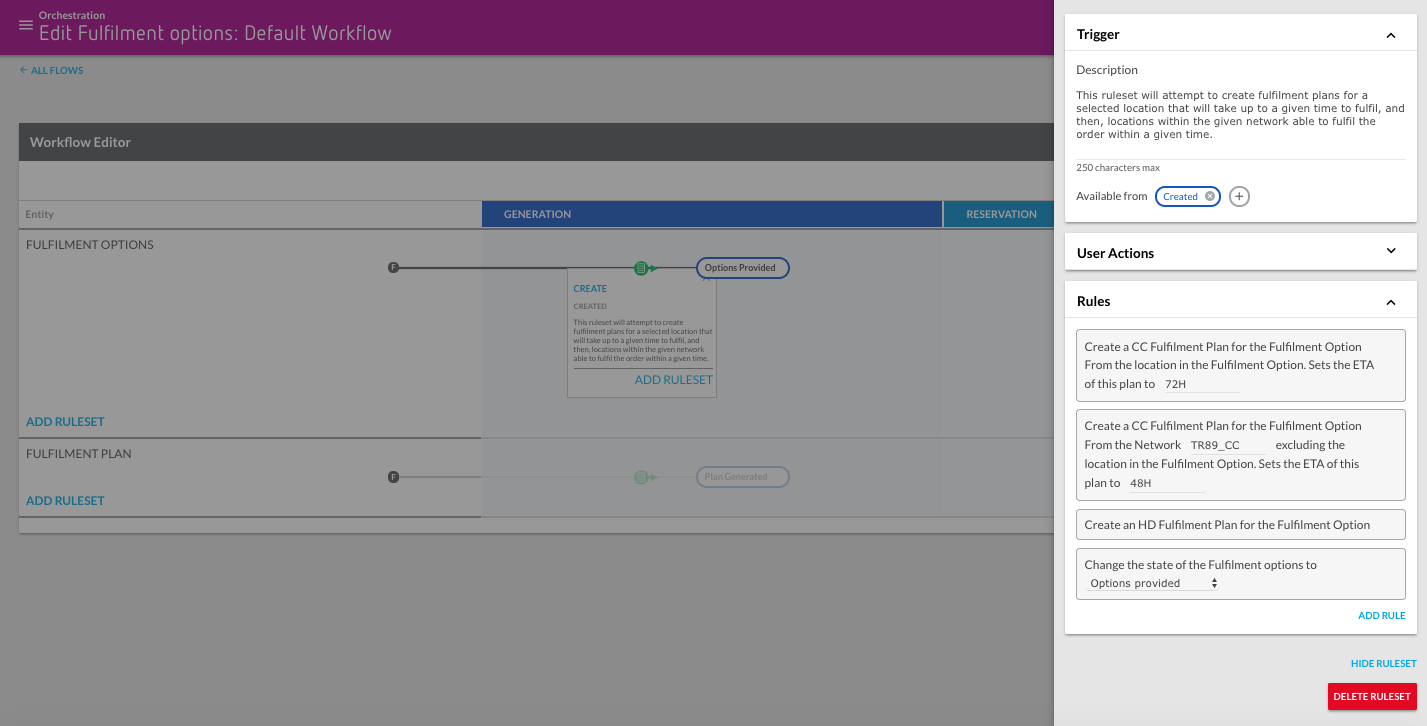
Opening a Ruleset and clicking the Add Rule button brings up the Rule Library panel on the left of the Ruleset panel. A list of all available Rules is provided, based on which Rule Plugins are installed and Active for the given Account and Workflow.

The Search box enables users to quickly find the Rules they are looking for. It filters the Rule List as you type. The Rule list will only show Rules that support the Ruleset's entity.

Clicking on a Rule within the list will add it to the Ruleset Rules section, in readiness for configuration of required input parameters.

You change the order of the Rules in the Ruleset by drag and drop, however one should take precautions here, since the outcome of a Rule may invoke an Action incompatible with the next Rule.

To remove a Rule, click the Trash Can icon on the right side of the Rule, visible on mouseover.

You can add, change, or remove Rules in this section, as well as use drag and drop to change the order of execution.

Most Rules will provide input areas for their required parameters or configuration. For example, the Change State Rule requires the new Status to be provided, so that the Rule knows what state to change the entity to.


Adding a Rule via the Workflow JSON

Add your Rules to the 

`Rule`
 array in the Ruleset you want to trigger them. They will be triggered in the order, from top to bottom.

Rule schema

JSON Key

Value Type

Mandatory

Description

name

String

YES

Full name of the Rule including the account and plugin name. For example "{{accountName}}.{{pluginName}}.{{ruleName}}"

props

JSON Object

NO

Props are required for the rule. These differ depending on the values the rule needs to function. See the Rule Library for information about specific Rules and their props.

Rule sample
1"rules": [
2    {
3        "name": "{{Rule name}}",
4        "props": {}  
5    }
6],

Language: java

Name: Rule sample

Description:

[Warning: empty required content area]
Fluent Commerce staff

Fluent Commerce staff

Copyright © 2024 Fluent Retail Pty Ltd (trading as Fluent Commerce). All rights reserved. No materials on this docs.fluentcommerce.com site may be used in any way and/or for any purpose without prior written authorisation from Fluent Commerce. Current customers and partners shall use these materials strictly in accordance with the terms and conditions of their written agreements with Fluent Commerce or its affiliates.

Fluent Logo